Easy and delicious homemade caramel sauce made with six ingredients, and better than any shop bought!
Homemade caramel
So after posing endless amounts of caramel recipes on my blog, I thought it was high time to post a homemade caramel recipe that you could use in all of them. Yes, its still going to be easier to buy some, but you know… homemade is best! No additives, and you know exactly whats in it. Also, its much easier to make compared to what you might think!
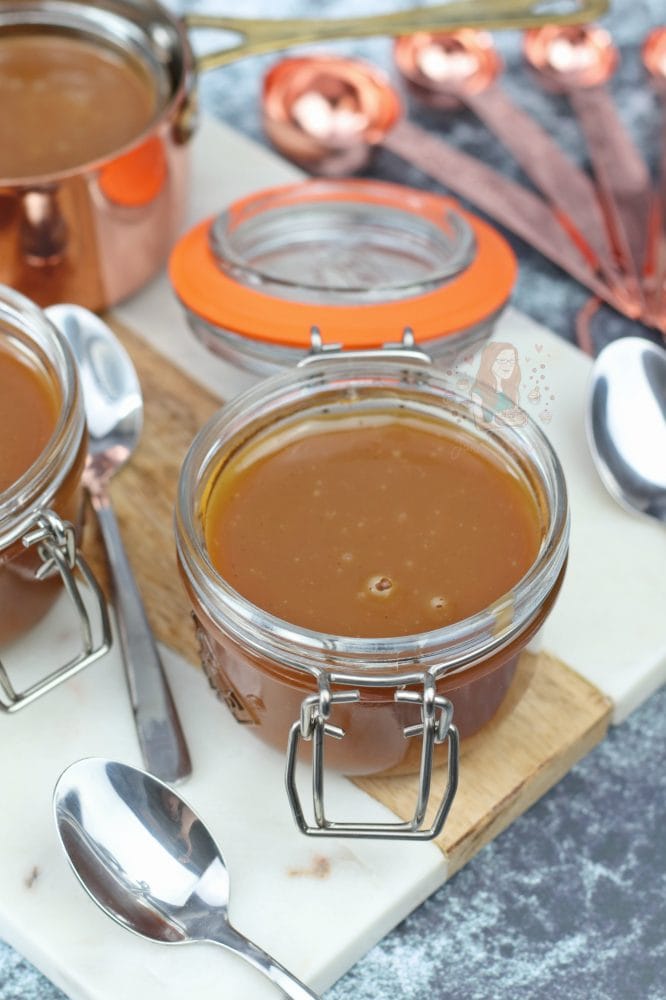
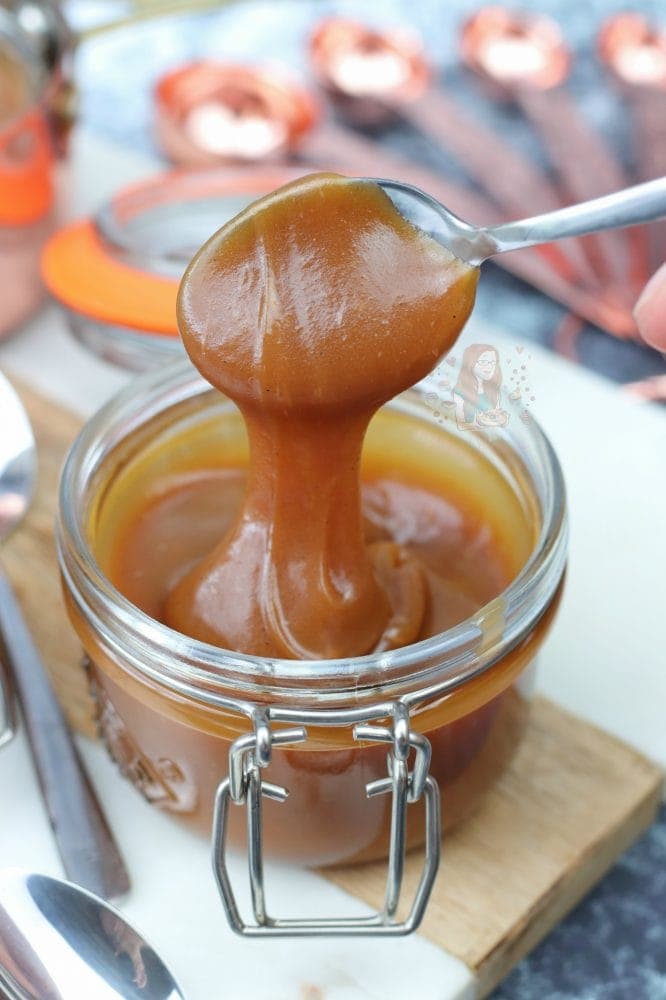
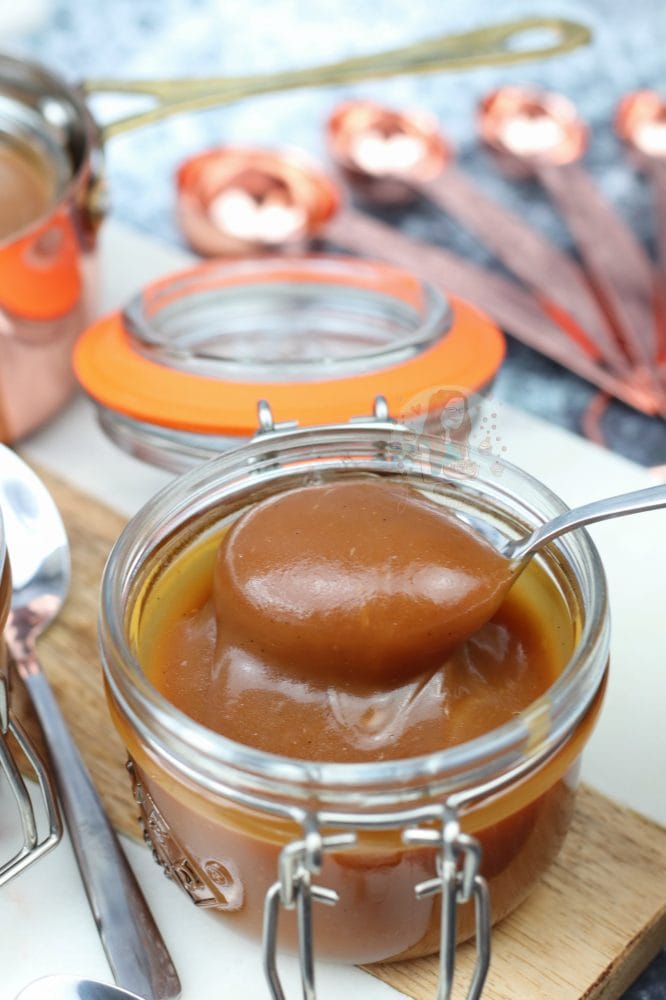
I tried several before settling on this being my favourite recipe. It wields about 375ml of caramel, which I put into two 125ml clip top kilner jars, and a ramekin as I miiiiiight have broken one of my kilner jars. Its basically enough to use in a few recipes, or to drizzle on ice creams and such. Or, as much as I hate to admit it… dip a chunk of apple in to and devour.
My favourite
There are various different types of caramel in the world, and I just love it. I am more in love with salted caramel in comparison to regular caramel, but thats just a personal thing. I love to add sea salt chunks to my caramel, as they taste much better than fine table salt you tend to have at home. Maldon Sea Salt is my favourite, but thats also personal choice.
If you don’t want your caramel to be salty, then you can leave out the salt entirely. Or, you can just add in a smidge of it to take away the over powering sweetness of the caramel in general. However, this caramel isn’t the sweetest already, which is partly why I adore it so much! I could devour it with a spoon to be honest.

Method
Making caramel can be a bit of battle for some people, but its worth the try. Luckily, you don’t waste all the ingredients if it goes wrong, only the sugar part. If its your very first time of making caramel, don’t be too disheartened if its too runny because you under did it, or if you burn it. I would definitely say burning is worse, and you’ll know it when it happens!
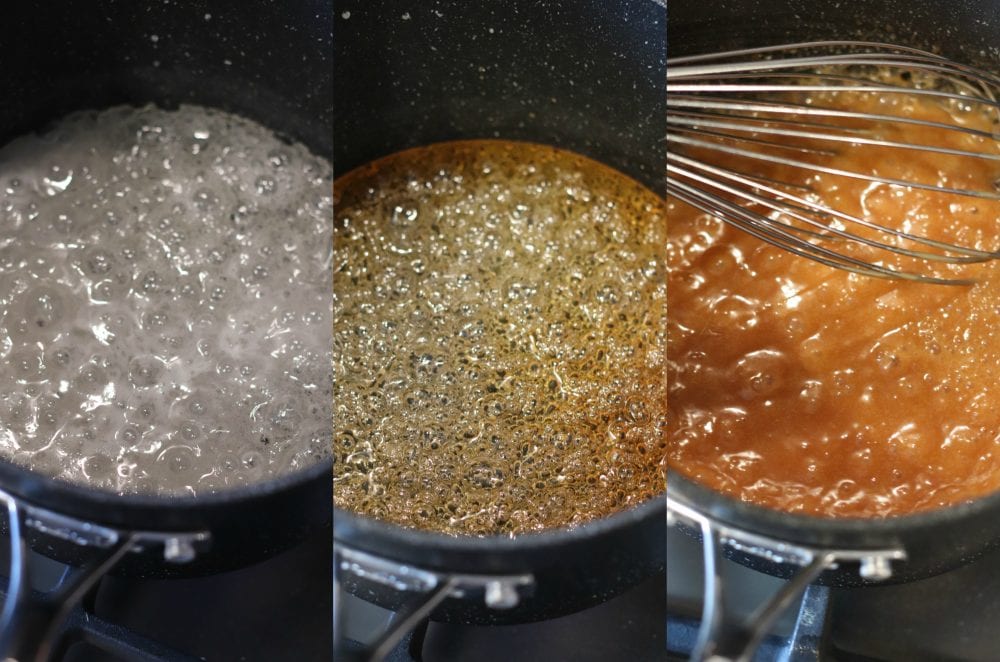
The caramel will take what feels like an age to turn to the amber colour you want, to be able to add the cream and the other ingredients. It will just be a clear bubbly liquid for god knows how long, and then suddenly start turning into a golden delicious amber caramel. Keep an eye on it, and don’t walk away… its kinda magical to watch it to be honest. Also, it smells utterly delicious.
After the amber colour
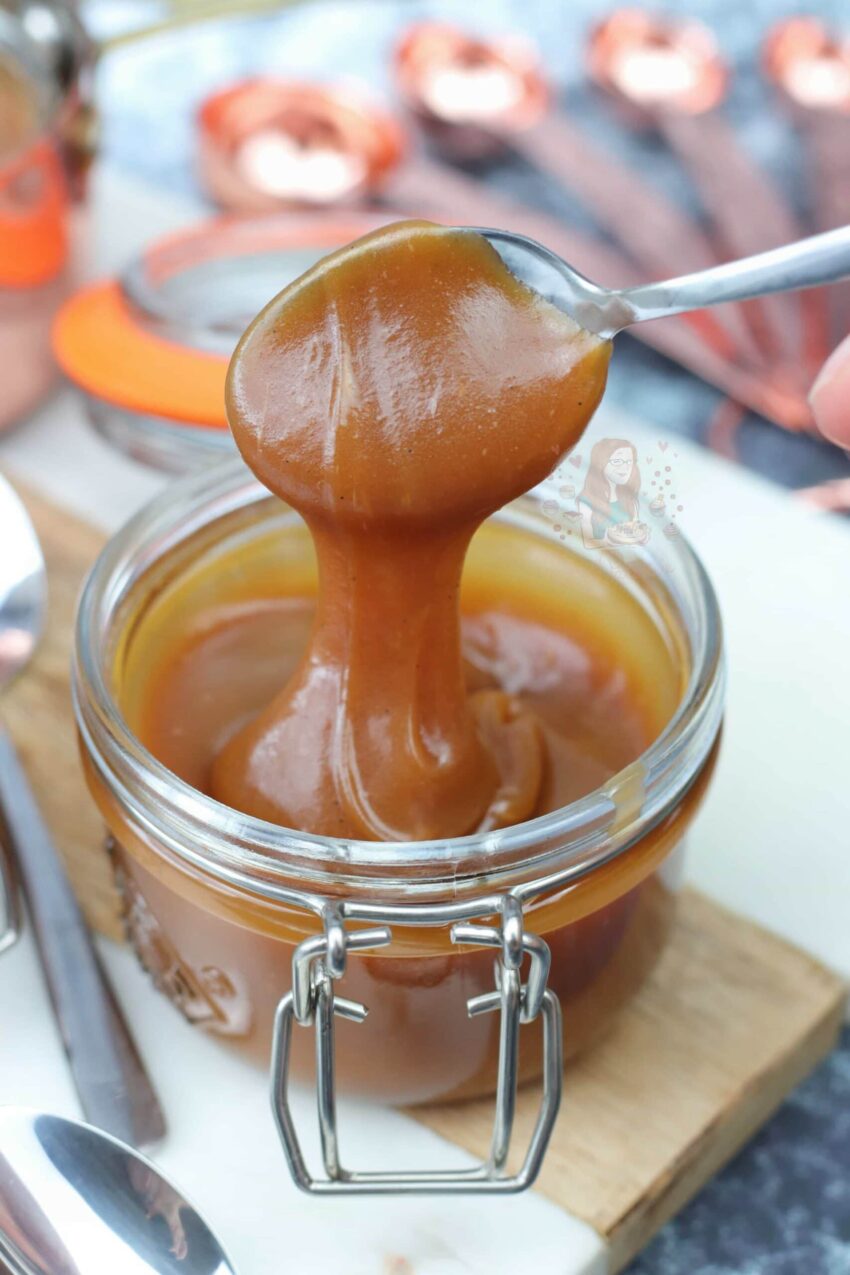
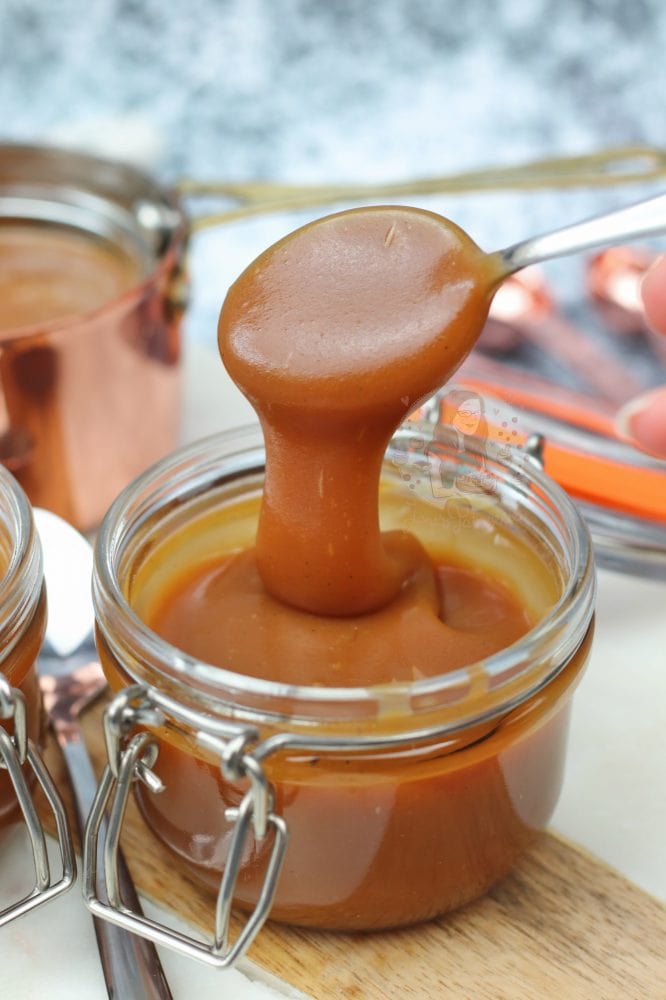
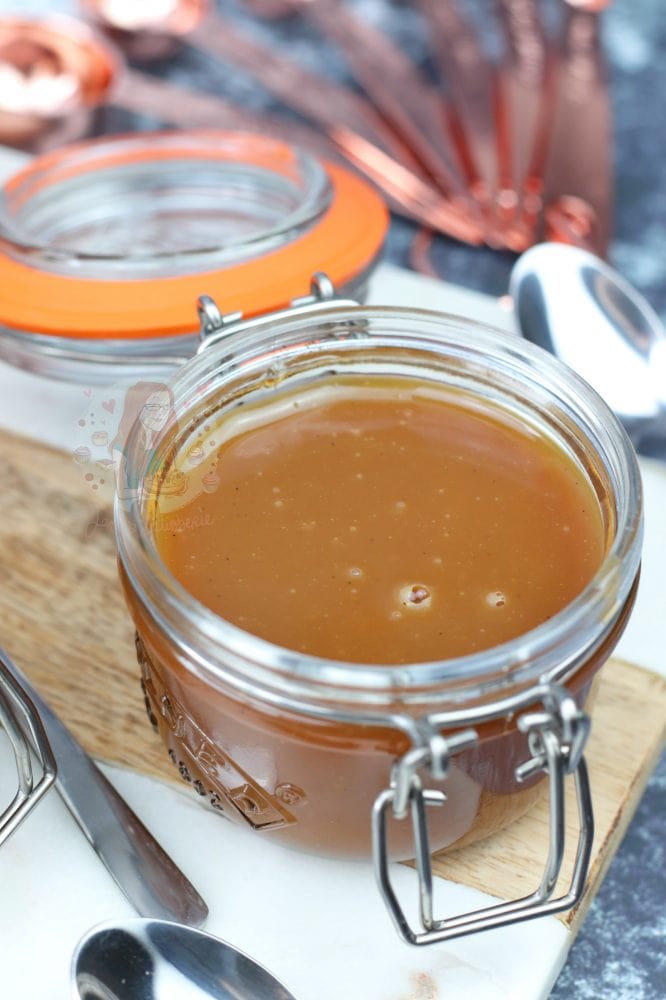
After the caramel turns into the delicious amber colour, you have to add in the cream, and watch it bubble up whilst you whisk. Add in the butter, the vanilla, and then the salt, whisking in-between each one. You end up with a gorgeous, silky smooth caramel that you can use in all sorts of treats. You can see the vanilla speckles in mine, amongst the gorgeous golden colour, and now you’re salivating? Right?
Caramel recipes
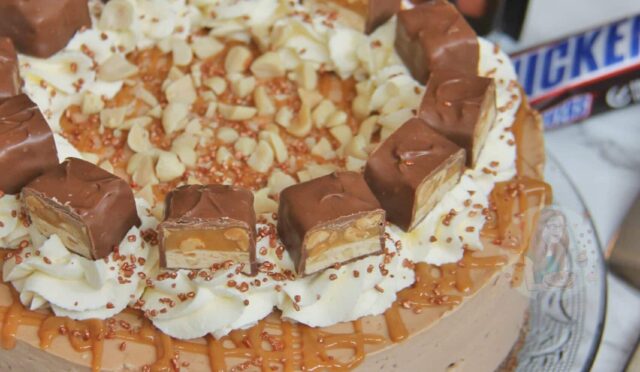
You can use this caramel in soooo many recipes in my blog and I really recommend it! My favourite recipe to use it with it my salted caramel pretzel cupcakes – YUM! But you can use it in traybakes, cakes, cookies – have fun experimenting with it and happy baking! Enjoy! x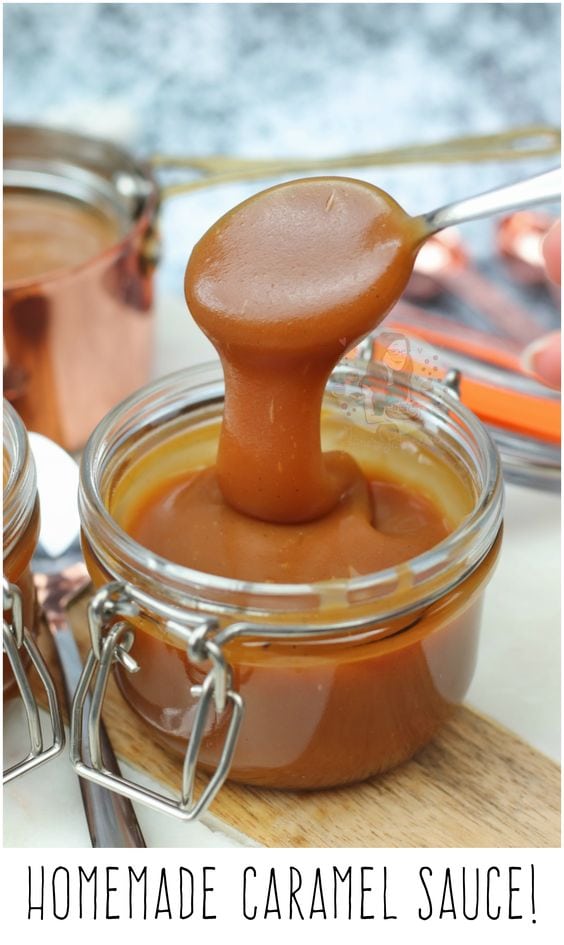
Homemade Caramel Sauce!
#wprm-recipe-rating-3 .wprm-rating-star.wprm-rating-star-full svg * { fill: #343434; }#wprm-recipe-rating-3 .wprm-rating-star.wprm-rating-star-33 svg * { fill: url(#wprm-recipe-rating-3-33); }#wprm-recipe-rating-3 .wprm-rating-star.wprm-rating-star-50 svg * { fill: url(#wprm-recipe-rating-3-50); }#wprm-recipe-rating-3 .wprm-rating-star.wprm-rating-star-66 svg * { fill: url(#wprm-recipe-rating-3-66); }linearGradient#wprm-recipe-rating-3-33 stop { stop-color: #343434; }linearGradient#wprm-recipe-rating-3-50 stop { stop-color: #343434; }linearGradient#wprm-recipe-rating-3-66 stop { stop-color: #343434; }
Print Pin Rate
Ingredients
- 250 g white granulated sugar
- 75 ml water
- 200 ml double cream
- 60 g unsalted butter
- 1 tsp vanilla extract
- 1/2 tsp sea salt
Instructions
-
In a large heavy based saucepan, add the water and sugar. Heat on a low-medium heat, and stir constantly until the sugar has dissolved into the water. The water will still look a touch cloudy when dissolved, but there will be no sugar granules any more.
-
Once the mixture has dissolved together, and it starts to bubble slightly, turn the heat up higher and STOP STIRING. Leave the mixture alone, and do not touch it. Wait for the mixture to boil away to an amber colour. This often takes between 5-10 minutes, depending on your pan, and hob etc.
-
Once the mixture has turned to the correct colour, take it off the heat and pour in the cream. The mixture will bubble up quite a bit, but whisk it together until combined.
-
Then, add in the butter, and whisk until melted. Add in the vanilla, and again whisk. Finally, add in the salt and whisk again.
-
Once all combined, pour into some clean, and appropriate containers such as jars, and leave to cool on the side. Once completely cool, refrigerate.
Notes
- You really need to keep an eye on the caramel when its turning to the amber colour. There are seconds between it turning from a delicious amber colour, to burnt.
- It can take ages for it to turn to a different colour, but thats just the process it takes. It’s basically heating up, and once it reaches a certain point, it’ll turn to the caramel.
- The caramel should be kept in the fridge, but it will get harder in the fridge.Microwave to soften what you need.
- It’ll last in the fridge for up to two weeks as long as the container its put into is spotlessly clean.
Find my other recipes on my Recipes Page!
You can find me on:
Instagram
Facebook
Pinterest
Twitter
Youtube
J x
© Jane’s Patisserie. All images & content are copyright protected. Do not use my images without prior permission. If you want to republish this recipe, please re-write the recipe in your own words and credit me, or link back to this post for the recipe.