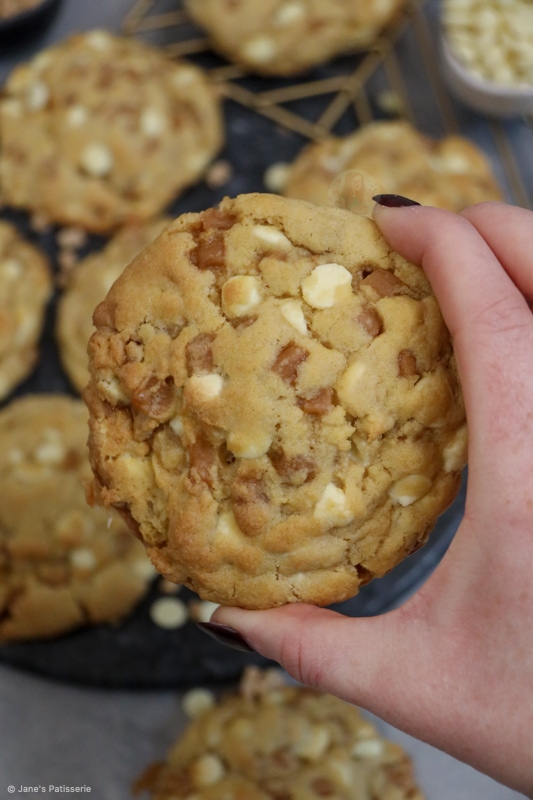
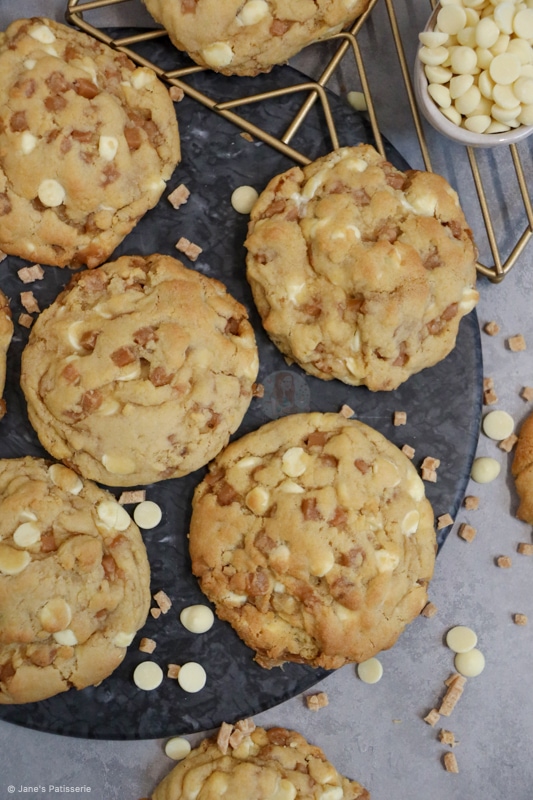
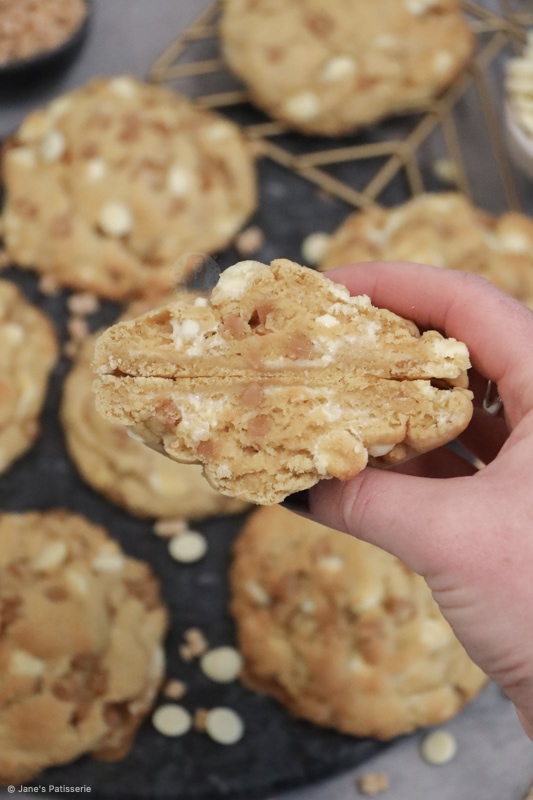
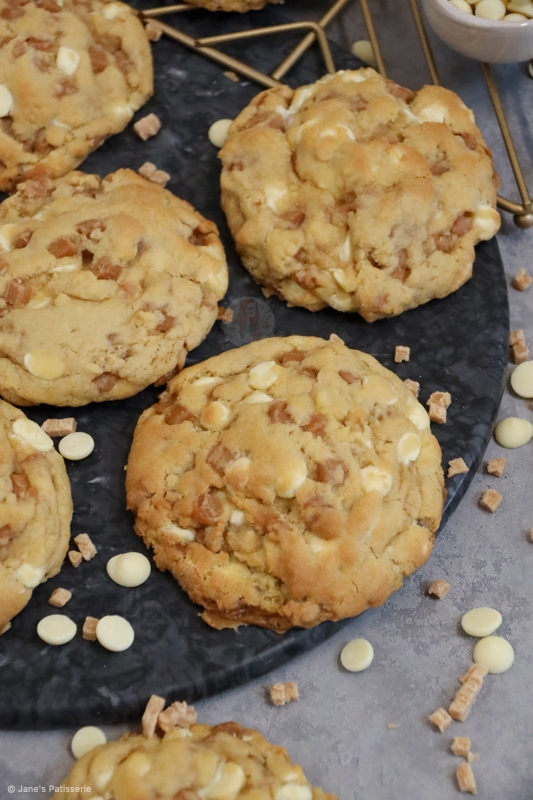
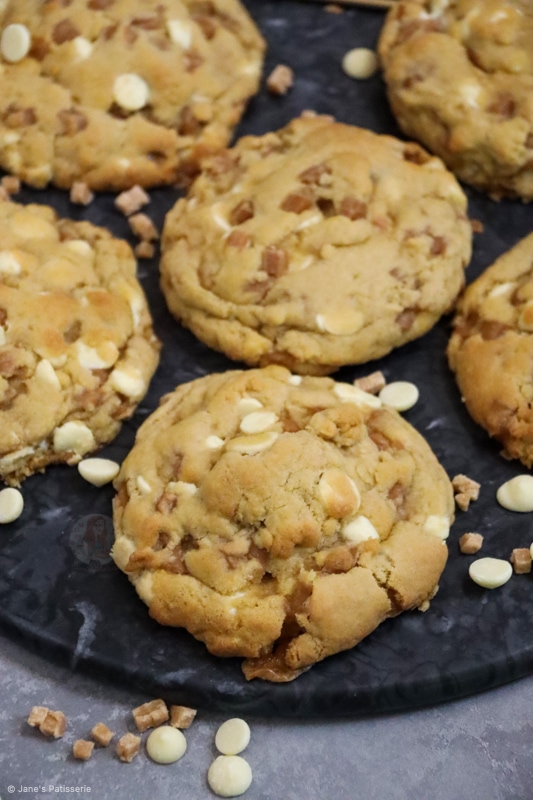
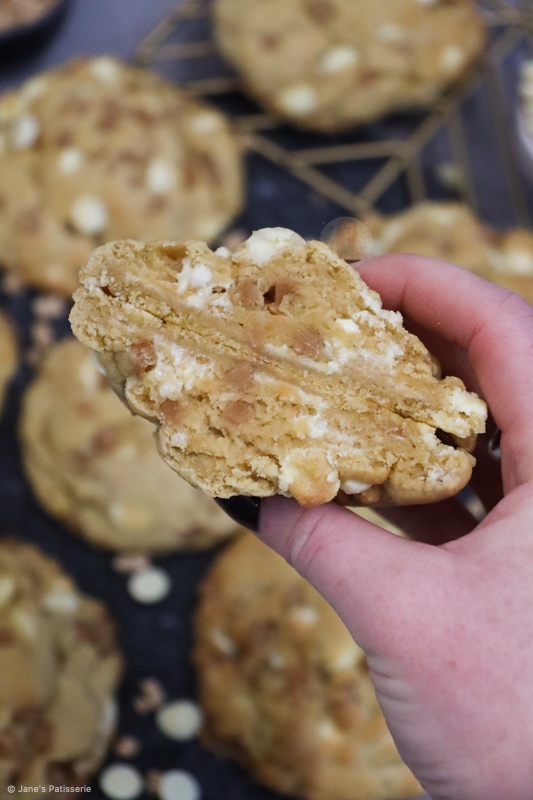
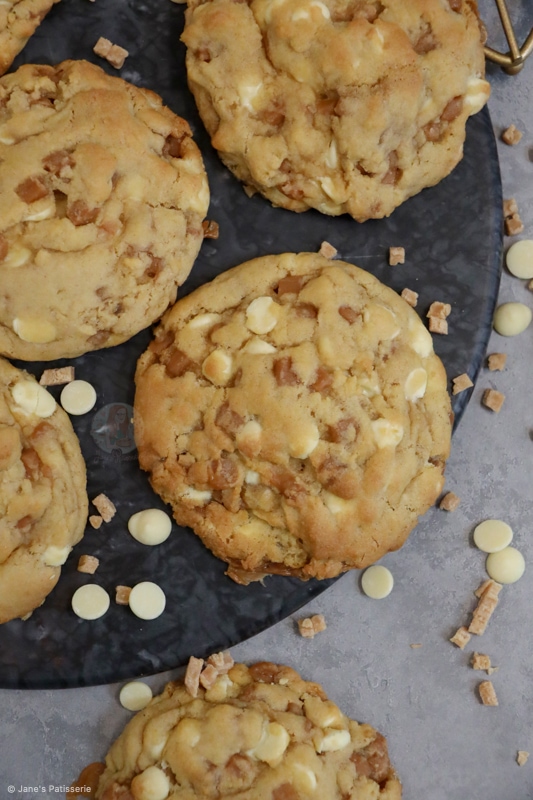
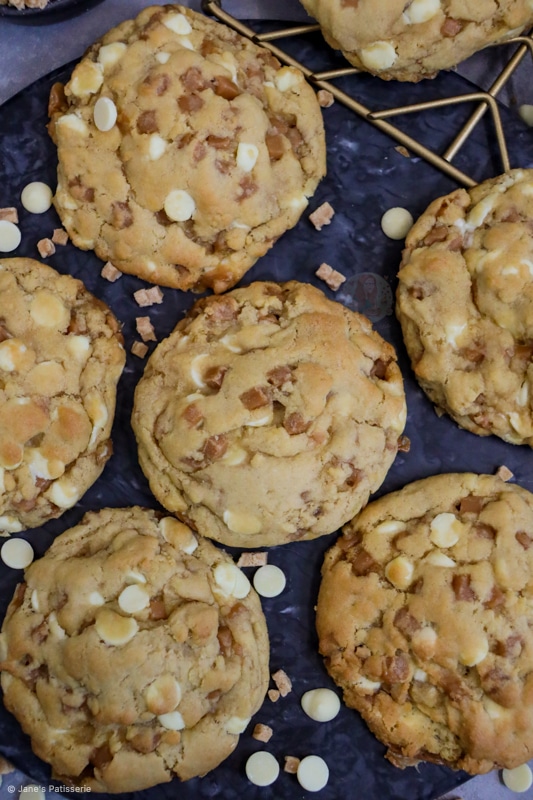
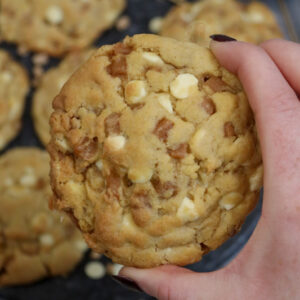
Deliciously easy and fudgy white chocolate fudge NYC Cookies… Giant chunky cookies with white chocolate chips and fudge chunks!
I posted my air fryer cookies earlier this week and they absolutely smashed it, so I am VERY excited to now show you guys these beauties.
Cookie dough
So the cookie dough for these white chocolate fudge NYC Cookies is the same as all the others… and can you really blame me?! It’s the best cookie dough out there!
- Butter – Whether its baking spread, butter, or a margarine – they all work for these cookies.
- Sugar – Because of the fudge theme of these cookies, I used just light brown soft sugar to help the flavour. To make it more fudge like you can do half light brown soft sugar and half dark brown soft sugar.
- Egg – I tend to use medium eggs in my bakes, but you can use one large egg instead of.
- Vanilla – Optional, but adds a delicious flavour.
- Flour – Always use plain flour in your cookies!! You don’t want self raising flour as it will create a cake like cookie. I do also use cornflour as it adds a nice texture, but you can remove it and add 25g more flour.
- Raising agents – For these, I use bicarbonate of soda and baking powder. Bicarb is a classic addition as the raising agent for cookies, and baking powder helps create the texture you are after in a New York style cookie
- Salt – I always add sea salt to my cookies because it’s delicious, but you can definitely leave it out, or use salted butter
White chocolate
So as the theme is half white chocolate, thats the chocolate I used. I often switch up the chocolate I use, but because I bake so much I tend to bulk buy 10kg bags of chocolate chips.
If you prefer chunks of chocolate you can 100% just chop up a bar of white chocolate and chop them up to the size you prefer, or you can use the shop bought chocolate chips which are often much smaller than the ones that I use.
If you don’t want to use white chocolate, you can obviously use any other flavour that you would prefer – I just love the combination of white chocolate and fudge.
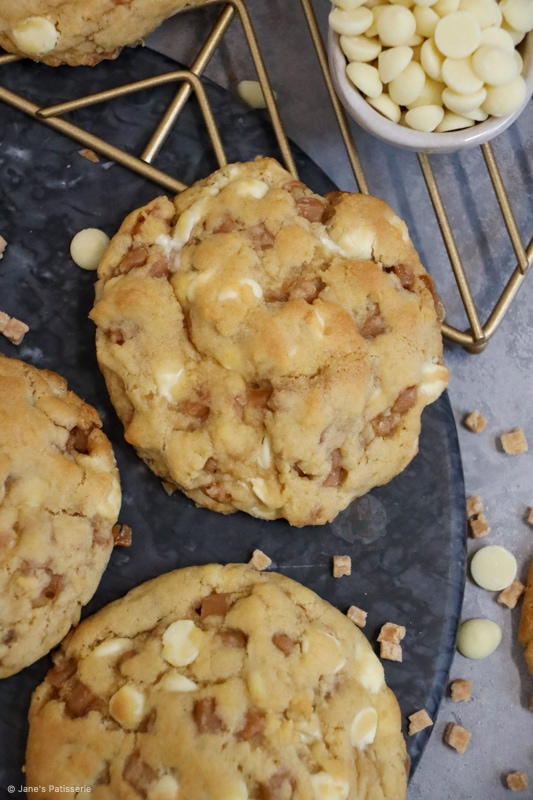
Fudge
So when it comes to the fudge, what you can access may vary. My go to ingredient for this is the fudge chunk sprinkles you get in the baking aisle, which often come in a little bag like chocolate chips.
If you want to use other fudge, you want to use classic fudge, not the condensed milk kind. If you chop up classic fudge to smaller chunks, it will work in the same way that the fudge sprinkles do.
Of course, you can try other caramel/toffee based sweets, but often they do not work the same way due to the caramel melting!
Freezing & prepping
So… a question I get all of the time when it comes to my cookies is can you freeze them?! And of course… YES YOU CAN!! I do it all of the time myself because it really is that worth doing.
Say you don’t want an entire batch of cookies in one go because they’re better when warm and fresh out of the oven, you can follow the recipe like normal, and chill and prep the dough.
At this point, you can take the ones you don’t want to bake immediately and put them onto a tray and freeze. Once solid, you can put them into a container or bag and just leave them until you want them!
When baking from frozen, just add 1-2 minutes to the baking time and that’s it! You can also freeze baked cookies and just let them thaw on the side if you prefer.
Tips & Tricks
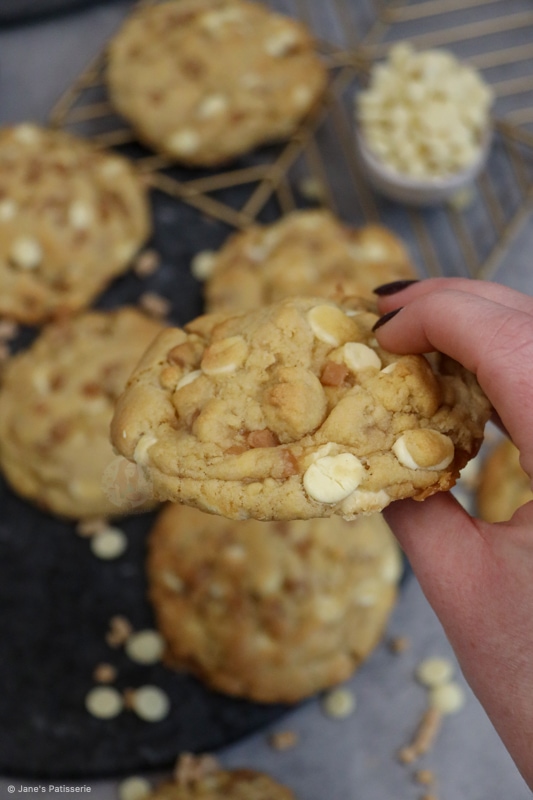
One thing about NYC Cookies is that they are huge… but this is what makes them NYC style! They are 120g of heaven. However, if you want to use the recipe to make regular size cookies (can’t call them NYC if you make them smaller…!), then you can make them 60g each, and bake for 8-9 minutes.
If you want to make the dough chocolate flavoured you can remove 50g of plain flour and add 35g cocoa powder in instead – cocoa powder is more drying so you don’t need as much.
The cookies are best warm and fresh, but last 4-5+ days once made. Or, the dough can freeze for 3+ months.
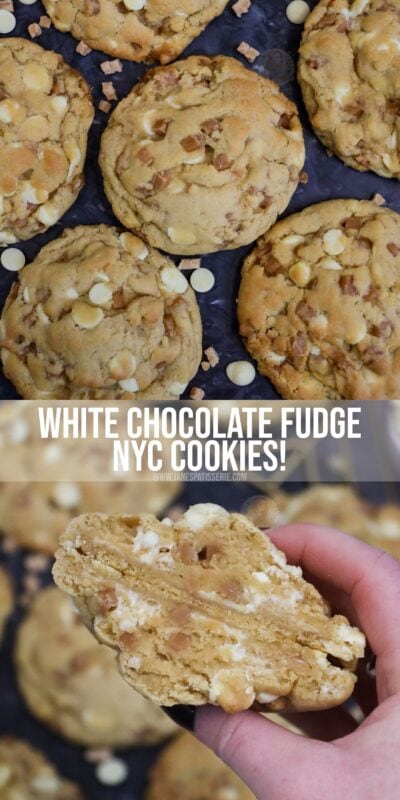
White Chocolate Fudge NYC Cookies!
#wprm-recipe-rating-6 .wprm-rating-star.wprm-rating-star-full svg * { fill: #343434; }#wprm-recipe-rating-6 .wprm-rating-star.wprm-rating-star-33 svg * { fill: url(#wprm-recipe-rating-6-33); }#wprm-recipe-rating-6 .wprm-rating-star.wprm-rating-star-50 svg * { fill: url(#wprm-recipe-rating-6-50); }#wprm-recipe-rating-6 .wprm-rating-star.wprm-rating-star-66 svg * { fill: url(#wprm-recipe-rating-6-66); }linearGradient#wprm-recipe-rating-6-33 stop { stop-color: #343434; }linearGradient#wprm-recipe-rating-6-50 stop { stop-color: #343434; }linearGradient#wprm-recipe-rating-6-66 stop { stop-color: #343434; }
Print Pin Rate
Ingredients
Cookies
- 125 g unsalted butter/baking spread
- 175 g light brown sugar
- 1 medium egg
- 1 tsp vanilla
- 300 g plain flour
- 1 tbsp cornflour
- 1 + 1/2 tsp baking powder
- 1/2 tsp bicarbonate of soda
- 1/2 tsp sea salt
- 200 g white chocolate chips
- 200 g fudge pieces
Instructions
-
Add the butter and sugar to a bowl and beat until creamy
-
Add in the egg and vanilla and beat again.
-
Add in the plain flour, cornflour, baking powder, bicarbonate of soda, and salt and beat until a cookie dough is formed!
-
Add in the chocolate chips and fudge pieces and beat until distributed well!
-
Weigh your cookies out into eight cookie dough balls – they’re about 120g each
-
Once they’re rolled into balls, put your cookie dough in the freezer for at least 30 minutes, or in the fridge for an hour or so!
-
Whilst the cookie dough is chilling, preheat your oven to 180C Fan, or 200C regular!
-
Take your cookies out of the freezer/fridge and put onto a lined baking tray. I put four cookies per tray!
-
Bake the cookies in the oven for 11-13 minutes.
-
Let the cookies cool on the trays for at least 30 minutes, as they will continue to bake whilst cooling!
Notes
- These are best eaten on the day of baking, but can be revived by microwaving for 15-30 seconds, or putting into a hot oven for 2-3 minutes!
- Once baked, these will last for 4-5+ days
- You can use chocolate bars chopped up instead of chocolate chips, just make sure the chunks aren’t too big
- These can freeze raw before baking for 3+ months, just add 1-2 minutes baking time.
- Baked cookies can also freeze for 3+ months.
ENJOY!
Find my other recipes on my Recipes Page!
You can find me on:
Instagram
Facebook
Pinterest
Twitter
Youtube
J x
© Jane’s Patisserie. All images & content are copyright protected. Do not use my images without prior permission. If you want to republish this recipe, please re-write the recipe in your own words and credit me, or link back to this post for the recipe.