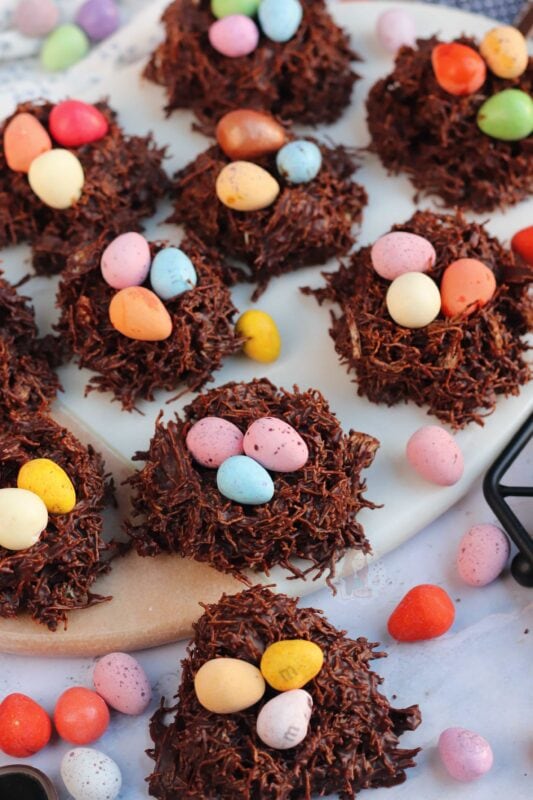
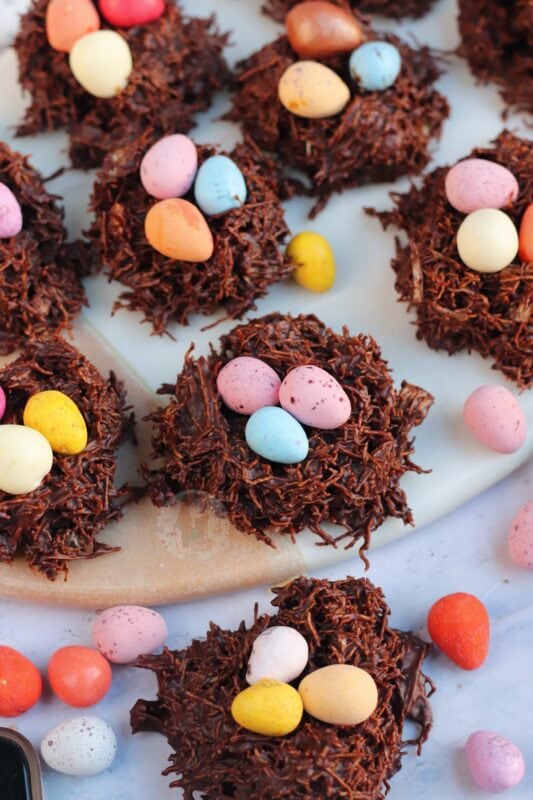
Easy four ingredient no-bake Easter nests topped with your favourite Easter chocolates!
Easter nests
Let’s just say, that this is a recipe that pretty much everyone has already made, but I thought I would post ‘my version’ anyway. I realise I have been blogging for five years, but here we are! It’s one of the most highly requested easter bakes in a long time.
SO… this is one of the best things you can ever eat as a kid, and even though I am 27 years old at the time of writing this, I am still just as happy when I get to eat one (or five). They’re epic. Honestly, one of the best!
Chocolate and cereal
Most of the time when you are younger, you just use chocolate and shredded wheat (or occasionally other cereals such as cornflakes, or Rice Krispies). It’s simple, and it’s easy. However, I’ve always done mine differently!
Since I was little, I used to make a cornflake cake (or my cornflake and Malteser rocky road) that was literally this mixture, but with cornflakes, in a cake tin and sliced. Something about the mix of chocolate, syrup and butter makes a wonderful treat.
Recipe
I use this recipe in basically all of my rocky roads and tiffins, just with slight variations of chocolate or the measurements of the ingredients. The reason I love it is that the recipe is softer than just chocolate on its own.
Don’t get me wrong, chocolate and cereal together are still epic, but I much prefer it to not completely rock solid like melted chocolate, and I find the flavour along with the butter and syrup is just simple no-bake heaven.
- Chocolate – The best is to use milk/dark chocolate – the sweetness comes from the syrup as well, but don’t worry, it’s not too much.
- Butter – I always use block butter, never a spread when doing this – the spreads or margarines can split and cause a mess.
- Syrup – Golden syrup is one of the best ingredients to exist, just saying.
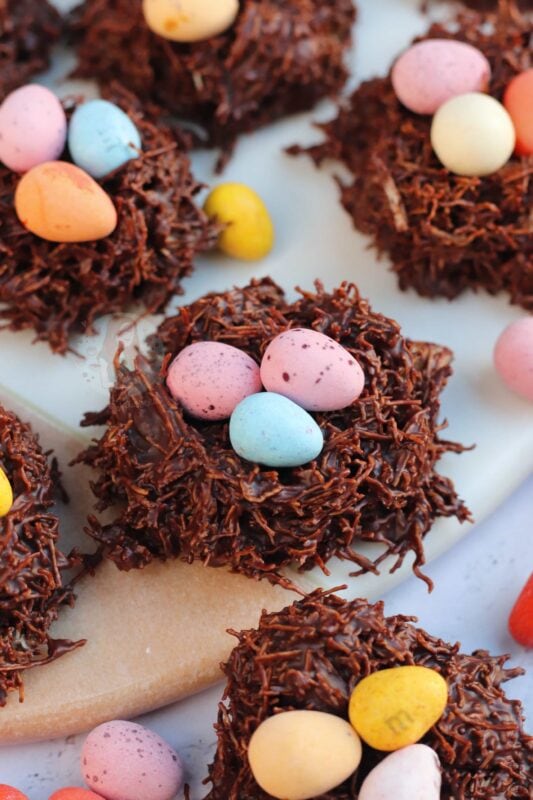
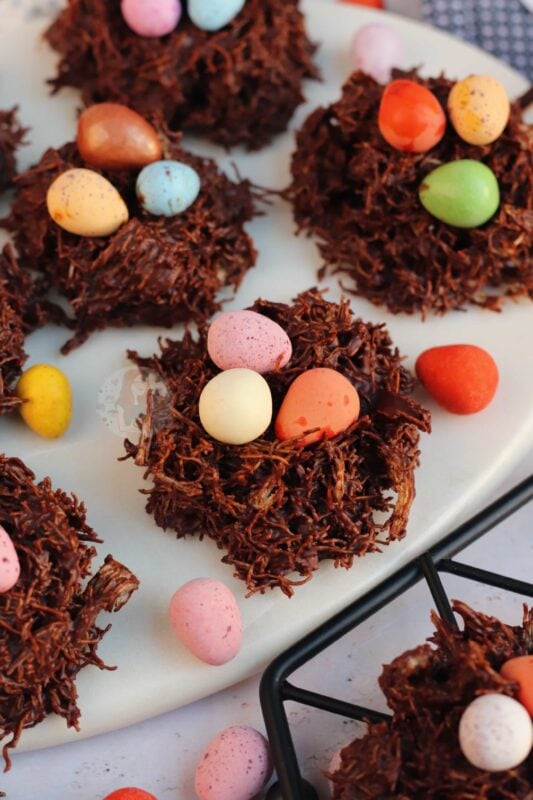
- Cereal – I use shredded wheat for these as they are the closest thing to making the bake look like a birds nest – but you can use whatever cereal you like! Cornflakes, Rice Krispies, and so on! They all work, and it’s basically good to use up what you have in the cupboard!

Chocolate
When making these, you can use milk or dark chocolate. Most of the time when baking for kids, I would recommend milk chocolate (like I have used in this recipe) but some people do prefer dark – the mixture of both chocolates is by far the best though.
I wouldn’t generally use white chocolate for this, however, as it doesn’t mix well with the butter and syrup. If you want to use just white chocolate, you need to just use the chocolate. Also, if you can’t access golden syrup… you should just use chocolate on its own. For some reason, it becomes a gloopy mess with anything else added in.
Tips & Tricks
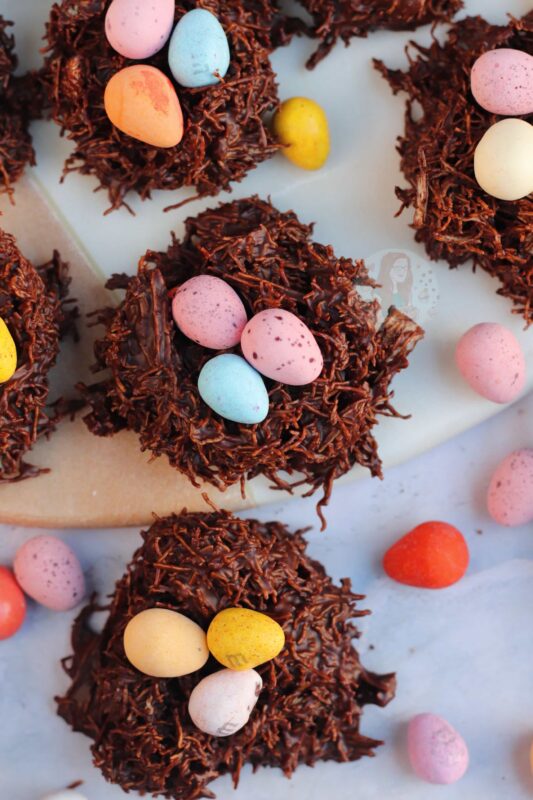
I scooped mine using a cookie scoop and put them onto a lined tray as I wanted them to look more like wild nests/cookies, but you can, of course, put it into a cupcake case if you prefer! Whatever takes your fancy.
If your mixture splits, take it off the heat and mix through a little double cream or full fat milk and it’ll come back together. This only happens when it’s been heated too long, or at too high a temperature.
These beauties will last 7+ days at room temperature.
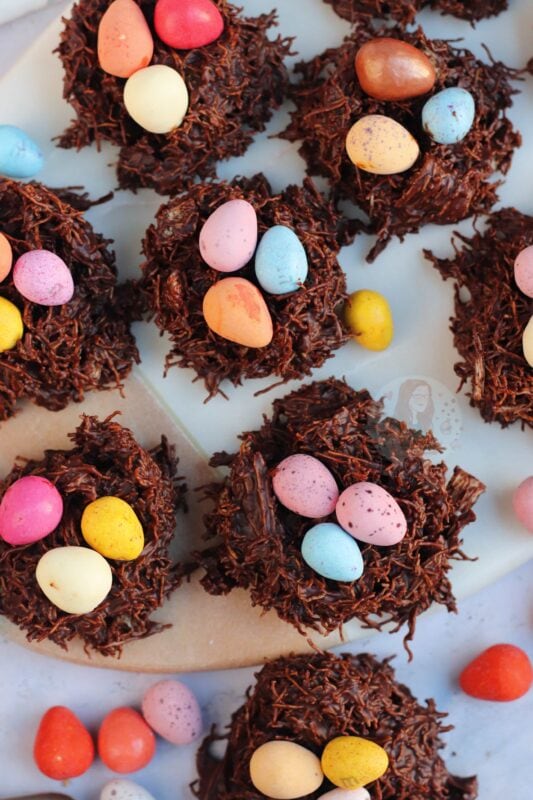
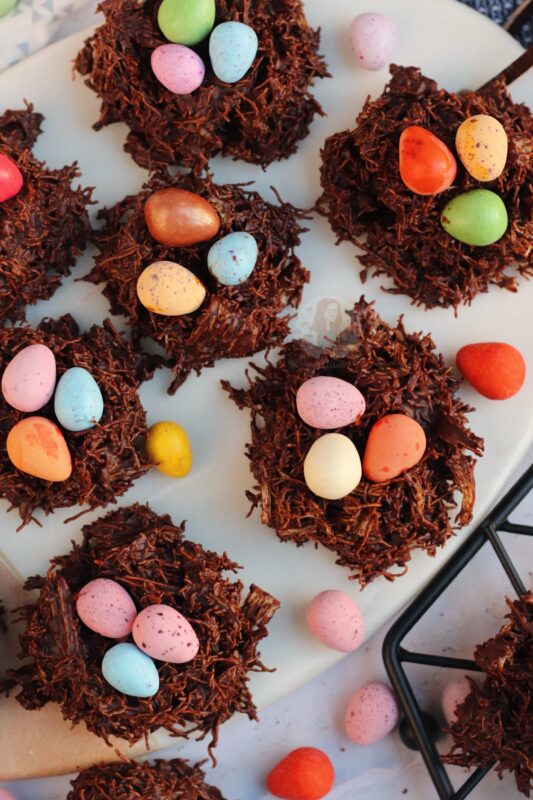
I topped mine with an assortment of Easter chocolates, but you can use your favourites!! I hope you love this recipe as much as I do! Enjoy! X
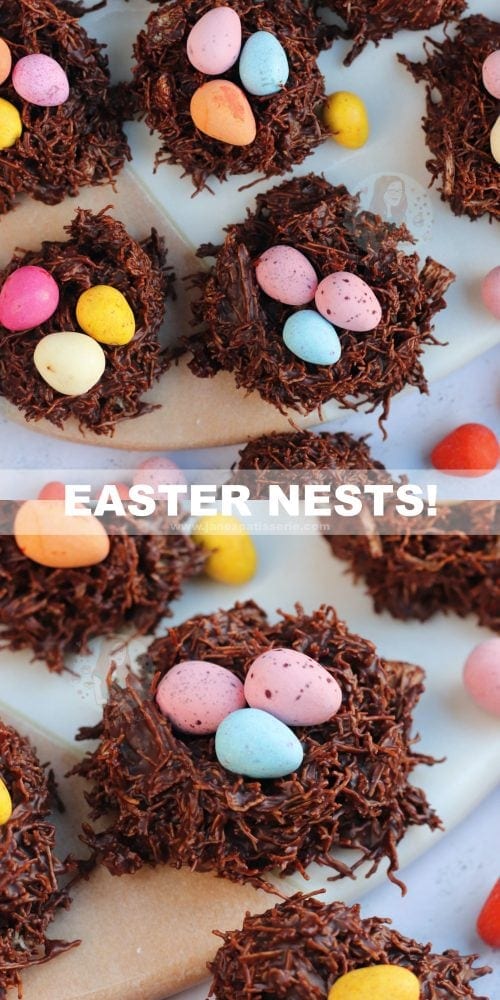

Easter Nests!
#wprm-recipe-rating-1 .wprm-rating-star.wprm-rating-star-full svg * { fill: #343434; }#wprm-recipe-rating-1 .wprm-rating-star.wprm-rating-star-33 svg * { fill: url(#wprm-recipe-rating-1-33); }#wprm-recipe-rating-1 .wprm-rating-star.wprm-rating-star-50 svg * { fill: url(#wprm-recipe-rating-1-50); }#wprm-recipe-rating-1 .wprm-rating-star.wprm-rating-star-66 svg * { fill: url(#wprm-recipe-rating-1-66); }linearGradient#wprm-recipe-rating-1-33 stop { stop-color: #343434; }linearGradient#wprm-recipe-rating-1-50 stop { stop-color: #343434; }linearGradient#wprm-recipe-rating-1-66 stop { stop-color: #343434; }
Print Pin Rate
Ingredients
Nests
- 200 g milk chocolate (finely chopped)
- 200 g dark chocolate (finely chopped)
- 100 g unsalted butter
- 100 g golden syrup
- 6-8 Shredded Wheat (full-size)
Topping
- 100-200g Easter chocolates
Instructions
-
Crush your Shredded Wheat into a large bowl. Leave to the side!
-
Add your butter and golden syrup to a pan, and heat gently whilst stiring occasionally until all the butter has melted.
-
Take off the heat, and add in the finely chopped chocolates. Stir until the chocolate has melted into the syrup/butter mix.
-
Pour over the Shredded Wheat and mix until combined!
-
Using spoons, or a cookie/ice cream scoop – scoop onto a lined tray.
-
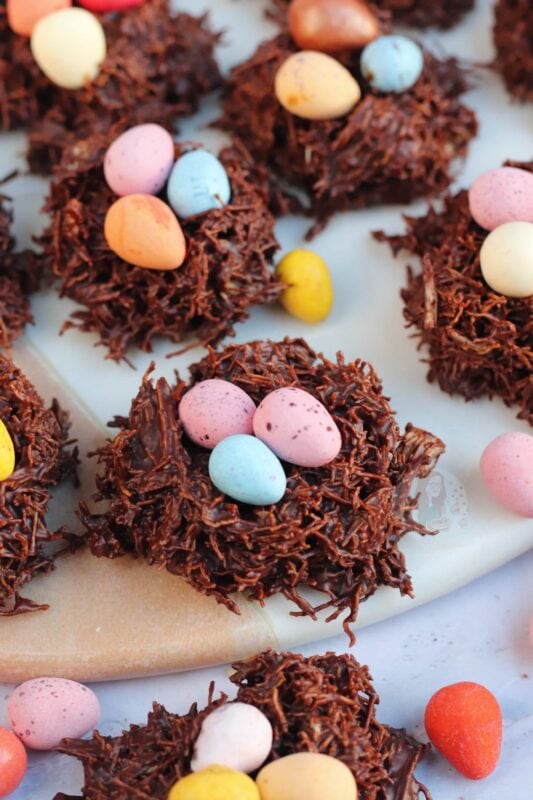
Add on your eggs, I did three per nest, and set in the fridge until solid!
-
Enjoy!
Notes
- I use dark and milk chocolate, but you can use all dark (350g) or milk (500g), or a different combination!
- I use this method, but you can also add all the ingredients into a pan and melt if you prefer, this one is just safer at preventing splitting.
- I use a 5cm cookie scoop, but only loosely put the nests inside – it creates a suitably ‘wild’ nest look!
- You can of course, put them into cupcake cases if you prefer.
- These last for 1+ weeks!
- Feel free to swap to any other cereal – you’ll want about 80-100g worth!
- I wouldn’t generally use white chocolate for this, however, as it doesn’t mix well with the butter and syrup. If you want to use just white chocolate, you need to just use the chocolate. Also, if you can’t access golden syrup… you should just use chocolate on its own.
ENJOY!
Find my other Recipes on my Recipes Page!
Instagram
Facebook
Pinterest
Twitter
Youtube
J x
© Jane’s Patisserie. All images & content are copyright protected. Do not use my images without prior permission. If you want to republish this recipe, please re-write the recipe in your own words and credit me, or link back to this post for the recipe.