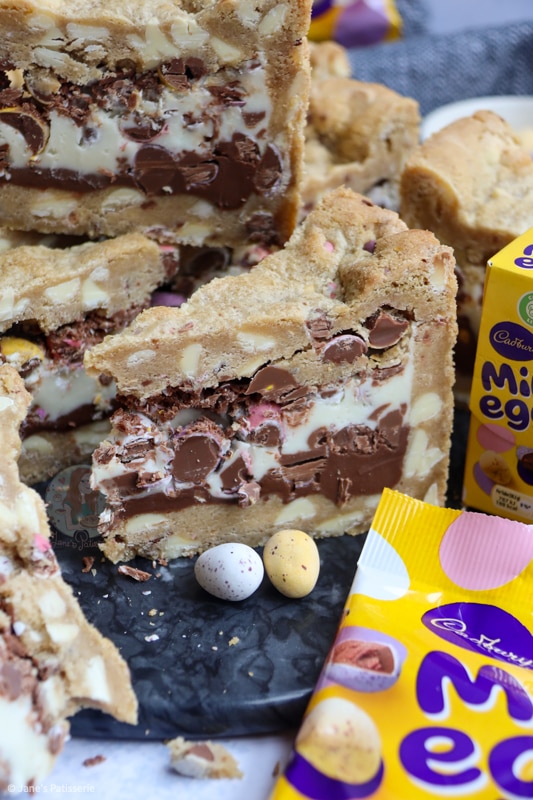
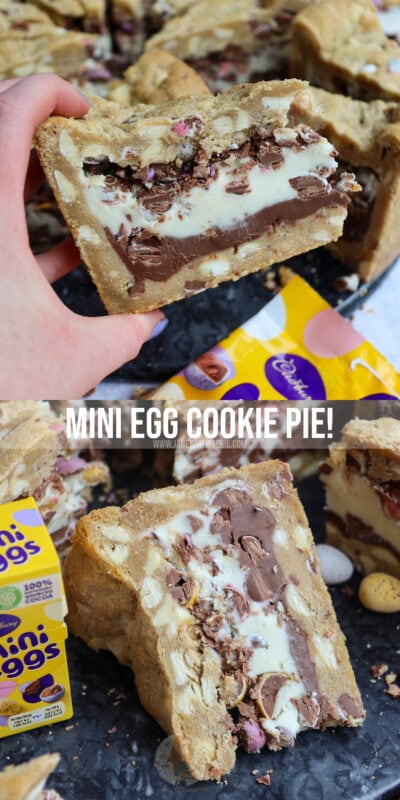
A giant Mini Egg cookie pie with a chocolate chip mini egg cookie dough, white chocolate, and milk chocolate filling with even more Mini Eggs!
Can I just say… this is probably my favourite new recipe ever. A MINI EGG COOKIE PIE?! Oh yes I know, I know I know I know. I have absolutely gone there and posted a mini egg cookie pie, and I hope you are all in love as I am.
Last year I posted my kinder cookie pie, and it was an insane success – we have all seen cookie pies for sale on social media right?! Well, there was no real recipe that I could find that I liked, so I thought I would merge all my cookie love into a recipe.
Cookie pies
Now, however, I wanted to create an easter version – this beautiful mini egg cookie pie. A cookie pie to end all cookie pies, and probably one of the most over-the-top easter recipes that I will probably ever post – but I am totally okay with that, I am here for it.
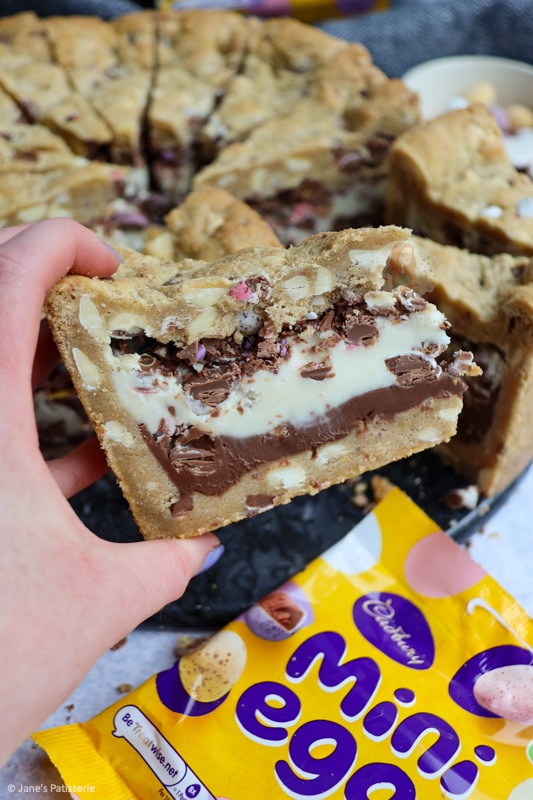
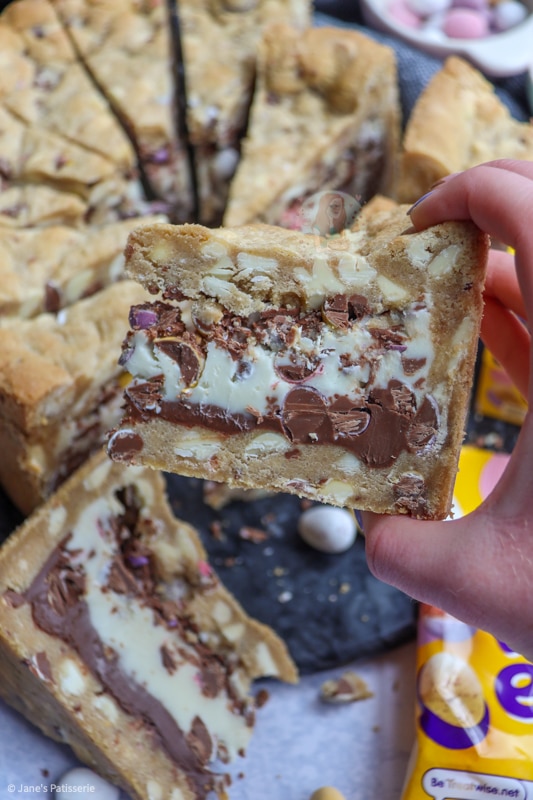
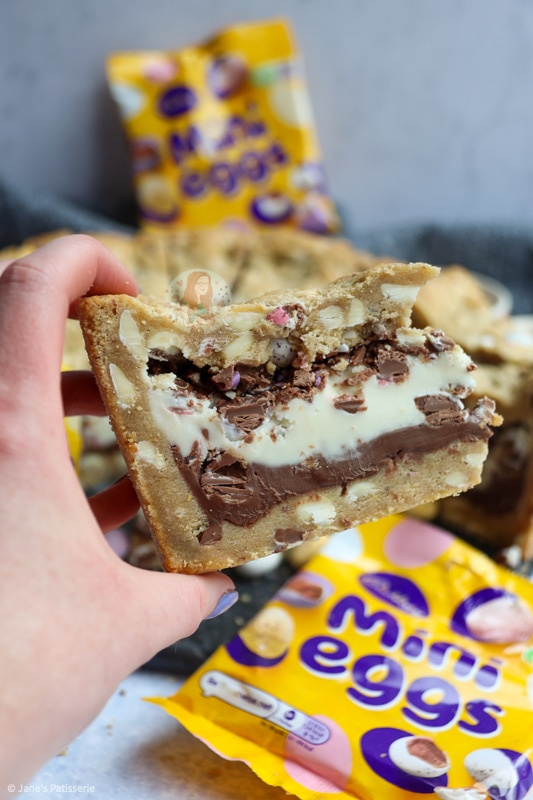
A cookie pie, if you don’t already know or have guessed from the photos… is a pie, with a cookie dough base, sides, and top, stuffed with a chocolate/nut/anything spread – and usually some chocolates as well. It is a bit OTT, but that is the entire point!
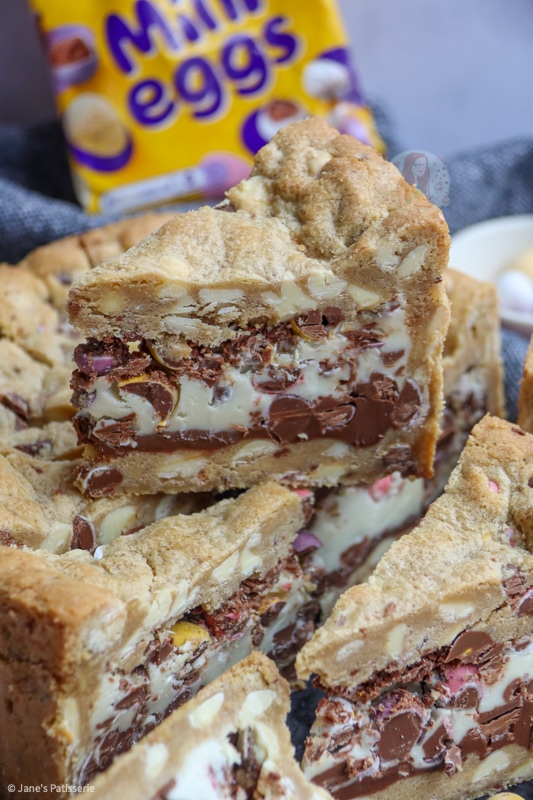
They are a showstopper of a bake that makes a nice alternative to anything cake like for a birthday. I would say they’re a bit more expensive to make, but my gosh… they are worth it. Just look at how glorious it looks in the photos.

Cookie dough
The cookie dough is a very similar version to my NYC cookies, such as my mini egg NYC cookies – and it just works wonders. You need a cookie dough that is relatively ‘dry’ so it is easier to mould and do what you want – and this is by far the best one.
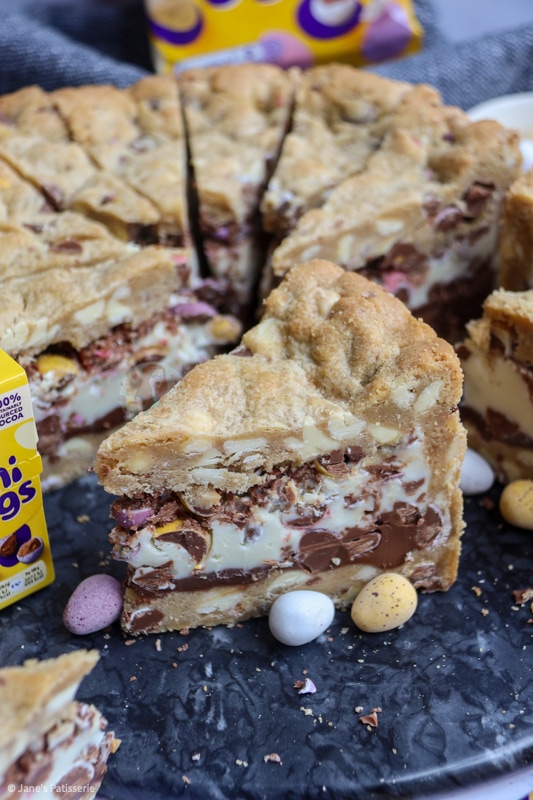
The ratios of ingredients are increased to fit the size of the tin however – as a cookie pie needs to be chunky and huge to get the proper effect in my opinion. The recipe is basically increased by 1.5x so you have enough cookie dough. One-third of the cookie goes on the base, the next third is pressed around the sides, and the final lot is for the top.
- Butter – So to reduce the cost of the bake, you can use a baking spread or a margarine for this cookie dough – but if you prefer, you can still use unsalted butter, they all work well.
- Sugar – As always, I like to use a mix of light brown soft sugar and white granulated sugar for my basic cookie dough. You can use all of one or the other though, you just want the same total weight.
- Egg – Easy standard egg – I tend to use medium eggs in my bakes, but you can use one large egg instead of, along with an egg yolk.
- Vanilla – Optional, but adds a delicious flavour.
- Flour – Always use plain flour in your cookie dough!! You don’t want self raising flour as it will create a cake like cookie. I do also use cornflour as it adds a nice texture, but you can remove it and add 25g more flour.
- Raising agents – For this cookie dough, I use bicarbonate of soda. Bicarb is a classic addition as the raising agent for cookies!
- Salt – If you don’t want to add it, that’s fine – but I adore adding salt to my cookie dough
- Chocolate – obviously, the best bit.

Chocolate Chips
When making this cookie dough I used white chocolate chips and some crushed mini eggs. It’s important to crush the mini eggs as if the chunks are too big they may create gaps in the cookie dough which is definitely not what we are after!
You can of course use a different flavoured chocolate chip if you fancy – I don’t judge. I’ve made these many times using milk chocolate chips, or even all dark chocolate so there was more of a chocolate depth to the cookie dough and it was less sweet.
You can also use other easter themed chocolate, just any hard chocolate will do – you don’t want to use a soft centred chocolate for the cookie dough as it may ruin the shell of the cookie pie!
The filling
For the filling of my mini egg cookie pie I used a mixture of spreads, as I wanted the light colours, I wanted more flavour – and I just love the idea! Half milk chocolate spread, half white chocolate spread – what could possibly be better?!
However, sometimes some chocolate spreads are harder to get hold of compared to others, so you can 100% use whatever spread you want. I often make this with just milk chocolate spread as I also adore it so it really does work wonders.
Assembly
I use this tin when making my cookie pies. I tend to line the base of the tin with a piece of parchment paper, but then I don’t line the sides as you want the cookie dough to stick to the sides.
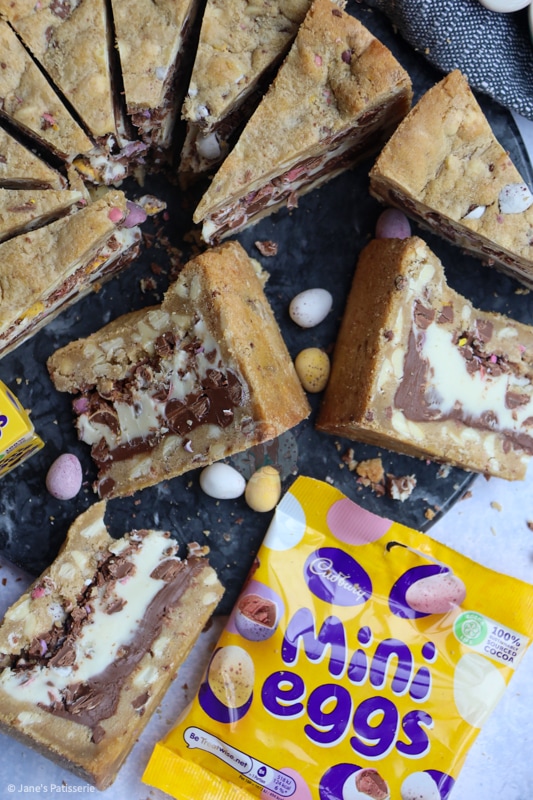
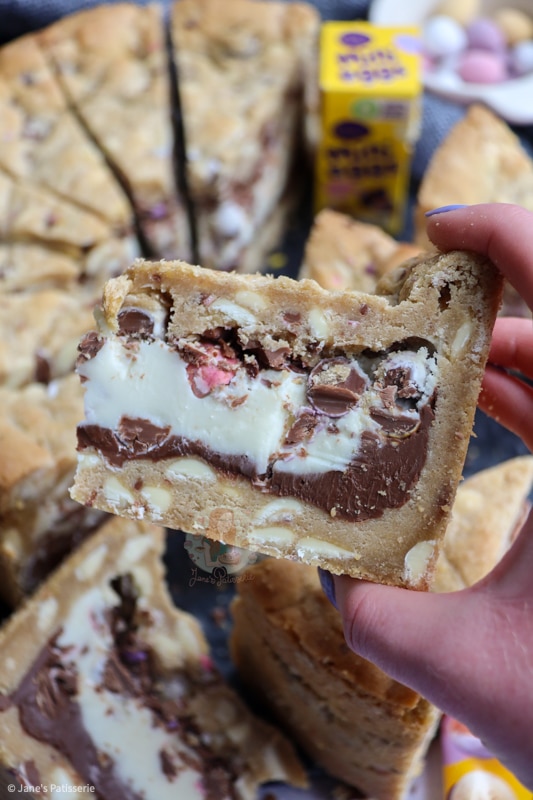
Once you have put the cookie dough around the base of the tin and the sides, I poured in the chocolate spread – covered the layer in mini eggs and crushed mini eggs, and then poured on the white chocolate – it doesn’t matter if it swirls slightly, this just makes it prettier!
This is where I freeze the cookie pie for about an hour – this is to make sure the spread sets somewhat, so you can add the top third of cookie dough without any problems. Once you have added the final third of cookie dough, you do need to freeze for another hour – I know… lots of waiting.

Bake and chill
You have to bake the cookie for what may seem a surprisingly small amount of time, but all you want to do is to bake the cookie dough – it’s quite a thin layer, and only on the edges – after baking, you MUST leave the cookie pie to set. If you don’t all that spread will spill everywhere.
Without a doubt I will chill my cookie pie overnight – slicing it is easier when set, you can enjoy it, and it is utterly scrumptious and amazing – and if you want to have an easter show stopper this year, you should definitely make this Mini Egg cookie pie!
This beautiful recipe lasts 3-4+ days once made, and you can also freeze it before the baking stage and then bake at a later date. Enjoy!
Mini Egg Cookie Pie!
#wprm-recipe-rating-7 .wprm-rating-star.wprm-rating-star-full svg * { fill: #343434; }#wprm-recipe-rating-7 .wprm-rating-star.wprm-rating-star-33 svg * { fill: url(#wprm-recipe-rating-7-33); }#wprm-recipe-rating-7 .wprm-rating-star.wprm-rating-star-50 svg * { fill: url(#wprm-recipe-rating-7-50); }#wprm-recipe-rating-7 .wprm-rating-star.wprm-rating-star-66 svg * { fill: url(#wprm-recipe-rating-7-66); }linearGradient#wprm-recipe-rating-7-33 stop { stop-color: #343434; }linearGradient#wprm-recipe-rating-7-50 stop { stop-color: #343434; }linearGradient#wprm-recipe-rating-7-66 stop { stop-color: #343434; }
Print Pin Rate
Ingredients
Cookie Dough
- 200 g unsalted butter
- 225 g light brown soft sugar
- 100 g white granulated sugar
- 1 medium egg
- 1 egg yolk
- 1 tsp vanilla extract
- 425 g plain flour
- 2 tbsp cornflour
- 1.5 tsp bicarbonate of soda
- 1/2 tsp sea salt
- 200 g white chocolate chips
- 200 g mini eggs (crushed)
Filling
- 375 g white chocolate spread
- 375 g milk chocolate spread
- 300 g mini eggs (crushed)
- 100 g mini eggs chocolate bar (optional)
Instructions
-
Add the unsalted butter, light brown soft sugar and white granulated sugar to a bowl and beat together until creamy – I use my stand mixer with the beater attachment.
-
Add in the egg, egg yolk, and vanilla extract and beat again.
-
Add in the plain flour, cornflour, bicarbonate of soda, and salt and beat until a thick cookie dough is formed!
-
Add in the white chocolate chips and crushed mini eggs and beat the cookie dough again until distributed well!
-
Split the cookie dough into three equal portions (about 475g each).
-
Line the bottom of a 8″ springform cake tin (at least 2.75″ in depth).
-
Press the first third of cookie dough onto the bottom of the cake tin.
-
Press the second third of cookie dough around the sides of the cake tin evenly.
-
Melt the milk chocolate spread for 20 seconds in the microave to loosen slightly or mix in a bowl briefly to loosen. Pour into the cake tin inside the cookie dough case!
-
Sprinkle on half of the crushed mini eggs and mini egg chocolate bar for the filling
-
Melt the white chocolate spread for 20 seconds in the microave to loosen slightly or mix in a bowl briefly to loosen. Pour on the rest of the chocolate.
-
Freeze the pie at this stage for an hour.
-
Once frozen, cover the top of the pie with the final third of cookie dough, making sure to seal it well!
-
Freeze the pie for another hour whilst you preheat the oven to 200°c for a regular oven, or 180°c for a fan oven like me.
-
Once chilled and the oven preheated, bake the pie for 30 minutes until the pie is lovely and golden on top. Leave to cool outside of the oven for an hour and do NOT remove from the tin.
-
Once cooled for an hour, put the pie in the fridge and chill for 5-6 hours (or preferably overnight!)
-
Once it has been chilled, carefully remove from the tin!
-
Using a large and sharp knife, portion the pie!
-
ENJOY!
Notes
- I buy my white chocolate spread here
- If your oven runs hot you will want to reduce the temp slightly by 10°c so the pie doesn’t burn.
- If you want to reduce costs you can reduce the spread to 500g worth, but its will be shallower!
- If you don’t want to use cornflour you need to replace it with 50g more plain flour.
- This cookie pie lasts 3-4+ days (best kept in the fridge!).
- I Used
ENJOY!
Find my other recipes on my Recipes Page!
You can find me on:
Instagram
Facebook
Pinterest
Twitter
Youtube
J x
© Jane’s Patisserie. All images & content are copyright protected. Do not use my images without prior permission. If you want to republish this recipe, please re-write the recipe in your own words and credit me, or link back to this post for the recipe.