Easy & Delicious Rocky Road Fudge – No Sugar Thermometers, No Boiling, just quick and easy and full of your favourite Rocky Road treats!

So, I went to Cornwall last week and nearly ate my weight in fudge. So. Much. Fudge. Don’t get me wrong, I ate a lot of other deliciously tasty and amazing food such as burgers, milkshakes and pasties (you can tell it was a fun week) but one of my main obsessions when it comes to going to Cornwall is fudge.
As I have been there for three years in a row now I have tried all the fudge shops and found my favourite shops and flavours but this year I found some rocky road fudge and simply HAD to make my own recipe for it.

Rocky Road Fudge
Obviously, the rocky road fudge that I bought in Cornwall was properly made and different to this – but this is my almost ‘cheat fudge’ you could say as it is so much easier to make and is accessible to anyone as you don’t need a sugar thermometer to make it, and there’s no intense boiling or anything scary with this.
After posting my recipes for my Honeycomb Crunchie Fudge, Biscoff Fudge, Malteser Fudge and Terry’s Chocolate Orange Fudge, they are aaaall such a massive success! I’m not surprised really if I am honest as I utterly adore the recipes and have made them many times myself.
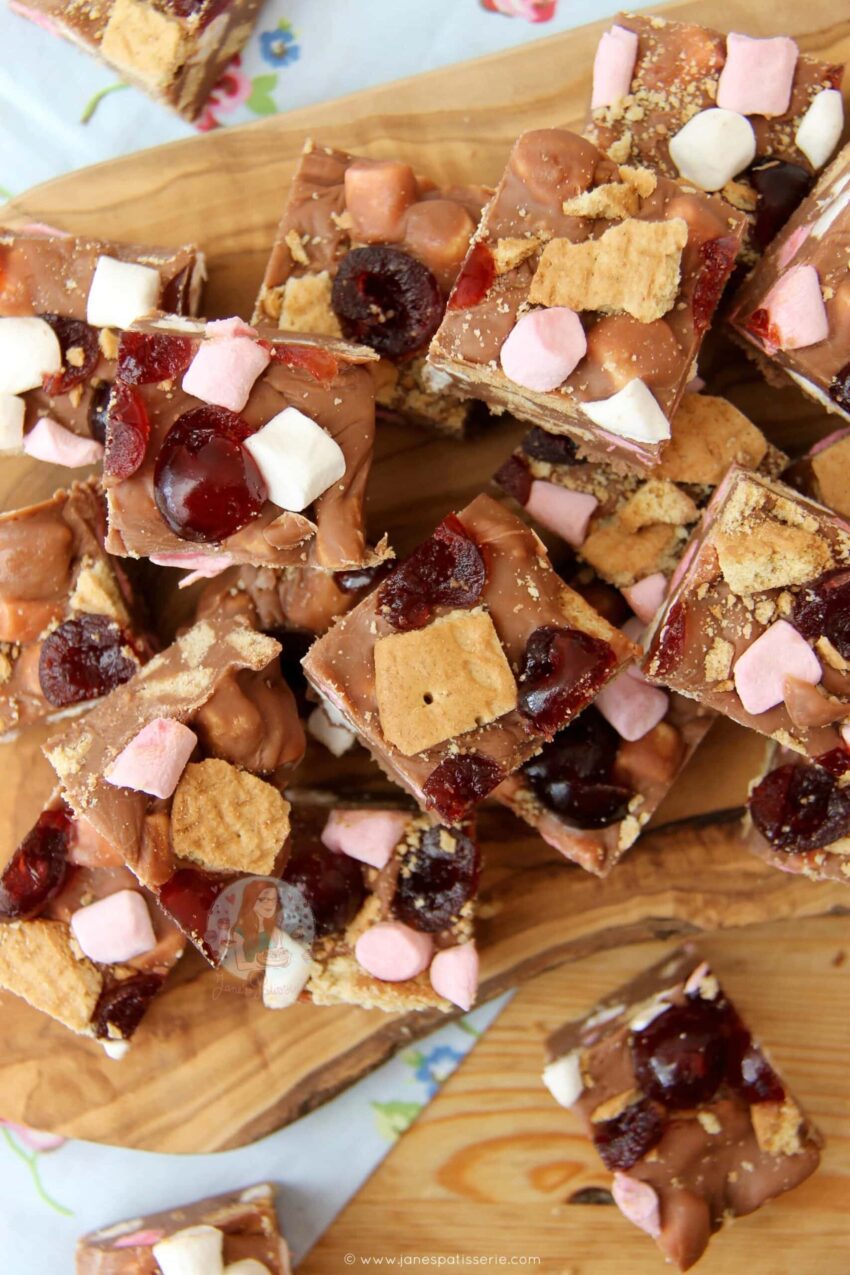
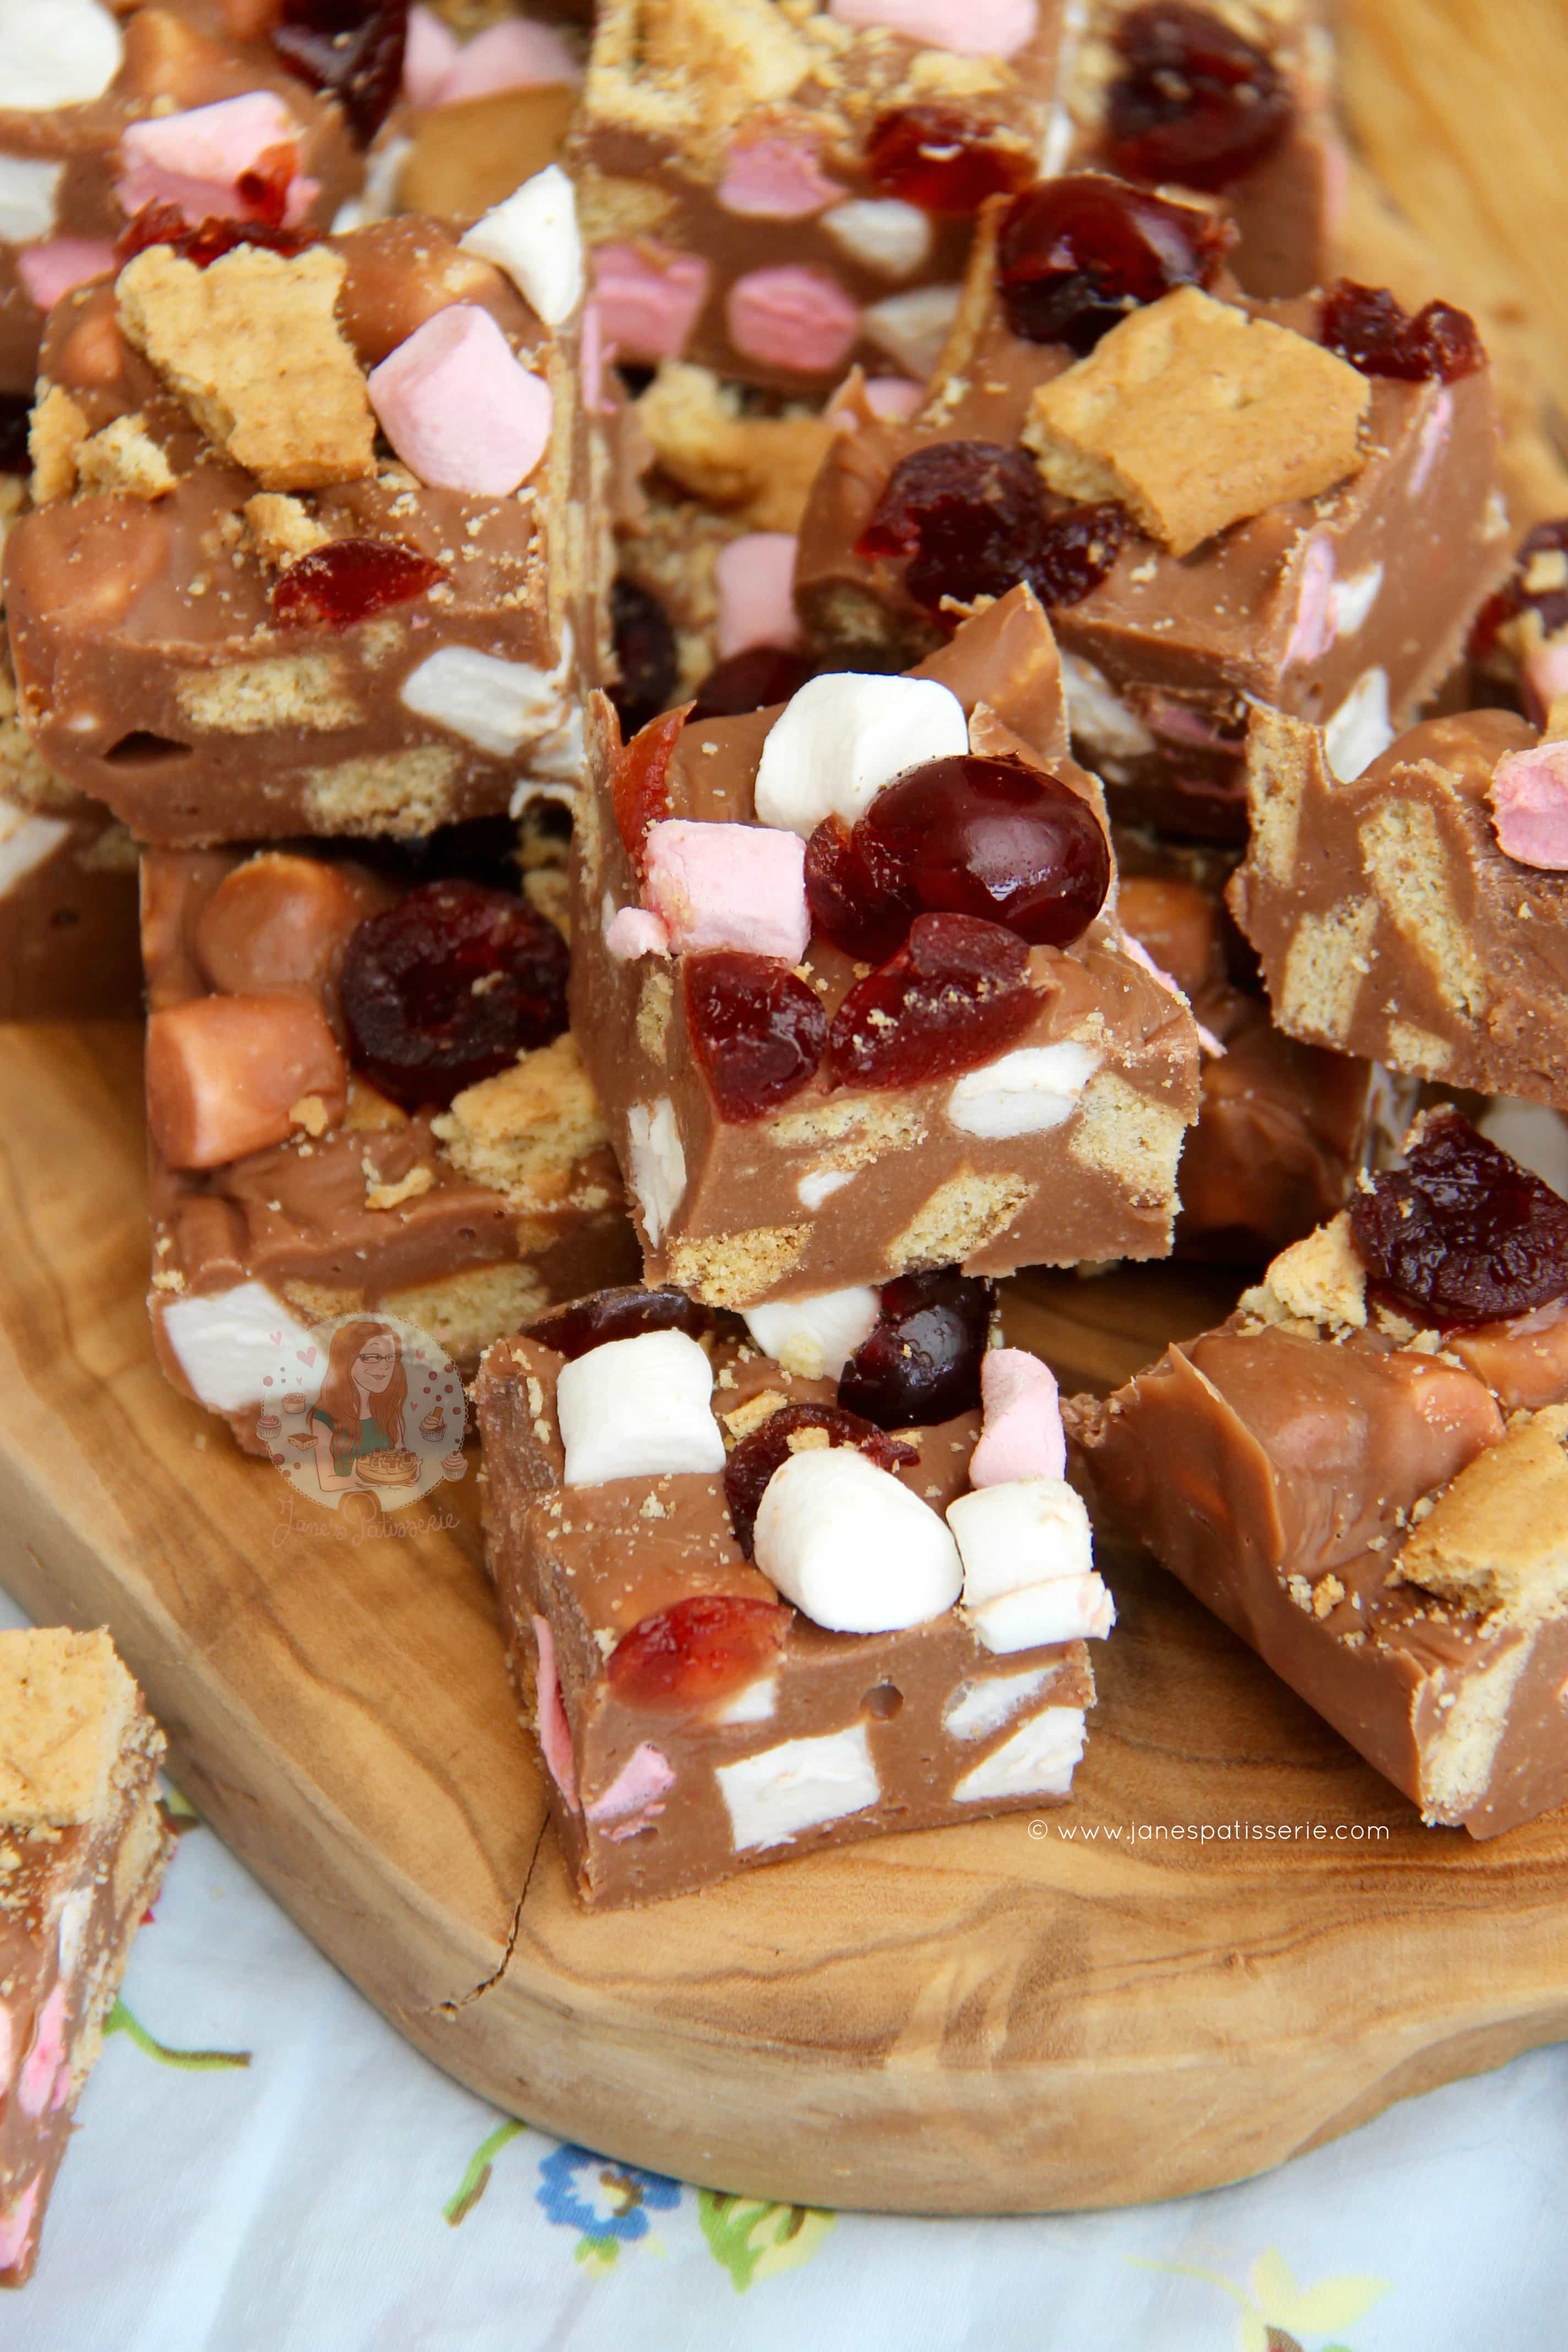
My Rocky Road recipe features all things delicious such as marshmallows, biscuits and chocolate and my No-Bake Rocky Road Cheesecake even has glacé cherries so I thought I would mash up all my favourite rocky road bits and add them to my fudge recipe!
The recipe itself is the same as my Honeycomb Crunchie Fudge. This type of fudge is so successful as a ‘cheat’ easy fudge recipe because all it requires is chocolate, a whole tin of condensed milk (normal), a dab of butter, some optional vanilla, and then the icing sugar to strengthen and stabilise the recipe once everything else is combined.
This sort of recipe wouldn’t work without the icing sugar even though it does make it sweeter – its more to give it structure than anything else, so if you want it to be less sweet I recommend using dark chocolate instead of milk!
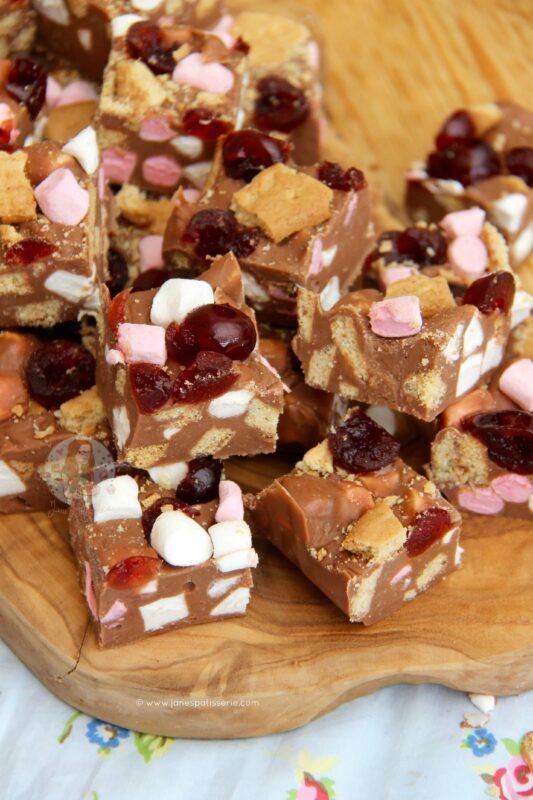
Seriously though, what could be better than a chocolatey, easy to make, fudge – full of rocky road goodness?! So easy to make, so simple and yet so delicious. Enjoy!

Rocky Road Fudge!
Print Pin Rate
Ingredients
- 395 g condensed milk
- 400 g milk chocolate chopped
- 25 g unsalted butter
- 1 tsp vanilla bean extract
- 125 g icing sugar sifted
- 125 g mini marshmallows
- 125 g biscuits chopped
- 100 g glacé cherries chopped
- 100 g Crunchie bars chopped
Instructions
-
Line a tin with parchment paper – I use a 9×9″ square tin as it makes a nice depth of fudge!
-
Put the chopped milk chocolate into a heavy based pan, along with all of the condensed milk, vanilla extract, and unsalted butter.
-
Melt on a low heat, stiring often so that the chocolate doesn’t catch on the bottom and burn, and so that all the ingredients mix together well – this should only take a couple of minutes.
-
Once melted, tip in the sifted icing sugar and combine well, it might take a bit of beating, but its worth it! (It needs to be sifted otherwise you’ll get little lumps of sugar!)
-
Once cooled pour in the crunchies, most of the marshmallows and biscuits, (reserving some for the top) and stir through thoroughly.
-
Pour this mixture into the tin and smooth over.
-
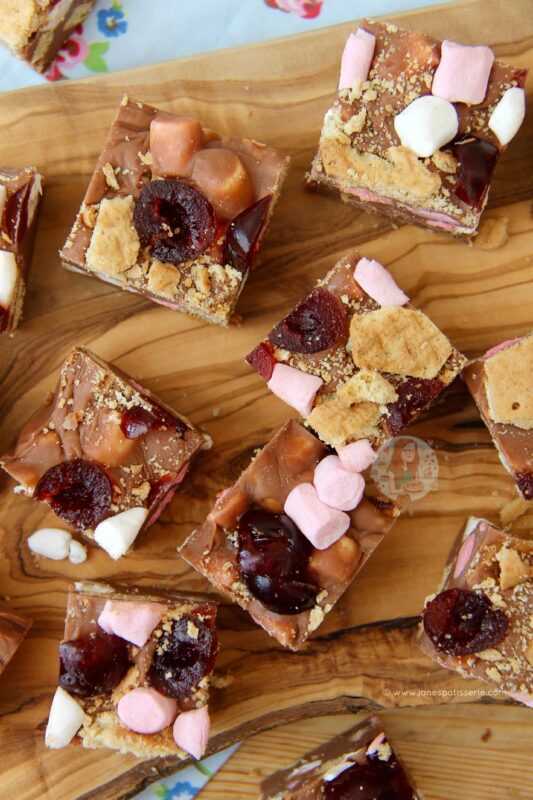
Sprinkle on the rest of the chopped bits of biscuit, the other marshmallows and the glacé cherries and press into the top of the fudge.
-
Store in the fridge for at least 3-4 hours to set.
-
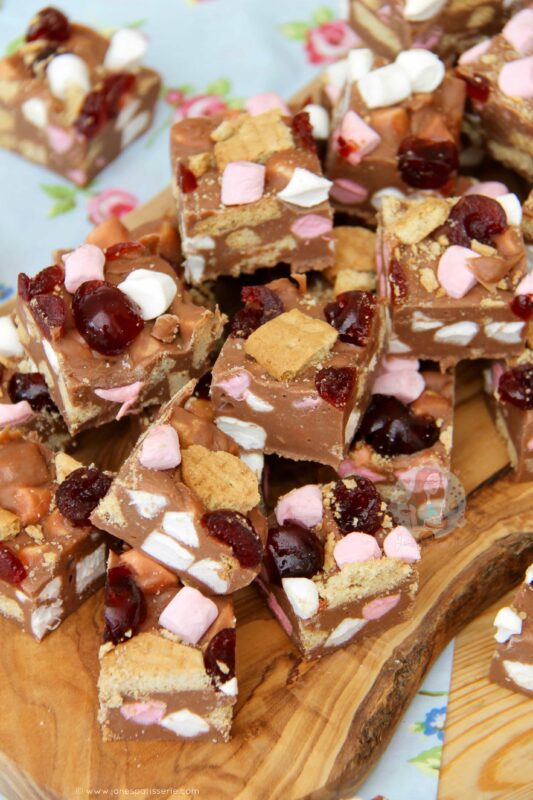
Once set, remove from the tin and cut into the squares (I cut my 9×9″ square tray into 6×6 cuts so get 36 bits of fudge!). Return to the fridge for another couple of hours to finish setting! Enjoy!
Notes
- This recipe will last better in the fridge for up to 2-3 weeks, or in the freezer for up to 3 months if it manages to last that long!
- You can also easily half or double the recipe, the setting times will just change slightly!
- All of the bits I put inside my fudge are entirely optional – but these are the perfect amounts of everything for me!
- I only put the glacé cherries on top of my fudge as I don’t like using too many personally and I think they look nice on top – but you can just whack in all the ingredients and not bother with topping (which is what I do when I am not taking photos!)
ENJOY!
Find my other recipes on my Recipes Page!
You can find me on:
Instagram
Facebook
Pinterest
Twitter
Youtube
J x
© Jane’s Patisserie. All images & content are copyright protected. Do not use my images without prior permission. If you want to republish this recipe, please re-write the recipe in your own words and credit me, or link back to this post for the recipe


