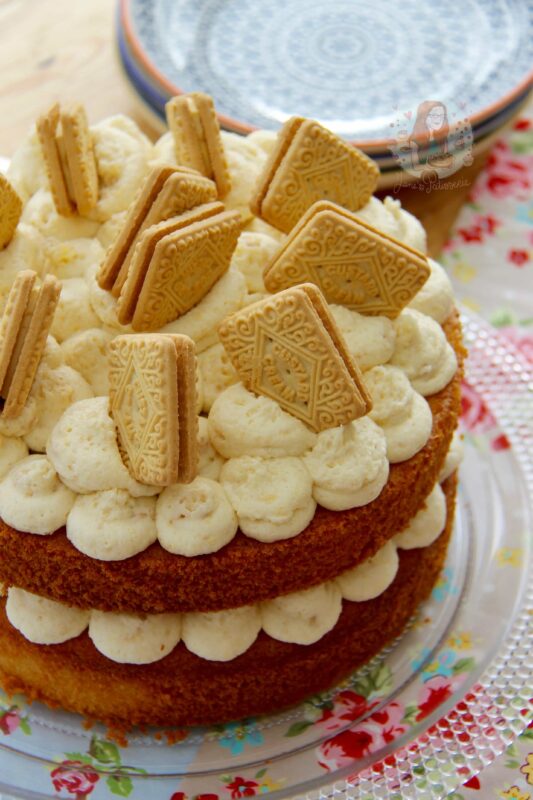
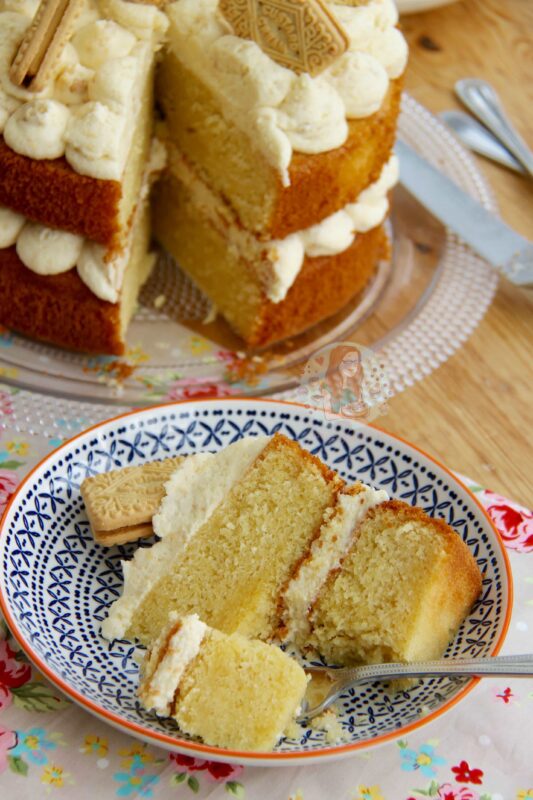
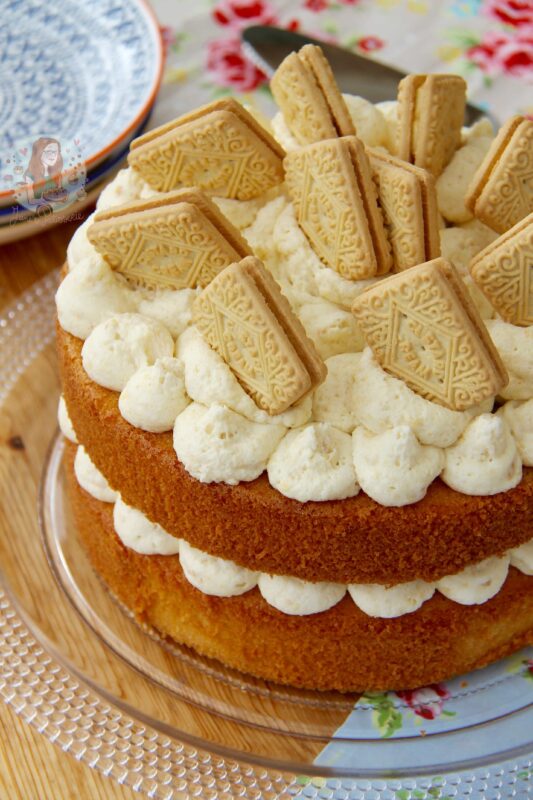
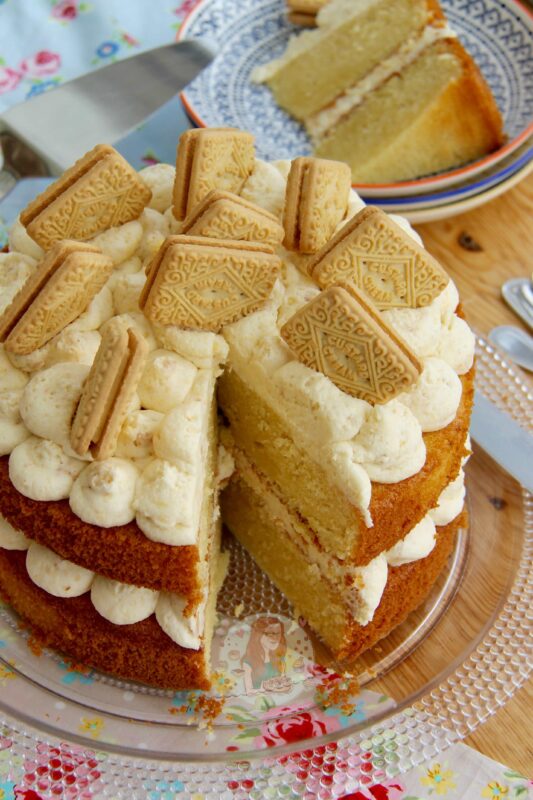
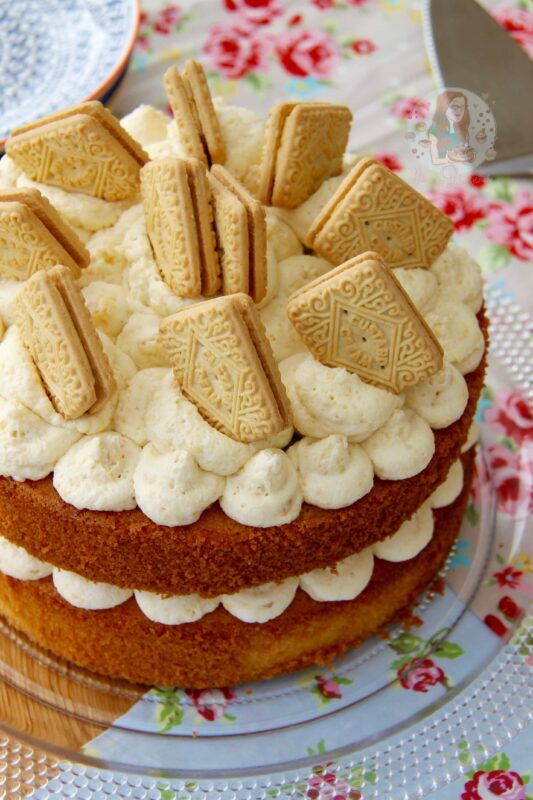
Delicious & moist 2-layer Custard Flavoured Cake, Filled & Topped with Custard Cream Buttercream Frosting! Heaven!
Way back in 2015 I posted my recipe for my Custard Cream Cupcakes and they have always been a massive hit when I share them on my social media pages. I’ve always had requests for a cake version of it, and after Foodie Flavours sent me over some flavours to review, including a custard one, I knew it was time!
I was heavily inspired by my Custard Cream Cupcakes, Custard Cream Cheesecake, my Custard Cream Blondies and Coffee Cake recipes when creating this one. I used the similar amounts from my Coffee Cake so that I knew the layer cake would be big enough, and then of course removing the coffee, and adding a tonne of custard inspired deliciousness.
The theory behind the frosting is that its very similar to Oreo Frosting where you just simply add in some crushed biscuits to create a slightly textured frosting that has a hint of the flavour – and it was delicious. I also added in some of the Foodie Flavours Custard Flavouring to give it that extra little hint and it was delicious.
Foodie Flavours – I have always been after some delicious flavourings that are suitable for all people such as Coeliacs, Vegans etc and the flavourings are delicious.
They come in little bottles with a cute bit simple packaging and there are SO MANY FLAVOURS to choose from, andI was luckily sent a few to review, and so far, they all score 5/5 for deliciousness!
I was a little dubious at first because I was trying to see how the flavouring would be able to come through after baking, and on the website there is a little note saying “For the best results, dilute into a key wet ingredient such as water, milk or egg.” so I went with this (Hence adding it to the egg & milk in the method + recipes!) and it worked much better than my first attempt!
Alternatively you could use vanilla bean essence instead of the custard flavouring OR like my Custard Cream Cupcakes, only add in 360g of Self-Raising Flour, but add in 100g of Bird’s Custard Powder to the mixture in step 2 when you add the flour. This will also give it a nice flavouring!
You don’t have to use the custard flavouring if you can’t get access to it, but I do recommend Foodie Flavours in general if you are after high quality flavourings for all baking! (Tips on how to achieve a equally as delicious cake without the flavouring are included!) – But anyway, enjoy this recipe! Let me know how you get on!
Custard Cream Cake
Print Pin Rate
Ingredients
Cake
- 400 g unsalted butter (softened)
- 400 g caster sugar
- 8 medium eggs
- 1 tsp Foodie Flavours’ Custard Flavouring
- 400 g self rising flour
- 1 tsp baking powder
- 3-4 tbsp whole milk
Custard Cream Buttercream Frosting and Decoration
- 200 g unsalted butter (softened)
- 400 g icing sugar
- 8 custard creams (crushed)
- 1/2 tsp Foodie Flavours’ Custard Flavouring
- 2-4 tbsp whole milk
- extra custard creams
Instructions
Cake
-
Heat the oven to 170ºC/150ºC fan and line two deep 20cm/8inch sandwich cake tins with baking parchment, then leave to the side.
-
Beat together the unsalted butter and caster sugar until light and fluffy.
-
In a separate bowl add the 8 eggs add the custard flavouring and beat briefly.
-
Pour into the unsalted butter mixture, add the self raising flour and baking powder and beat again briefly until combined. (try not to overbeat!)
-
Loosen the mixture slightly with the whole milk a spoonful at a time until it’s like a thick gooey cake batter.
-
Divide the mixture between the two tins and smooth it over.
-
Bake for 45-55 minutes until the cake is golden and when the cake springs back (a skewer should also come out clean) (The cake can take longer/shorter time depending on the oven so check after 40 minutes!)
-
Once baked, leave the cake to cool in the tin for 10 minutes, and then remove and leave to cool fully on a wire rack.
Custard Cream Buttercream Frosting
-
In a stand mixer, beat the unsalted butter with an electric mixer until it is smooth and loose and then beat in the icing sugar 1/3 at a time until its fully combined.
-
Keep beating the buttercream for 3-4 minutes on a medium speed so it starts to get fluffier and lighter.
-
Add the custard flavouring to the whole milk and add it gradually into the buttercream whilst the buttercream is being beaten.
-
Once all in, beat again for another couple of minutes until its silky smooth and fluffy, and fold through the crushed custard creams. (like you would for Oreo frosting!)
-
With the first layer of the cake, spread/pipe half of the buttercream onto to top of the first layer, add the second cake on top, and then top again with the rest of the buttercream.
-
Add a few more delicious custard creams and enjoy!
Notes
- I used the Foodie Flavouring Custard Flavours as I was sent a few to review as stated above – alternatively you could use vanilla extract instead of the custard flavouring OR like my Custard Cream Cupcakes, only add in 360g of Self-Raising Flour, but add in 100g of Birds’ Custard Powder to the mixture in step 2 when you add the flour. This will also give it a nice flavouring!
- This cake will last in an airtight container for 3 days!
- I also used a closed a 1cm round nozzle to decorate my cake as I like the look it gives and the custard cream bits meant trying to pipe with a narrow nozzle means it might get stuck! – but slathering on the buttercream is also a delicious option!
ENJOY!
Find my other recipes on my Recipes Page!
You can find me on:
Instagram
Facebook
Pinterest
Twitter
Youtube
J x
© Jane’s Patisserie. All images & content are copyright protected. Do not use my images without prior permission. If you want to republish this recipe, please re-write the recipe in your own words and credit me, or link back to this post for the recipe.