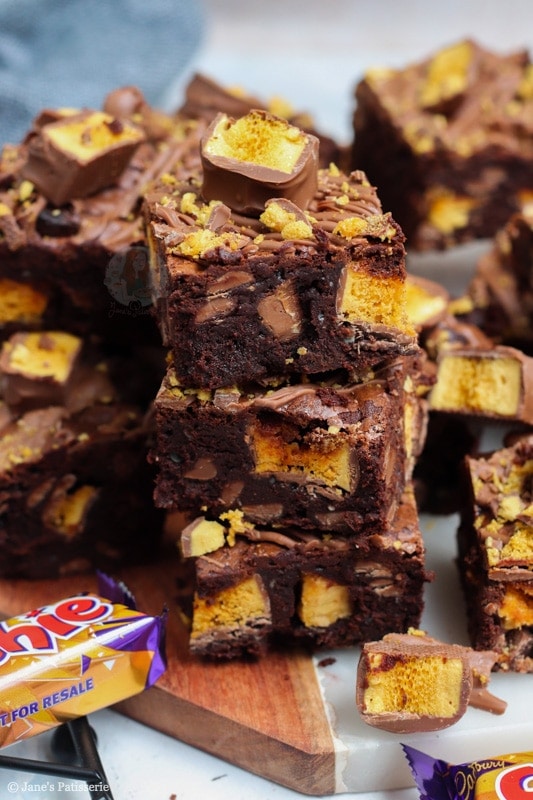
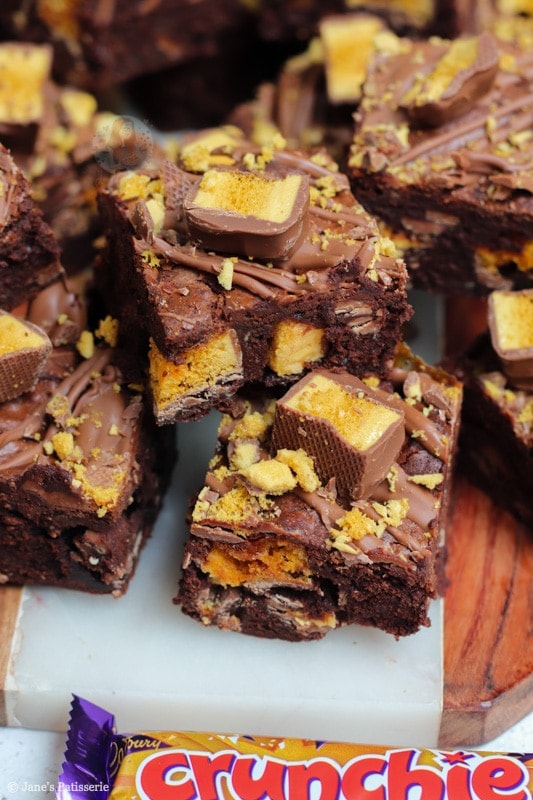
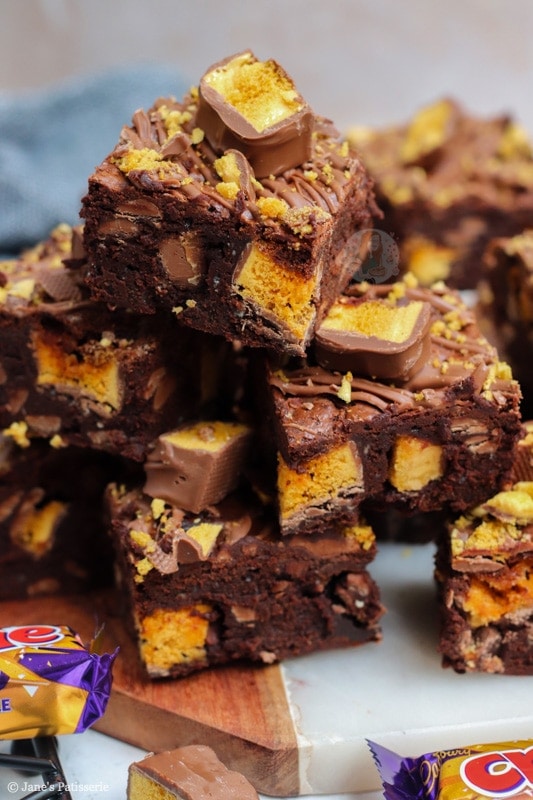
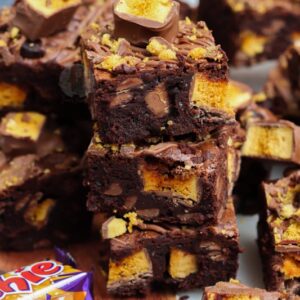
Easy and delicious super chocolatey honeycomb Crunchie brownies, stuffed with chocolate chips and Cadbury’s honeycomb Crunchie pieces!

Crunchie brownies
So when I do recipe request posts on my social media channels, I always get lots and lots of them. This is expected, and I love doing it because my list of recipes to do is really really long, and I need that! I always love new inspiration. But recently… Crunchie brownies were 100% the top of the list.
Conveniently I had already baked these several times, so I just thought I would publish the post a bit quicker than I planned because when you guys want a recipe, I want to give it to you!! I love anything to do with honeycomb as well, so this was perfect.
Honeycomb
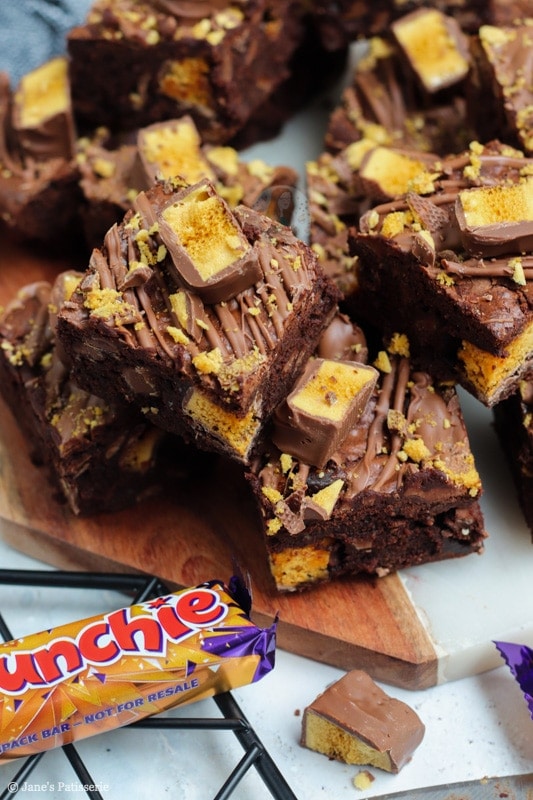
Honeycomb is a light and airy sweet typically made from sugar, golden syrup (or honey) and bicarbonate of soda. It is very quick and easy to make, but also it’s very quick to buy from the shops… hello Cadbury’s Crunchie bars.
I would say that honeycomb itself is a bit of a controversial sweet in the same way that marmite can divide people. I personally love honeycomb, and I do love it when it’s covered in chocolate even more! That means, mixing it into brownies is the perfect combination.
Honeycomb can be used in many different recipes such as a No-Bake Honeycomb Crunchie Cheesecake, or even a Crunchie Tiffin recipe like I have – but sometimes when you bake with it, it can change! I found that to make it work in the recipe, I needed to freeze the crunchies first.
Freezing Crunchie pieces
It can last sometimes without freezing, but often brownies can take an absolute age to bake – and if the crunchies are in too long they will start to dissolve. If you don’t want to risk this, I would just top the brownies with Crunchie instead! However, if you don’t mind it like me… carry on!
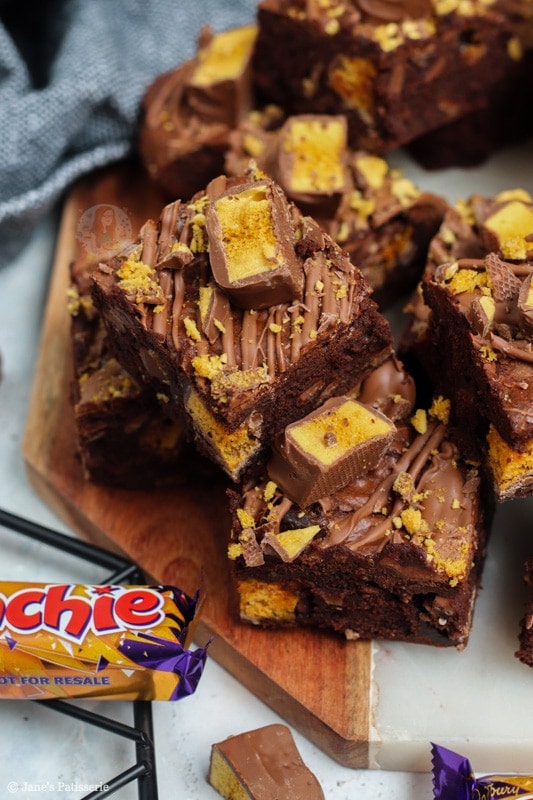
You also need to make sure that the honeycomb bars are chopped into large enough pieces. I usually use the 32g crunchie bars, and chop them into 5 or 6 pieces – but no smaller. You want the pieces to be about an inch in width so that they do not dissolve into nothing in the oven! Although, if they do, it usually just makes a nice chewy caramel texture.
Brownie
For the base brownie, I used the same base like my other brownies such as the Raspberry Brownies and Mars Bar Brownies that have always been a hit on my blog – as why change something that works right?! But honestly – I love it. The key is to stick to the ingredients (I’m looking at you dark chocolate haters) and mix CAREFULLY.

Make sure the eggs and sugar are whipped up nice and moussey – make sure to carefully fold in the dark chocolate butter mix, and the flour and cocoa powder. Carefully add in the other ingredients, and bake.
Bake
I have a fan oven, so just use any shelf, but generally, the middle is best (unless your oven is a lil’ weird). If you find your brownies do take longer – it can be a few things. Usually, it’s the oven itself not being the right temperature, but there is always a fix. Add some foil, and bake for longer!
If you find the centre of your brownies really is raw once they have cooled, don’t put them back in the oven. You can take out the ‘raw’ mix and microwave it to make sure it’s safe to eat if you are not sure, but generally, it’s fine.
Tips!
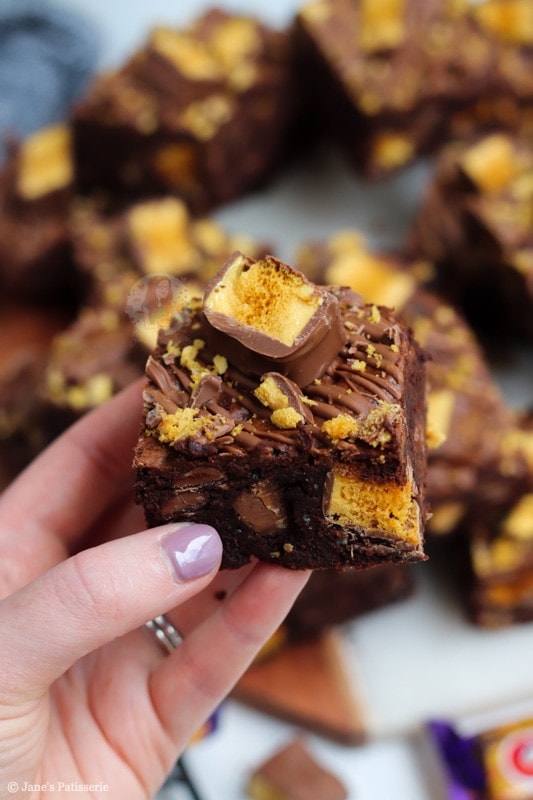
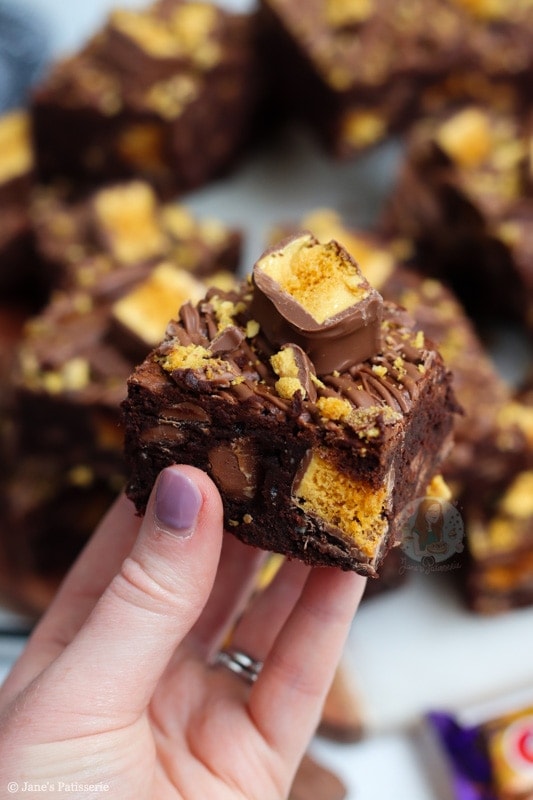
I find the best time to take out brownies is an ever so slight wobble, and then to ‘set’ the brownies in the fridge once cooled for a few hours. I don’t really trust the skewer test, as they have chocolate in them they may always have something on the stick, but it definitely should be covered in the batter!
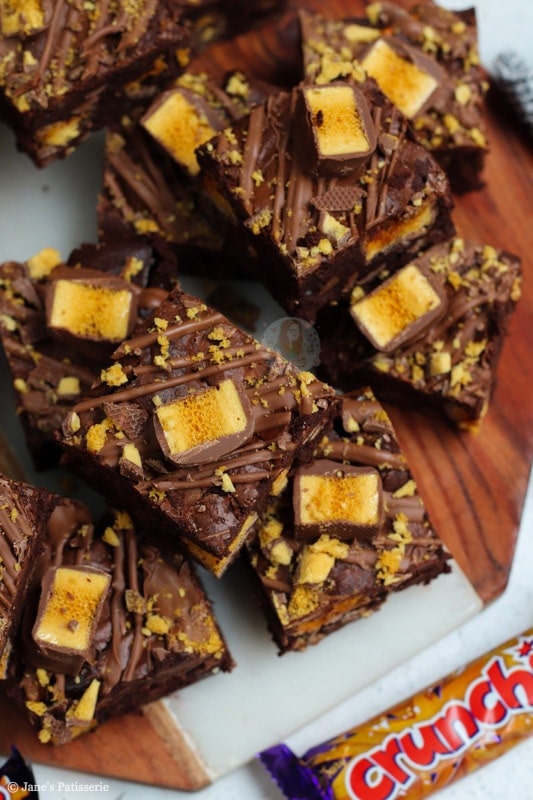
Finishing touches
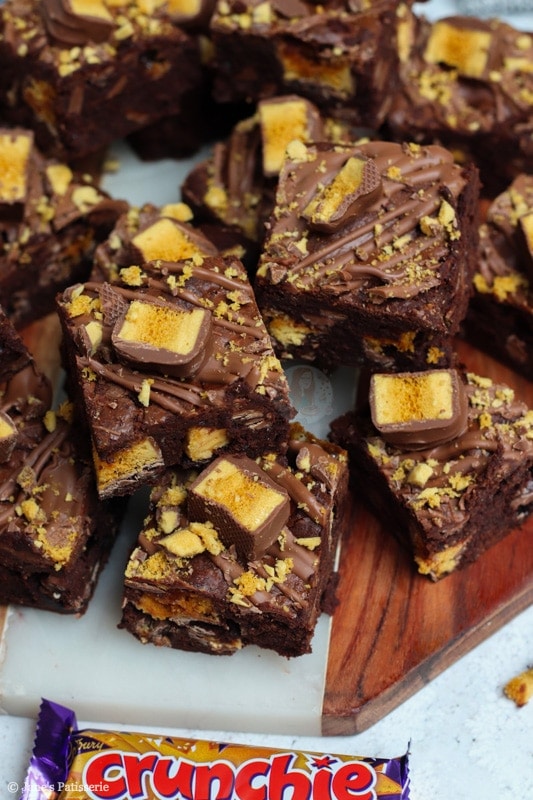
The fridge creates the best fudgey texture that you can find brownies get in coffee shops etc – it makes it amazing. Also, topping your brownies with even more delicious goodness from some more Crunchie stuff, and even some Crunchie spread (sorry if you aren’t in the UK, it’s an amazing thing) and then it’s done!
You can definitely use homemade honeycomb if you want to, or a different type of honeycomb compared to Cadbury’s – just stick to the recipe in freezing them and don’t chop the pieces too small! You’ll love them as much as I do. Enjoy! x
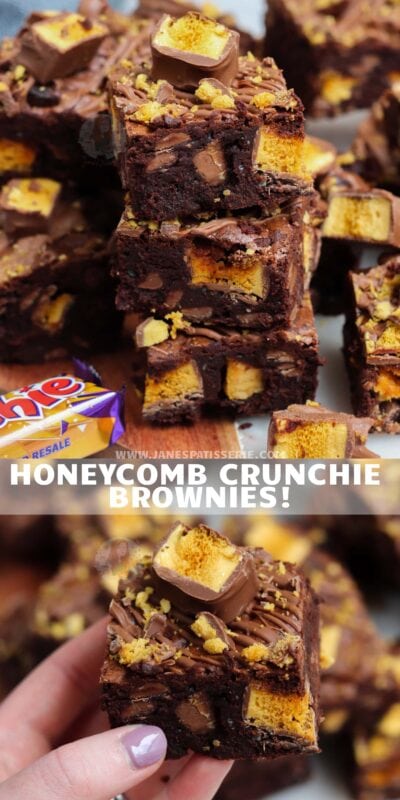
Honeycomb Crunchie Brownies!
#wprm-recipe-rating-4 .wprm-rating-star.wprm-rating-star-full svg * { fill: #343434; }#wprm-recipe-rating-4 .wprm-rating-star.wprm-rating-star-33 svg * { fill: url(#wprm-recipe-rating-4-33); }#wprm-recipe-rating-4 .wprm-rating-star.wprm-rating-star-50 svg * { fill: url(#wprm-recipe-rating-4-50); }#wprm-recipe-rating-4 .wprm-rating-star.wprm-rating-star-66 svg * { fill: url(#wprm-recipe-rating-4-66); }linearGradient#wprm-recipe-rating-4-33 stop { stop-color: #343434; }linearGradient#wprm-recipe-rating-4-50 stop { stop-color: #343434; }linearGradient#wprm-recipe-rating-4-66 stop { stop-color: #343434; }
Print Pin Rate
Ingredients
Brownies
- 200 g dark chocolate
- 200 g unsalted butter
- 3 large eggs (or 4 medium)
- 275 g light brown sugar
- 100 g plain flour
- 50 g cocoa powder
- 200 g honeycomb Crunchie bars (chopped into 1″ pieces & frozen)
- 100 g milk chocolate chips (optional)
Optional Decoration
- 50 g milk chocolate Melted
- 2-3 honeycomb Crunchie bars (chopped)
Instructions
-
Preheat your oven to 180C/160C fan and line a 9×9″ baking tin with parchment paper!
-
Melt together your dark chocolate and unsalted butter until smooth in the microwave or in a bowl over a pan of simmering water. Leave to cool for a few minutes
-
Using an electric whisk/stand mixer, whisk your eggs and sugar together for 5 minutes or so on high speed, or until the mixture has doubled in volume, is alot paler, and leaves a trail for a few seconds when you lift the whisk out.
-
Pour in the chocolate/butter mix and fold through very carefully.
-
Add in the flour and cocoa powder and fold through carefully again.
-
Add in your frozen chunks of Crunchie and chocolate chips and fold in. Pour the mixture into the tin!
-
Bake in the oven for 25-30+ minutes. Sometimes it can take longer.
-
Leave to cool in the tin!
-
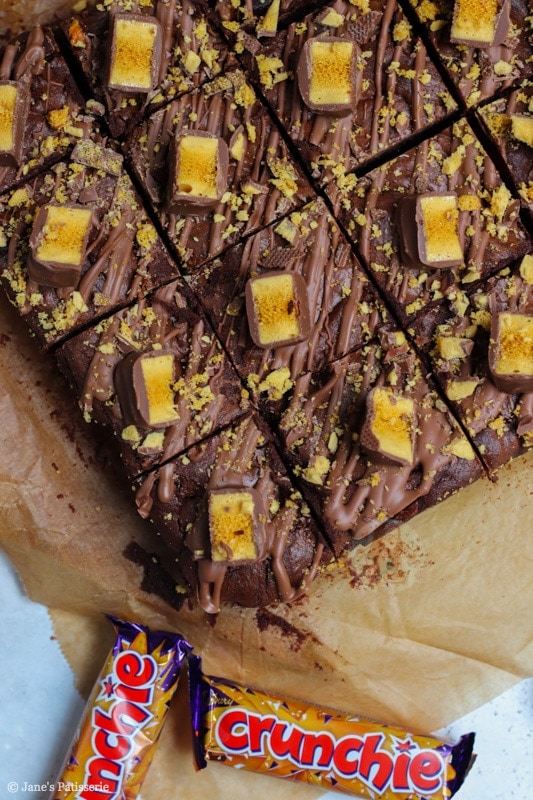
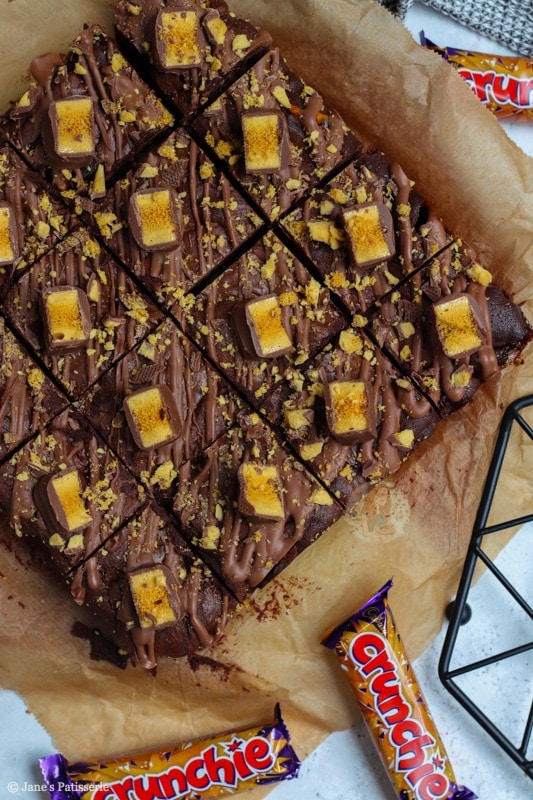
To decorate your brownies if you fancy it… melt your chocolate and drizzle over the brownies, and add pieces of Crunchie to each one!
-
Then, if you want, put them in the fridge for a couple of hours to help ‘set’ them, and then enjoy!
Notes
- Please try and freeze the Crunchie first as it’ll work so much better! Freeze them for about 2 hours. It is not essential though.
- Make sure the honeycomb crunchie pieces are at least 1″ in size so they don’t dissolve too much.
- These will last for one week+!
- You can use caster sugar instead of the brown sugar!
- If your brownies are taking much longer than stated to bake, your oven may have been the wrong temperature, or you overmixed your batter. Keep adding on 5 minutes till they’re done and cover with foil if need be!
- You can add in dollops of Crunchie spread if you want as well! About 150g maximum.
- The honeycomb will dissolve slightly through time so these are best served fresh.
ENJOY!
Find my other Recipes on my Recipes Page!
You can find me on:
Instagram
Facebook
Pinterest
Twitter
Youtube
J x
© Jane’s Patisserie. All images & content are copyright protected. Do not use my images without prior permission. If you want to republish this recipe, please re-write the recipe in your own words and credit me, or link back to this post for the recipe.