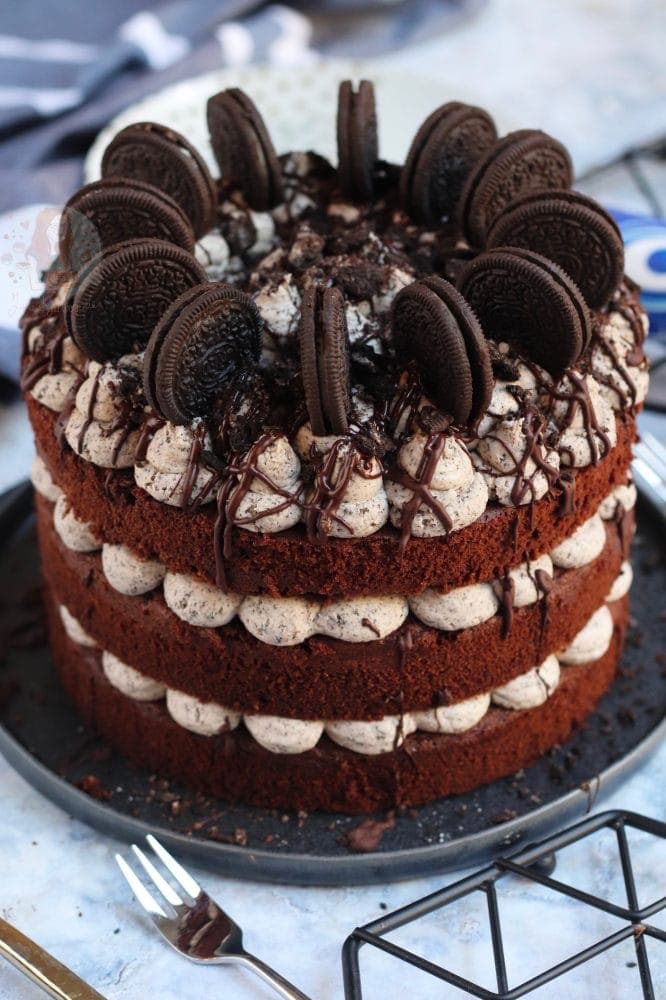
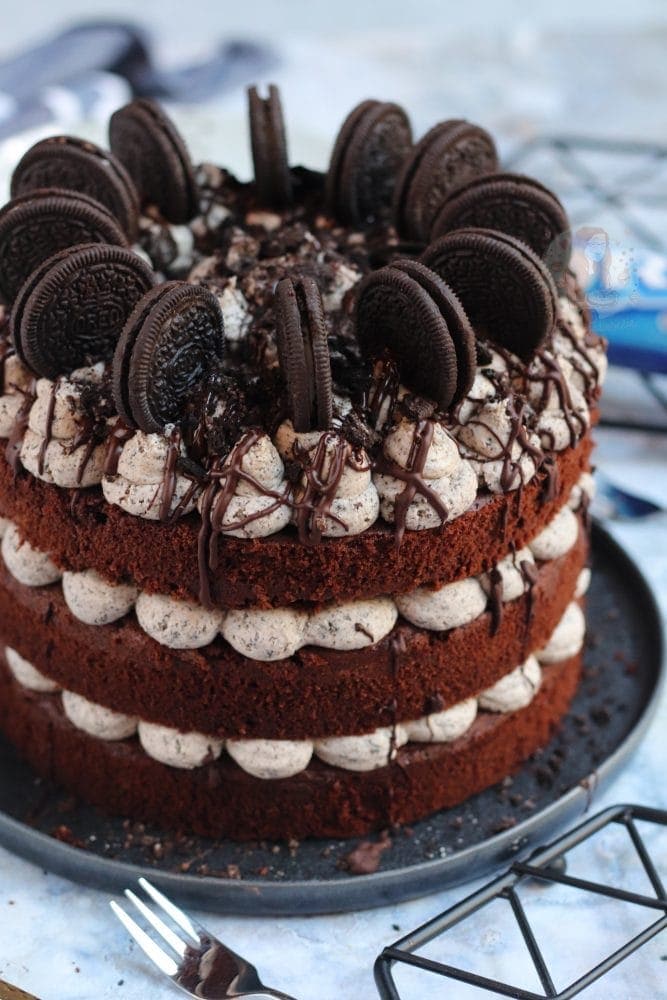
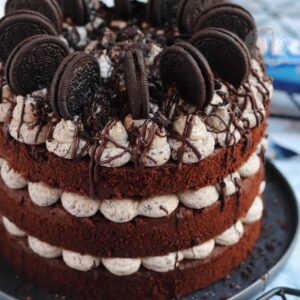
A three layer Oreo cake spectacular with chocolate sponges, Oreo buttercream frosting, and even more Oreos on top!

Oreos!
It’s been a while, Oreo… it’s been a while. The last time I posted an Oreo recipe was at the beginning of this year, with my Oreo millionaires, and quite frankly, I am disappointed in myself. I love Oreos, and they are such a world renowned biscuit, I need to use them more!
I’ve done a fair few Oreo recipes in my time, and I don’t plan on stopping any time soon, but I really have left it far too long!
More Oreos!
My Oreo Drip Cake has always been one of the most popular cakes on my blog, and even though it’s three years old now, it still gets made so often!
I personally, love an Oreo. I get that some people don’t understand the hype, but I love them! There are so many different flavours, and I am eternally jealous of America who have the most flavours, but I’m happy with the few that we can easily buy ourselves here in the UK!
You can get original, double stuff, mint, golden, etc etc… and they’d all work with this recipe! You can use whatever Oreo you like, to get the flavour your want! I went for the classic Oreo as I always seem to have a stock pile of them, and you can never go wrong with the classic.
Sponge
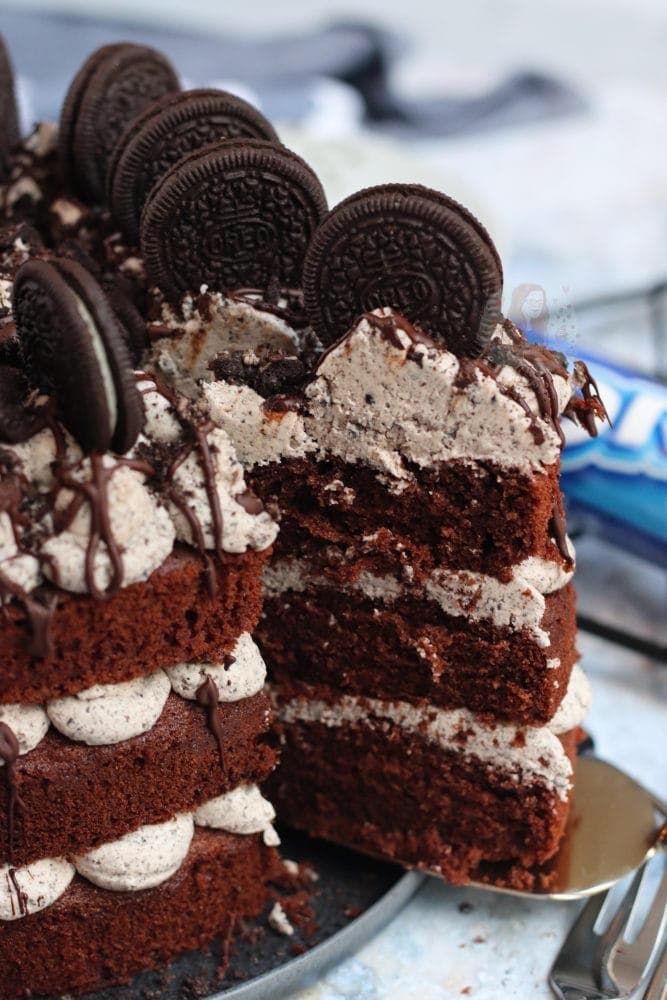
For the sponges, I decided to do a classic chocolate cake. Three layers of cake, just like I do in my Nutella cake for example, as I just can’t get over how it looks. I love the three layers, but you can easily swap the recipe to be a two layer by taking away 1/3 of the ingredients!
Buttercream
The Oreo buttercream frosting is just a classic american buttercream, with Oreos blitzed in. Before people start complaining that it’s too sweet… it’s going to be. It’s butter, sugar, and Oreos. If you don’t like sweet cakes, this isn’t the blog for you!
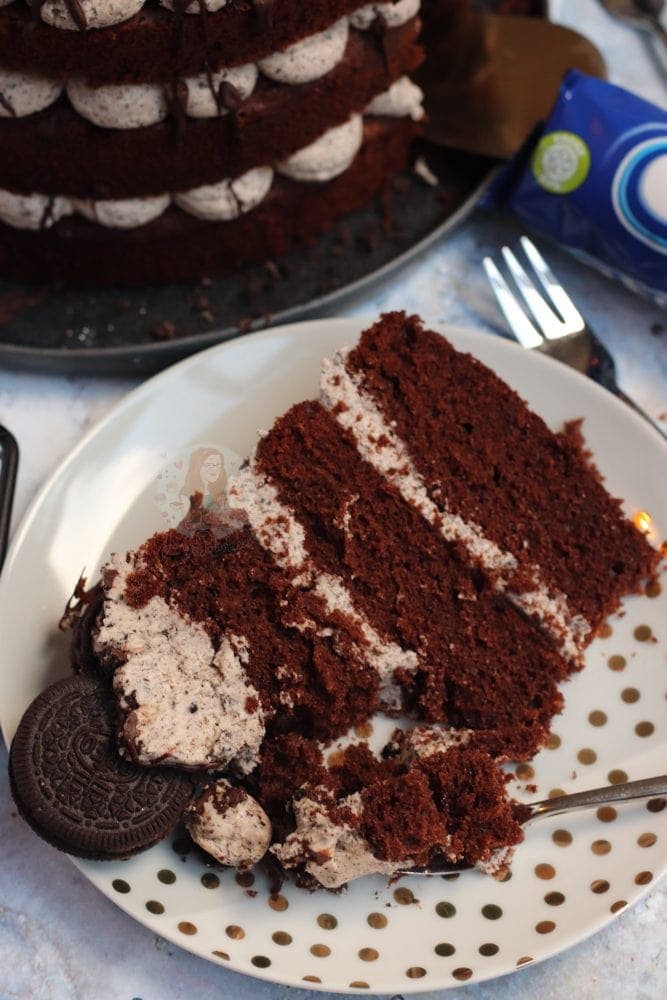
I blitz the biscuits up to the crumb, I never bother removing the filling. I honestly just don’t see the point. It’s daffy, and time consuming, and I just can’t. Also, the filling is part of the Oreo! You need it!
Piping tip
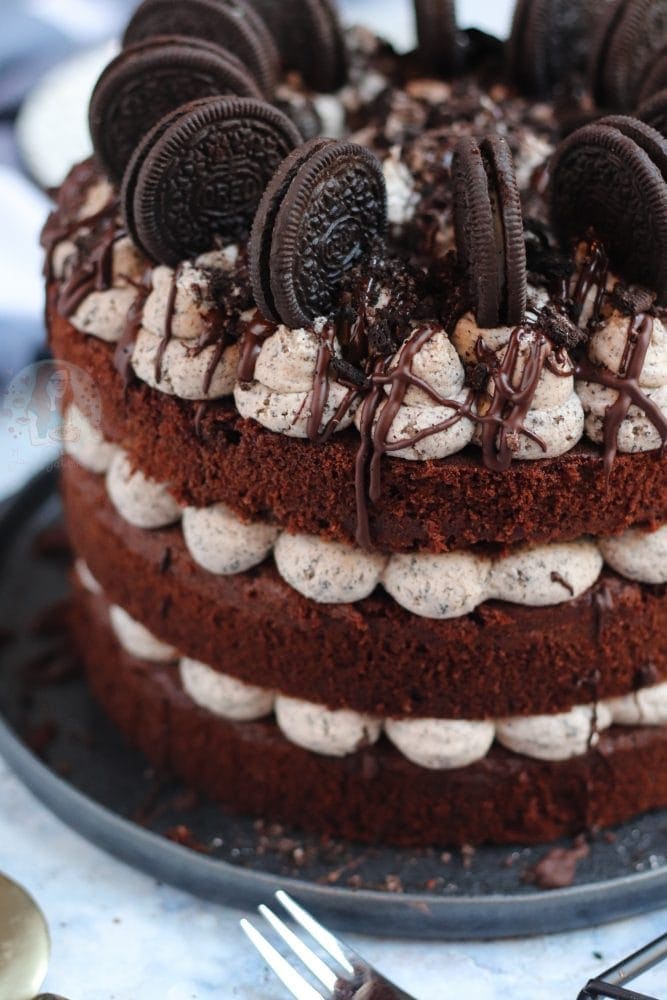
I use a Jumbo Round Piping tip for this cake, as you don’t want to use a piping tip where the Oreo crumbs could get stuck. It’ll be messy, it won’t work, and you’ll have a paddy.

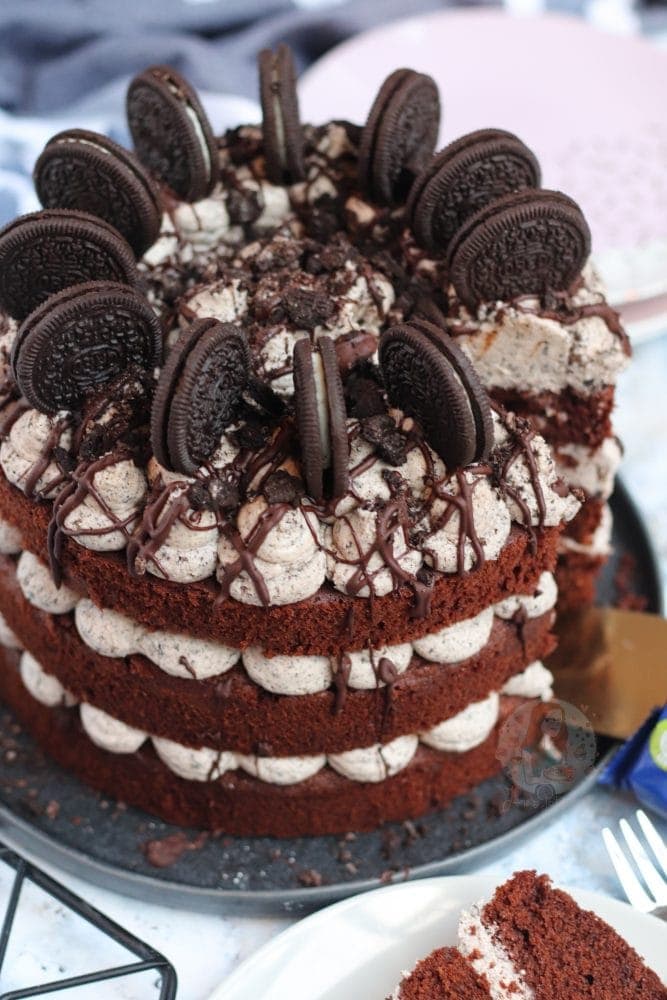
You will get the same little ‘buttercream poops’ affect that my roommate calls it, but I am quite the fan. I love how symmetrical it can make the cake look!
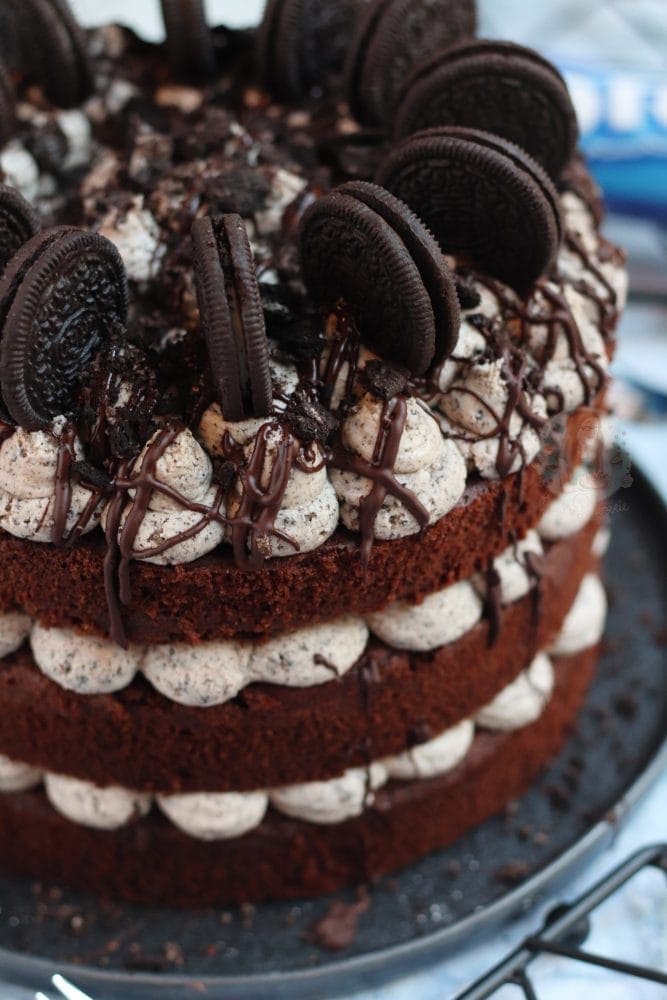
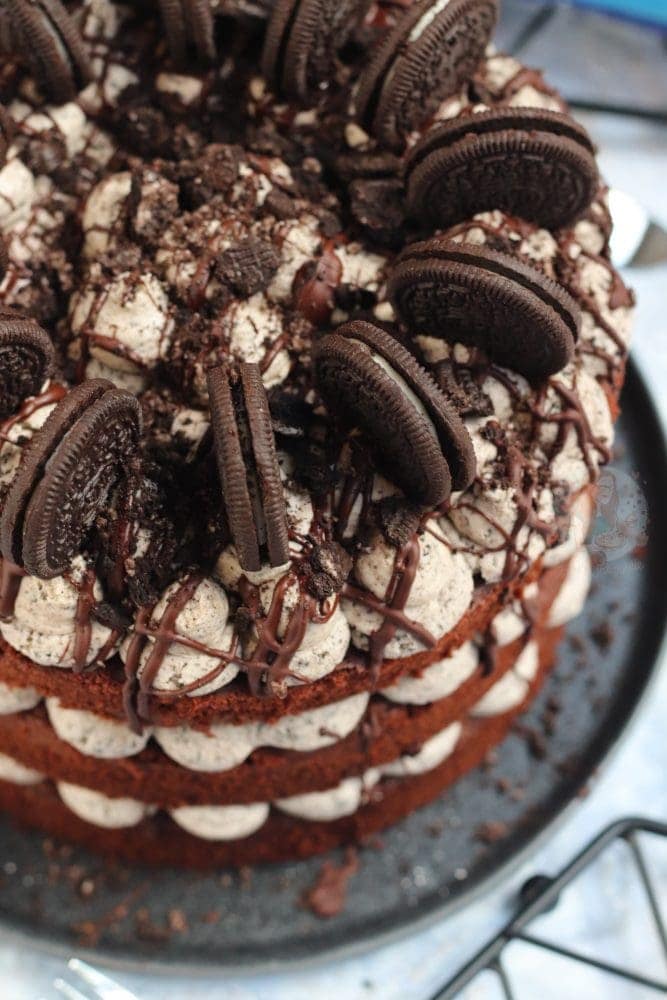
Decoration
For the topping, I just put the leftover blobs of buttercream around the edge, and added an Oreo to each one. It does make the cake incredibly tall, but you know… that’s my style. I love how everything thing in this cake is so satisfyingly round.. round cakes, round buttercream blobs, and round Oreos. It’s heaven.
I hope you all adore this delicious Oreo Cake as much as I do! Enjoy! X
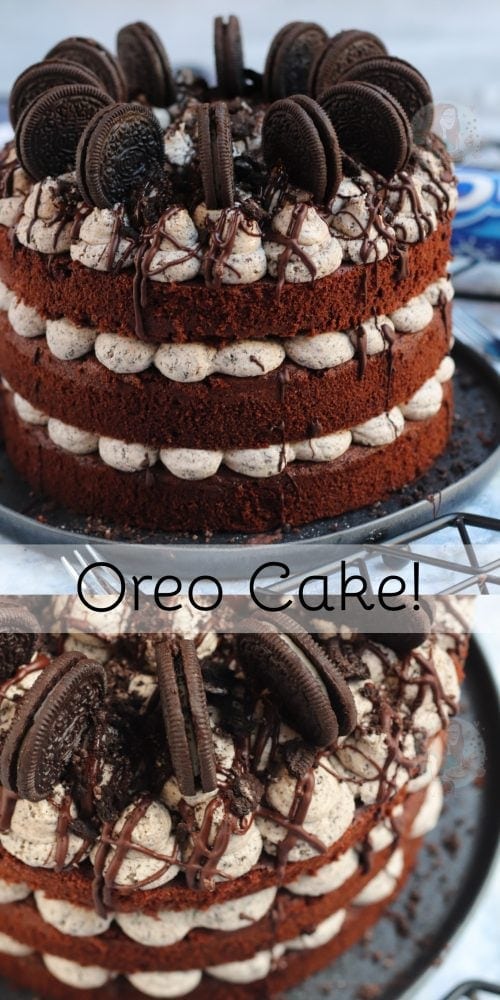
Oreo Cake!
#wprm-recipe-rating-2 .wprm-rating-star.wprm-rating-star-full svg * { fill: #343434; }#wprm-recipe-rating-2 .wprm-rating-star.wprm-rating-star-33 svg * { fill: url(#wprm-recipe-rating-2-33); }#wprm-recipe-rating-2 .wprm-rating-star.wprm-rating-star-50 svg * { fill: url(#wprm-recipe-rating-2-50); }#wprm-recipe-rating-2 .wprm-rating-star.wprm-rating-star-66 svg * { fill: url(#wprm-recipe-rating-2-66); }linearGradient#wprm-recipe-rating-2-33 stop { stop-color: #343434; }linearGradient#wprm-recipe-rating-2-50 stop { stop-color: #343434; }linearGradient#wprm-recipe-rating-2-66 stop { stop-color: #343434; }
Print Pin Rate
Ingredients
For the Cake
- 400 g unsalted butter
- 400 g light brown sugar
- 325 g self raising flour
- 75 g cocoa powder
- 8 medium eggs
For the Buttercream
- 250 g unsalted butter (not stork)
- 500 g icing sugar
- 150 g Oreos
Decoration
- Melted chocolate
- Oreos
Instructions
For the Cake
-
Preheat your oven to 180C/160C Fan, and line three 8″/20cm cake tins with parchment paper!
-
Add your butter and sugar to a bowl, and beat together until light and fluffy. I use my stand mixer, with the paddle attachment!
-
Add in your eggs, flour and cocoa powder and beat again until smooth and lovely!
-
Split the mixture evenly between the three tins, and bake in the oven for 25-30+ minutes! A cake skewer should come out clean!
-
Leave the cakes to cool in the tins for 10 minutes, and then cool fully on a wire rack!
For the Buttercream
-
Make sure your unsalted butter is at room temperature before you start – you don’t want to use any form of spread to make the buttercream!
-
Blitz your Oreos to a really fine crumb – don’t take out the cream, leave the Oreo whole and blitz to the crumb!
-
Once the butter is at room temp, beat on it’s own for a few minutes to soften it and make it looser!
-
Add in the icing sugar and beat until a basic buttercream is formed!
-
Add in the Oreo crumbs, and beat again for a few minutes until a lovely fluffy Oreo buttercream is made!
For the Decoration!
-
Get your first cake, and put it onto your serving plate! Secure it with a smidge of Oreo buttercream underneath!
-
Pipe some of your buttercream onto the cake with your favourite piping tip, and add on your second sponge! Repeat again!
-
When you reach the top sponge, pipe on the rest of your Oreo buttercream!
-
Drizzle over some melted chocolate (optional) and add on some Oreos, and extra Oreo crumbs!
Notes
- This cake will last for 3-4 days!
- You can easily make this a basic cake, with no chocolate, by removing the cocoa powder and adding the same weight more of self raising flour!
- I used one packet of Oreos for the buttercream, and one packet for the decoration!
- I drizzled the cake with dark chocolate, but it’s completely optional – or you can switch to a different chocolate!
- I used this round piping tip to get this effect!
- I also used these piping pages to make it easier!
ENJOY!
Find my other Recipes on my Recipes Page!
You can find me on:
Instagram
Facebook
Pinterest
Twitter
Youtube
J x
© Jane’s Patisserie. All images & content are copyright protected. Do not use my images without prior permission. If you want to republish this recipe, please re-write the recipe in your own words and credit me, or link back to this post for the recipe.