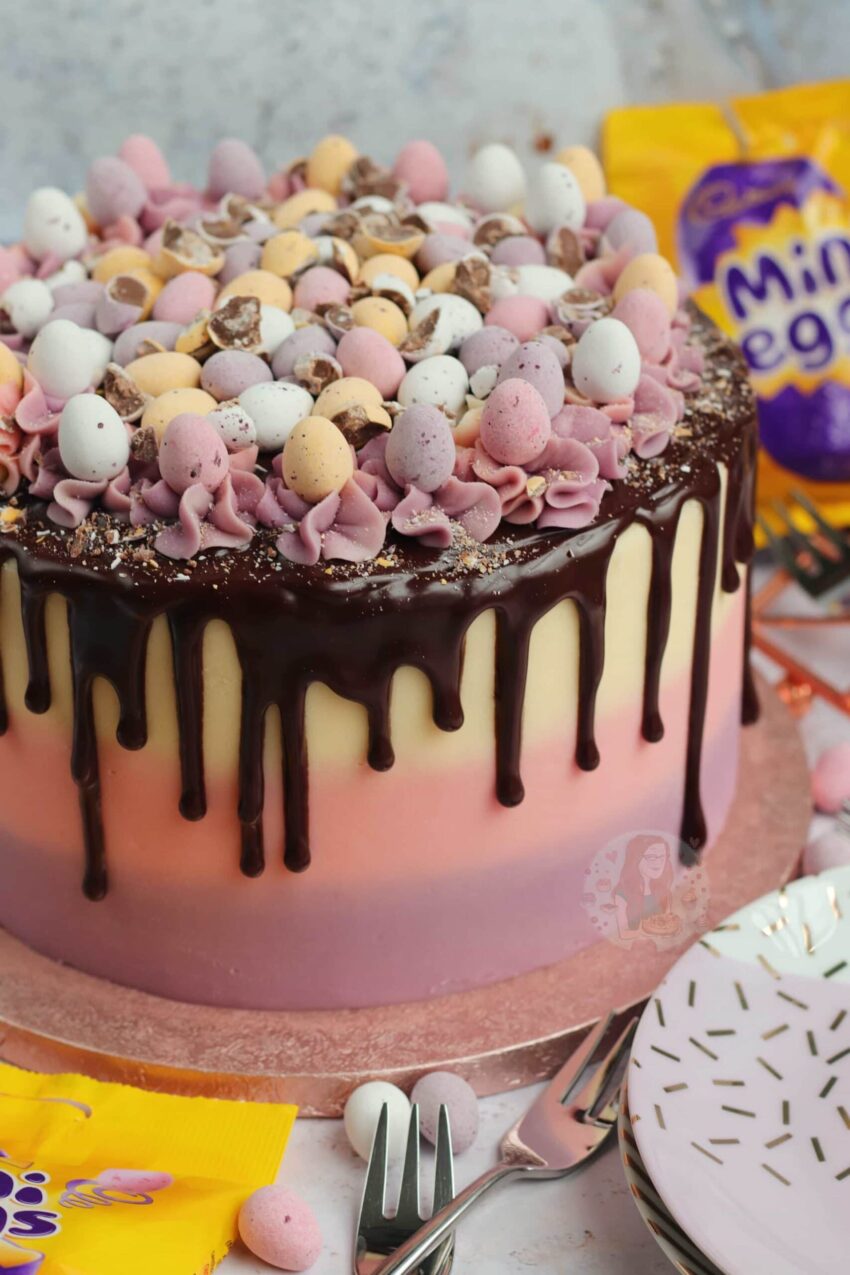
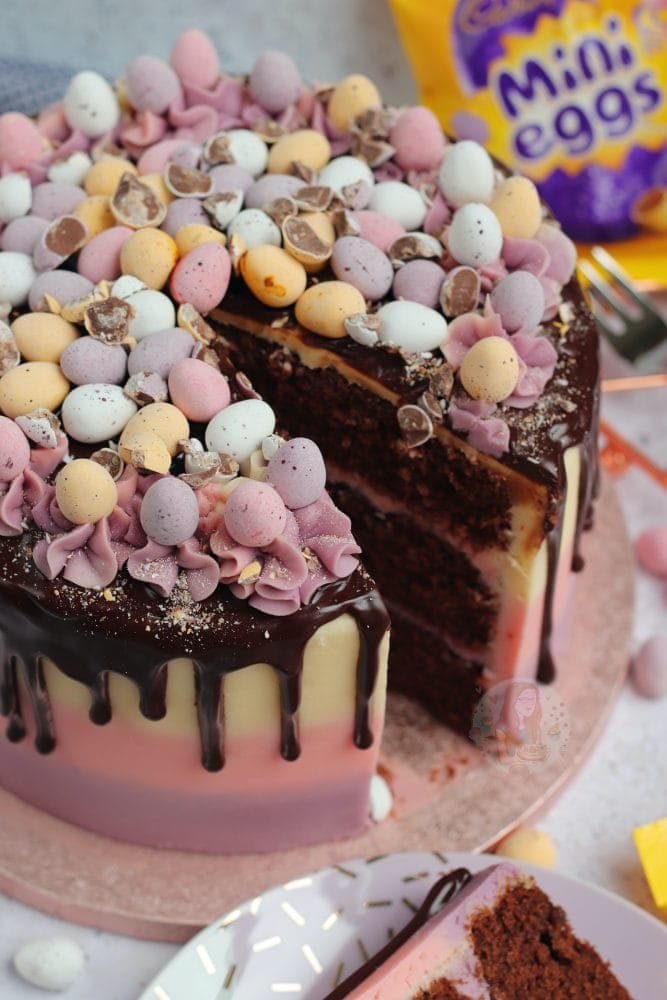
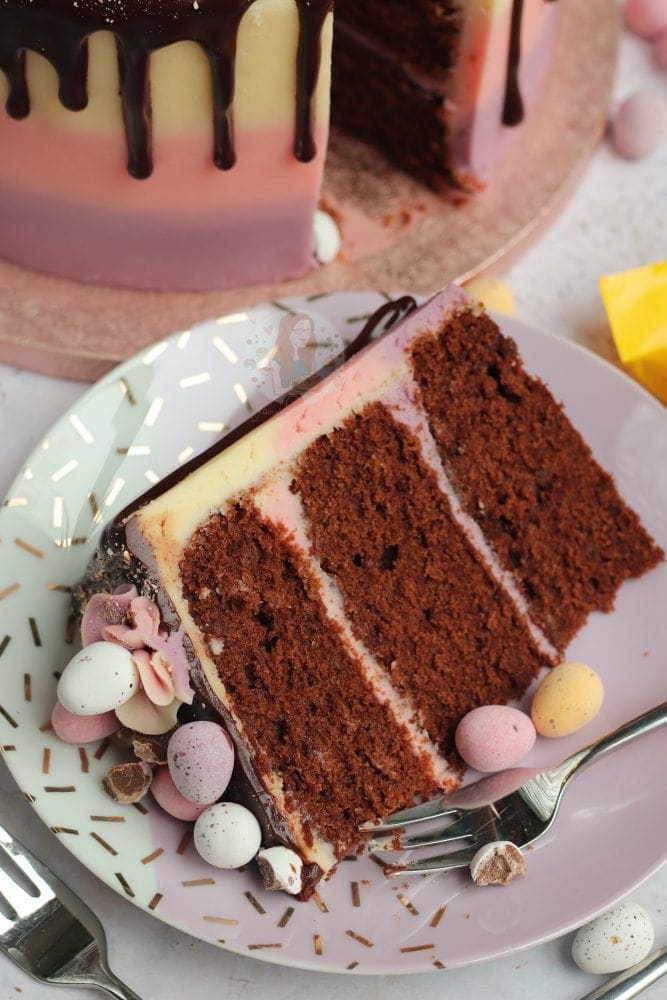
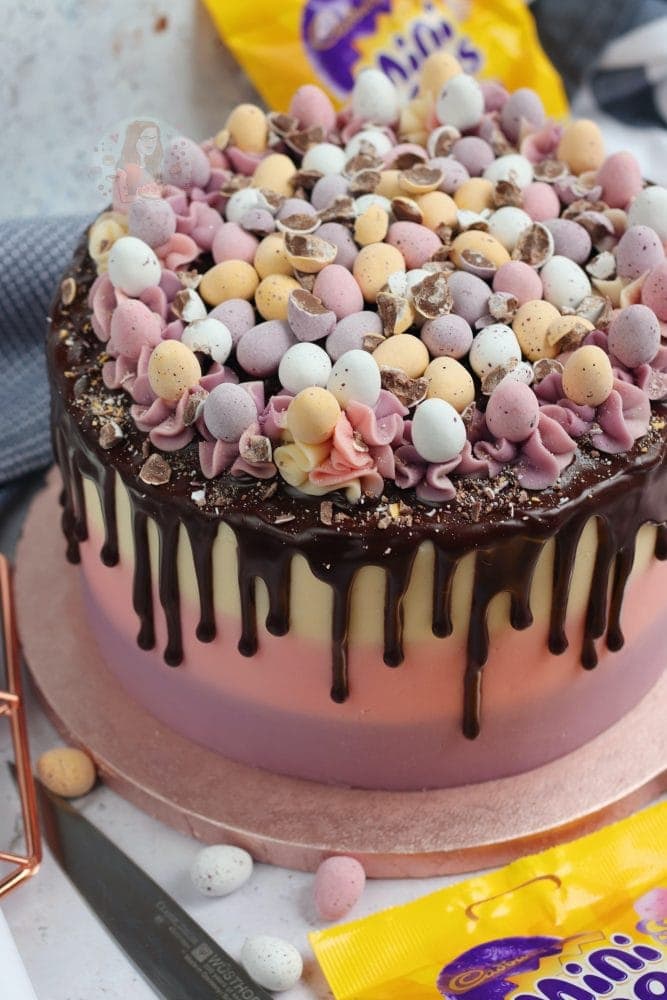
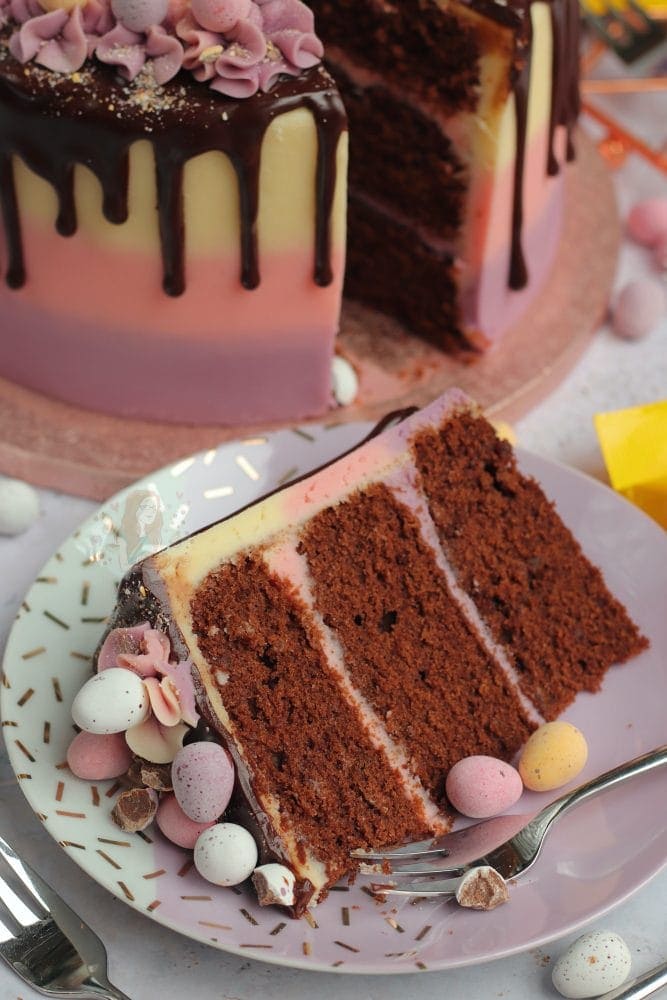
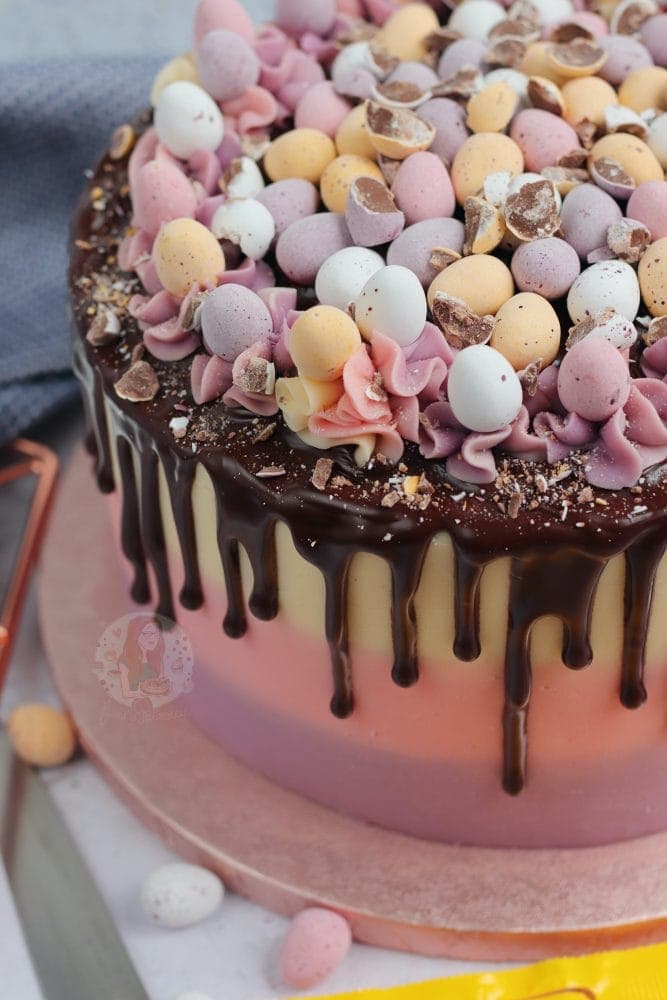
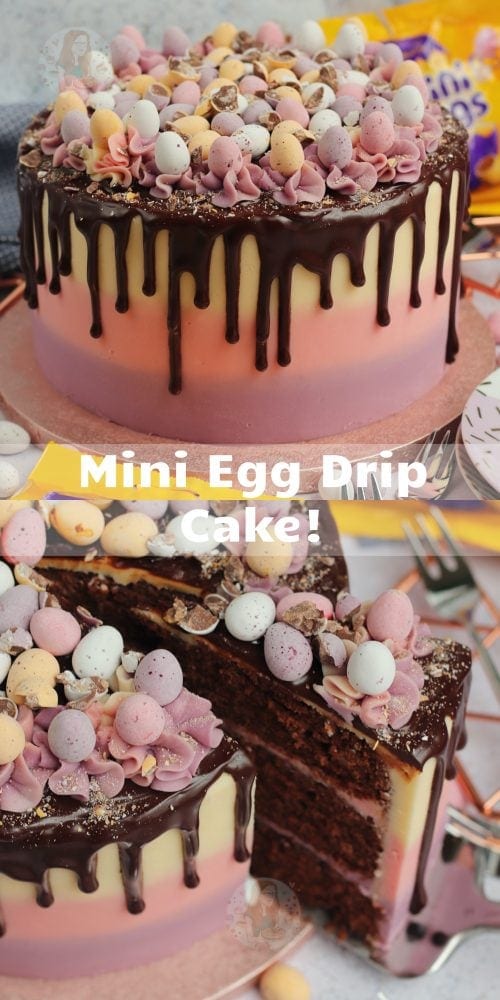
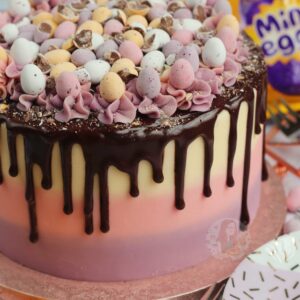
A three-layer Mini Egg drip cake with chocolate sponges, Mini Egg themed buttercream frosting, a chocolate drip and Mini Eggs! Heaven in every Easter bite!
Mini Egg drip cake!
So it’s March, it’s basically peak Easter chocolate season and I am in full swing of my Easter baking. I am surrounded by Easter chocolate (which is no bad thing!) and I am obsessed with it all.
However, as I always like to do at least one showstopper of a cake every year, I thought now would be a good time to post it! Here is my Mini Egg drip cake!
Combination of recipes
I decided to merge two of my older recipes for this one – my Mini Egg chocolate cake, and my Mini Egg cake. My Mini Egg cake is really the OG of drip cakes on my blog, and I still love it… but I wanted to do another one.
I essentially wanted to literally combine the two recipes, and it worked SO much better than I thought it would! I am honestly so pleased with how this cake came out – and I am still so chuffed now! It looks so cute!
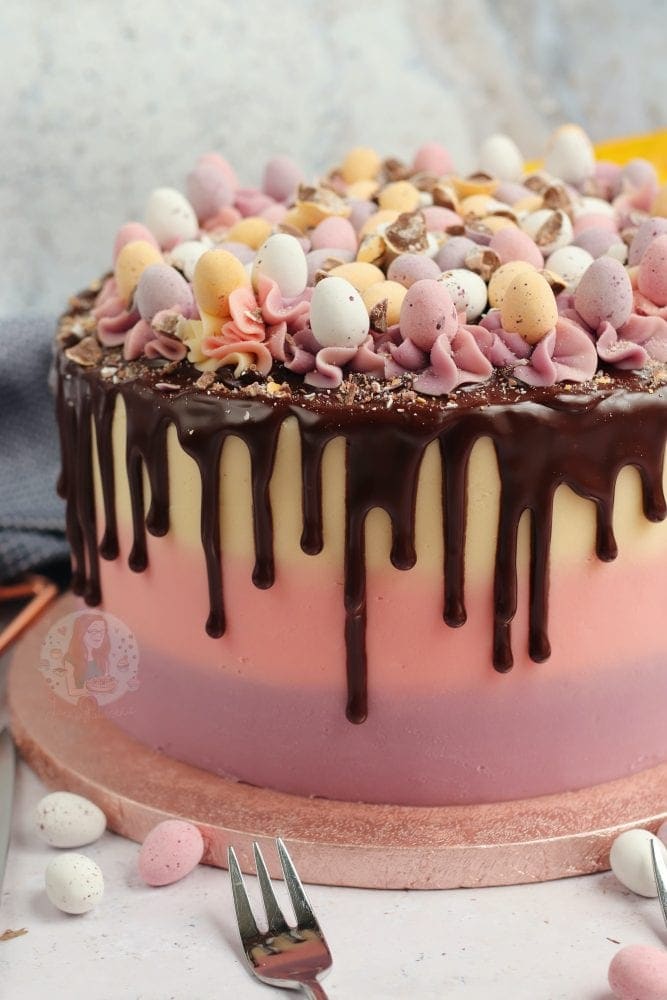

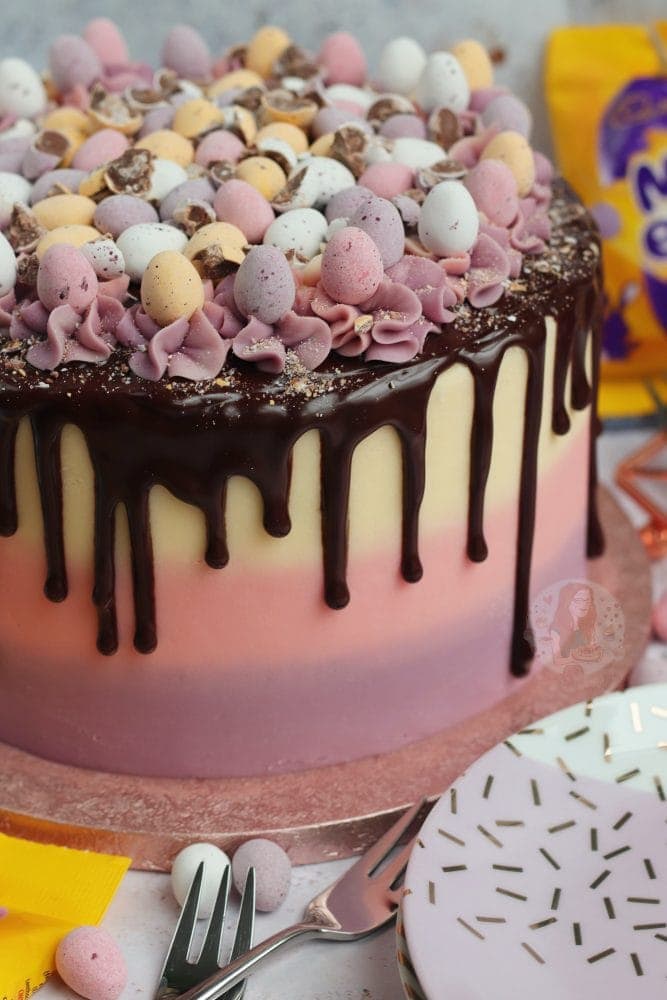
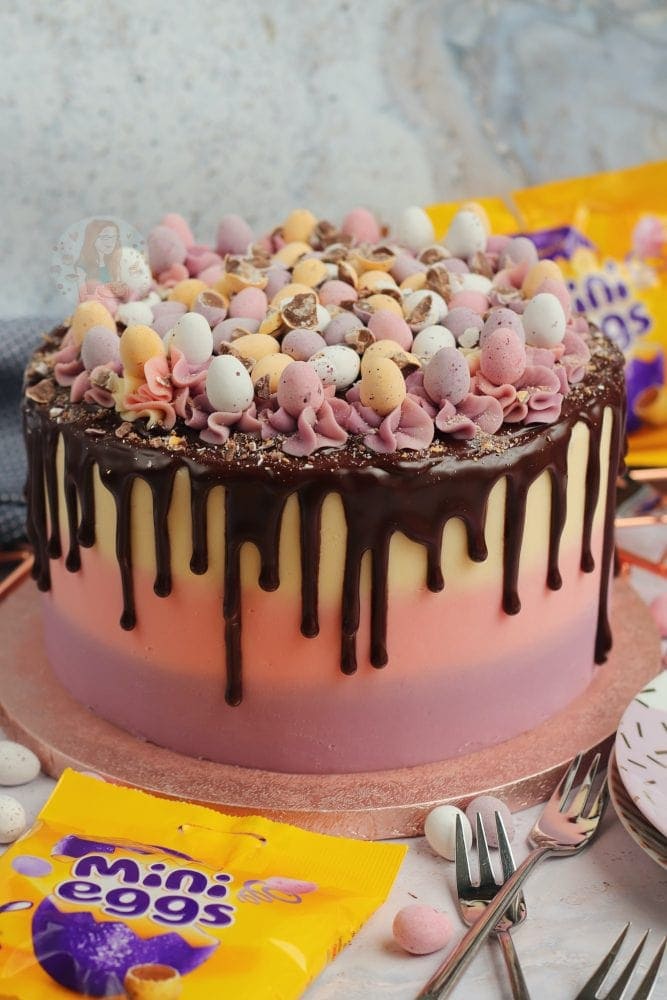
Multi coloured drip cake
I wanted to do another drip cake as I have filmed this cake for Youtube. I wanted to film and show how to do a drip cake again as my original YouTube video wasn’t the best (bad camera angles and all), and I also wanted to show how to do more than one colour of buttercream!
I decided to keep the flavourings and colourings of my Mini Egg chocolate cake because I am still so obsessed with how that came out as well – and you all love baking it just as much as I do! I’ve seen it so many times this year and it’s amazing!

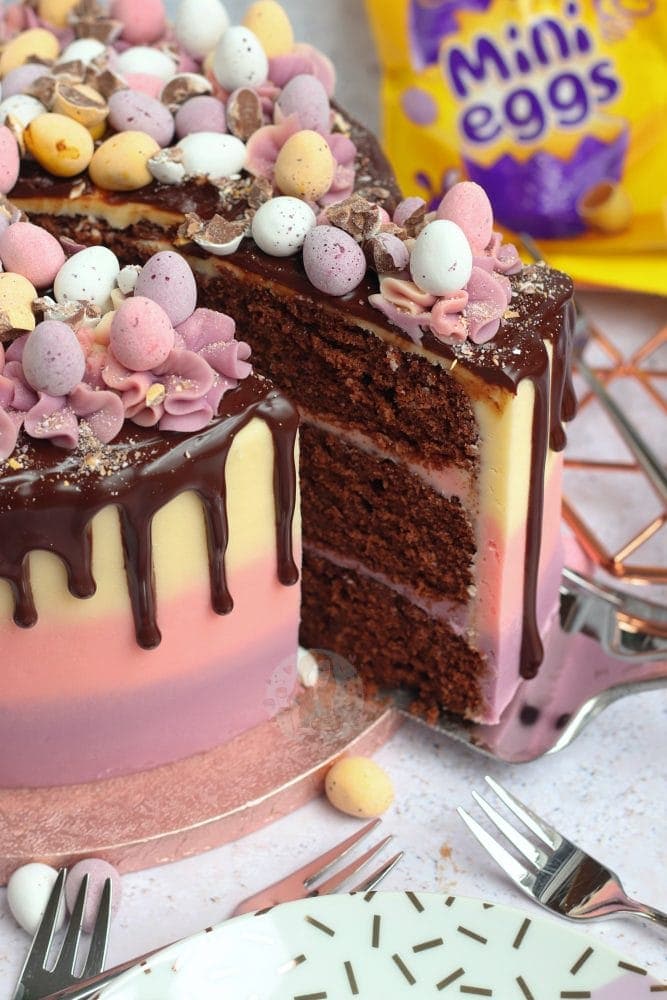
Three layer cake
I thought I would also stick with a three layer cake because I already know that this cake uses up a lot of ingredients (hello 1kg of icing sugar!) but you can always make it smaller if you want. Because the cake uses three colours of buttercream, the three layers of sponge seemed ideal!
I also do realise, before someone thinks it’s clever to remind me, that Mini Eggs come in four colours… but as I have explained before, and I do also explain in the video, as the yellow and white ones are quite similar, I just thought I would use one colour for those. I think the pink and purple are the more important colours anyway – especially as there are the least of those in a packet!
Food colouring and a handy video!
For the food colourings I love this pink food colouring, and I also love this purple food colouring. To get a good effect with the buttercream, you really do need to use good quality colours!
It’s hard to explain the process of a drip cake that easily in writing, but you will be able to watch the video on this cake on Youtube (theres also the video link below) which definitely helps!
Buttercream
For the cake, it’s quite simple. It’s the buttercream part that’s a little more complicated. As I explain in the method, you want to reserve 200g of the buttercream for your crumb coat, and then split the rest into three. One for purple, one for pink, and one to stay as it is.
I weigh my buttercream so ended up with 430g each for the purple/pink/yellow – and it was ideal for the cake in the end! I separate my colours into a larger piping bag like these, and it makes it easier to pipe onto the cake, and on the sides.

Cake tools
I find it easiest to use a small offset spatula to spread the buttercream between the layers of cake, and to do most of the crumb coat, but also find using this cake scraper really good for finishing off the crumb coat, and doing the top layer!
I use a beautiful rose gold cake board for decorating and serving, as I couldn’t be bothered to decorate the board as per usual. I use these small piping bags for the drip part of the cake, as they’re just so useful! And of course, I used my favourite ever piping tip for the top.
I realise that not everyone will have one, but using a cake decorating turntable will change your life when doing a drip cake – so I really would recommend one! It makes it easier to smooth around the buttercream, makes it easier for the drip, and just makes it easier for decorating in general!
Mini Egg Drip Cake!
#wprm-recipe-rating-4 .wprm-rating-star.wprm-rating-star-full svg * { fill: #343434; }#wprm-recipe-rating-4 .wprm-rating-star.wprm-rating-star-33 svg * { fill: url(#wprm-recipe-rating-4-33); }#wprm-recipe-rating-4 .wprm-rating-star.wprm-rating-star-50 svg * { fill: url(#wprm-recipe-rating-4-50); }#wprm-recipe-rating-4 .wprm-rating-star.wprm-rating-star-66 svg * { fill: url(#wprm-recipe-rating-4-66); }linearGradient#wprm-recipe-rating-4-33 stop { stop-color: #343434; }linearGradient#wprm-recipe-rating-4-50 stop { stop-color: #343434; }linearGradient#wprm-recipe-rating-4-66 stop { stop-color: #343434; }
Print Pin Rate
Ingredients
Cake
- 400 g unsalted butter
- 400 g light brown sugar
- 350 g self raising flour
- 75 g cocoa powder
- 8 medium eggs
- 1 tsp vanilla extract
Buttercream
- 500 g unsalted butter (room temp)
- 1000 g icing sugar
- 1 tsp vanilla extract
- Pink food colouring
- Purple food colouring
Ganache
- 75 g milk chocolate
- 75 g dark chocolate
- 150 ml double cream
Decoration
- Mini Eggs
Instructions
For the Cake
-
Preheat your oven to 180ºC/160ºC Fan and line three 20cm/8″ tins with parchment paper!
-
Beat your butter and sugar until light and fluffy.
-
Add in your eggs, flour, cocoa powder and vanilla and beat again until smooth!
-
Split evenly between your tins and bake for 30 minutes – check after 25 minutes, as they can take up to 35 minutes!
-
Once baked, leave to cool in the tin for 10 minutes, and then on a wire rack to cool fully.
For the Buttercream
-
Make sure your butter is at room temp.
-
Beat your butter on its own for several minutes until it’s really smooth and supple.
-
Add in the icing sugar a bit at a time, beating fully each time!
-
One the sugar is in, add in your vanilla and beat again.
-
IF your buttercream is very stiff and you have been beating for a while, add in 1-3tbsp of boiling water, to smooth it. Add one spoonful at a time, and beat very well before adding another so you don’t add too much.
-
Reserve 200g of buttercream for your crumb coat.
-
Split the rest between three bowls – about 430g each. Colour one purple, and one pink, and leave the third as it is.
-
Get your first cake onto your cake board, and stick down with a little buttercream.
-
Spread over a couple tablespoons of purple buttercream and smooth over. Add on the second cake and repeat with the pink buttercream. Add on the third sponge.
-
Using your crumb coat, smooth it around the edges to fill in any gaps of the buttercream and to keep all the crumbs in! I use a small offset spatula and a cake scraper. Put in the fridge till firm – about 30 minutes.
-
Using piping bags, or whatever you fancy, pipe circles of purple buttercream frosting around the first layer, then pink around the second layer, and then finally the yellow for the third layer and the top.
-
Using a cake scraper, smooth the cake around to create a flat and smooth ombre buttercream. Once smooth, put in the fridge till firm – about 30 minutes
For the Ganache
-
Add your chocolates and cream to a microwave proof jug/bowl, and heat for 30 seconds. Stir well, and microwave on 10 second bursts till the ganache is smooth, stiring each time.
-
Add your ganache to a piping bag, and take the cake out of the fridge.
-
Snip a small amount off the end of the piping bag and pipe drips down the side of the cake, and then fill in the top and spread it over. Put in the fridge – about 30 minutes
For the Decoration
-
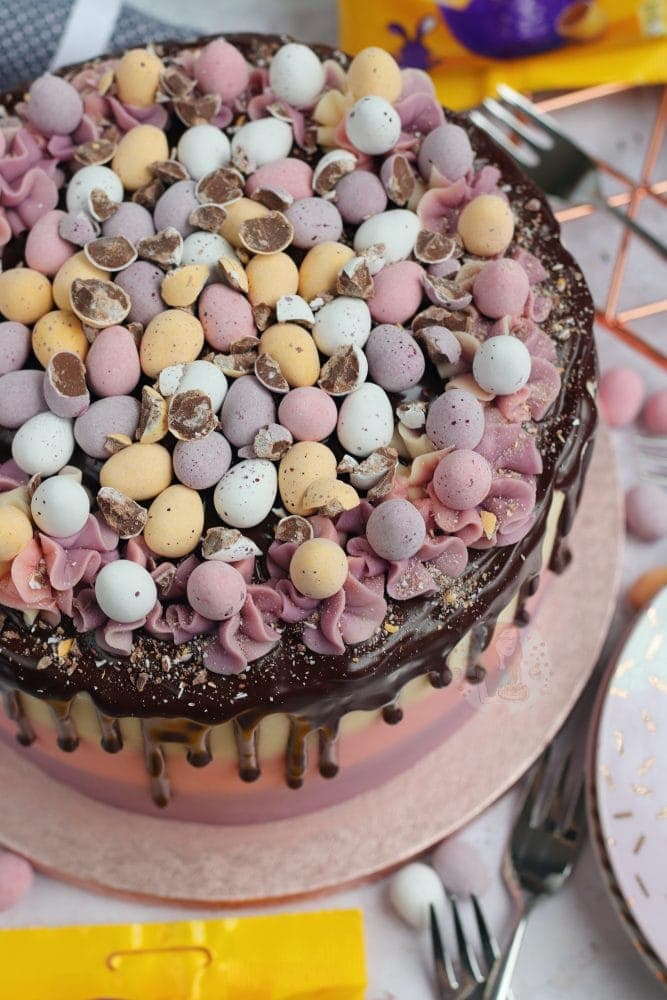
Pipe any leftover buttercream on top, I used my 2d closed star piping tip, and then decorate with Mini Eggs! I used some whole for on top of the buttercream, then filled in the middle with some whole, and some chopped.
Notes
- I recommend using the following for this cake!
- This cake is large, which is why there are so many ingredients! If you want to make a two layer version, follow the same method but use…
- For the cake – 250g butter and sugar, 200g flour, 50g cocoa powder, 5 medium eggs, 1tsp vanilla – split between two 8″ tins.
- For the buttercream – 325g of butter, 650g of icing sugar, 1tsp of vanilla.
- The decoration is completely optional, but this is the way I have done it!
- I use milk and dark chocolate for my ganache so you don’t struggle with the dark chocolate ones being too thick. Feel free to swap to just dark, but if you use just milk you will need to use less cream. 2:1 ratio.
- This will last at room temp for 3-4 days.
- If you prefer to keep it in the fridge, it may dry out, especially if it’s been cut into.
ENJOY!
Find my other Recipes on my Recipes Page!
You can find me on:
Instagram
Facebook
Pinterest
Twitter
Youtube
J x
© Jane’s Patisserie. All images & content are copyright protected. Do not use my images without prior permission. If you want to republish this recipe, please re-write the recipe in your own words and credit me, or link back to this post for the recipe.