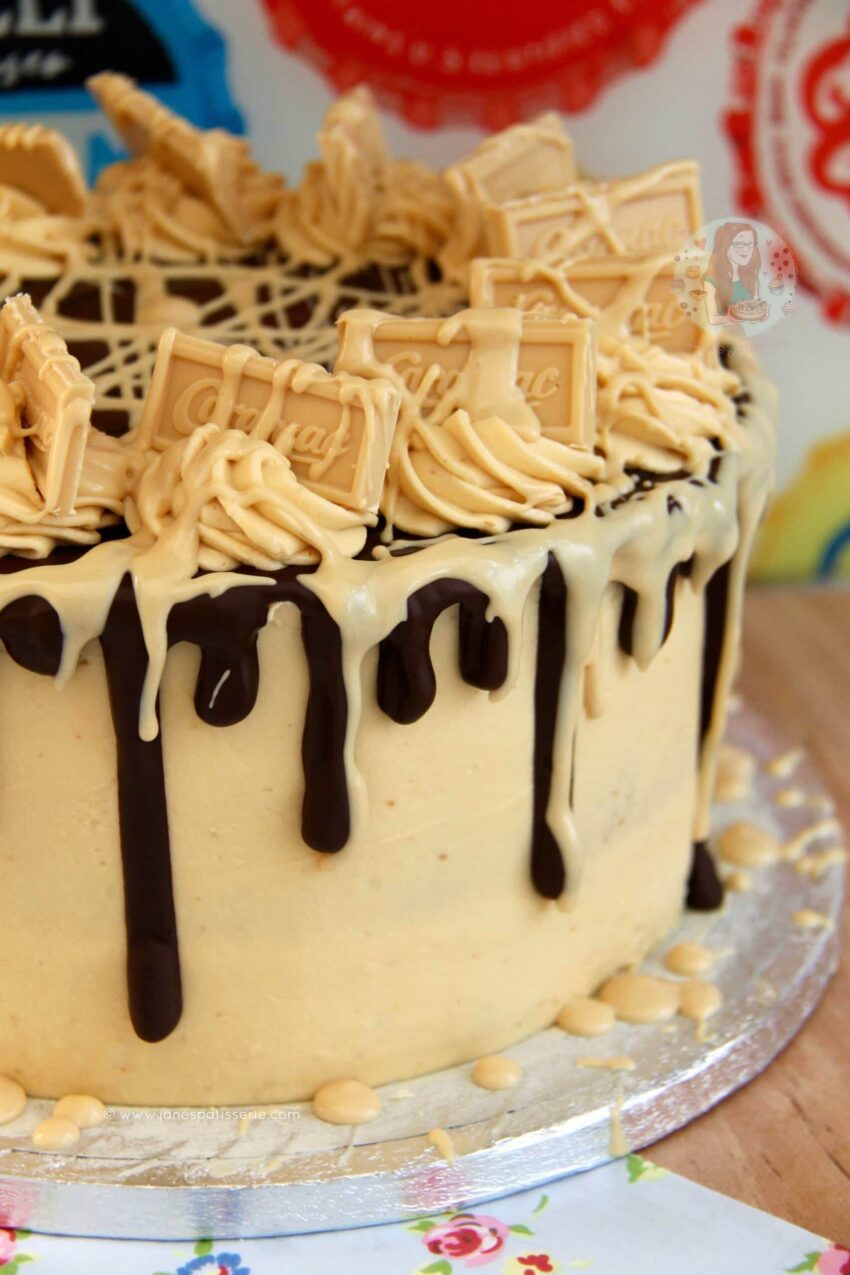
A delicious & Moist Caramac Cake with a Dark Chocolate Drip and even more Caramac!
So, it happened. Yep, after my other Caramac recipes I decided to give in and give you guys what you wanted… a Caramac Cake.
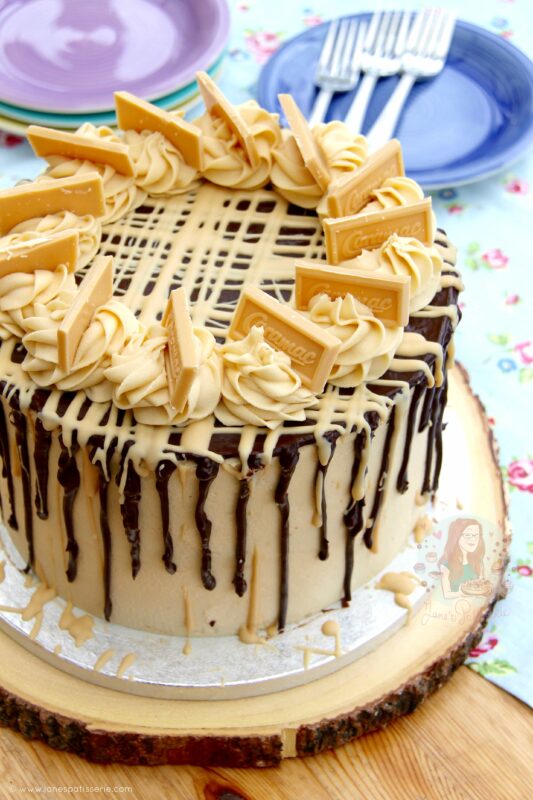
And not only is the sponge so deliciously moist and naturally caramel flavoured with the light brown sugar, not only is the buttercream frosting so delicious Caramac flavoured… I made it into a drip cake. Because why not! They are DELICIOUS! Plus you guys seem to LOVE a drip cake – like my Biscoff Drip Cake, Kinder Bueno Drip Cake, Salted Caramel Drip Cake and my Rainbow Cake!

Honestly, I have been waiting to post this cake for so long, and I really hope you guys like it. I based the buttercream frosting recipe on the Caramac Cupcakes frosting recipe – it worked so well for that, I decided to just double it to achieve this!
I find that it’s the perfect ratio of flavour, not too much that the frosting can’t fold itself, but enough so that you can taste it. So many people have mentioned that Caramac doesn’t taste like it used to, and I can’t comment on that as I’ve only eaten it recently.. but I must say, this is delicious.
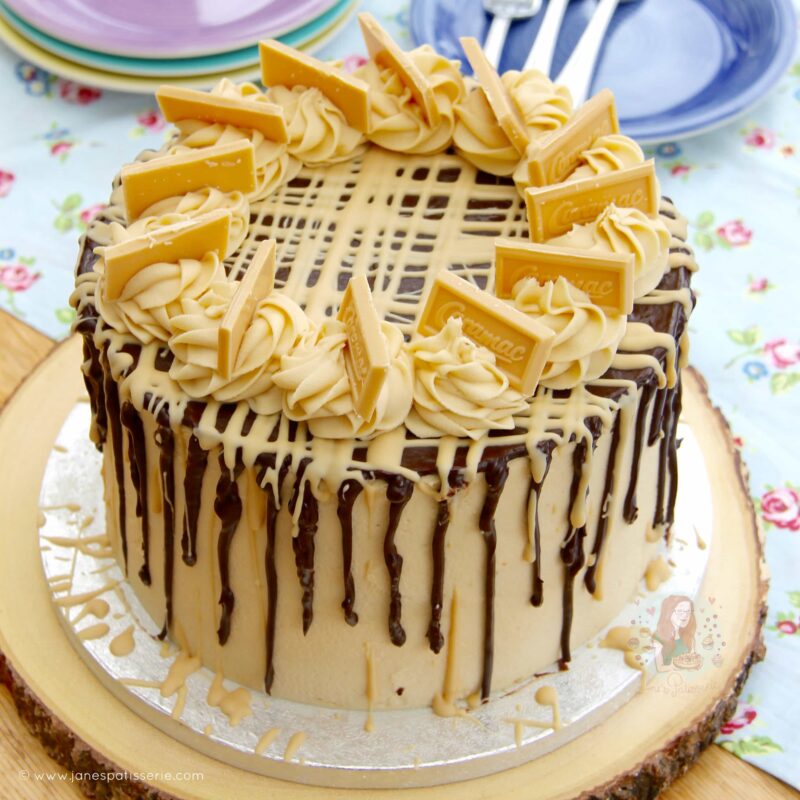
I personally find that if you do a Caramac ganache drip, it all looks a bit beige and the ganache has a much bigger chance of going wrong as its basically white chocolate with flavouring, so I went for a dark chocolate one. It proved to be a popular idea with my Mini Egg Drip Cake so I didn’t want to mess with it.
This is however why I went on to drizzle loads more Caramac over the top! I really love the flavour contrast of the dark chocolate ganache drip with the cake, frosting and drizzle because otherwise some might find it too sweet? But don’t worry if you don’t like dark chocolate – its so little really that its there for show and just a hint of richer chocolate – I adore it.
My No-Bake Caramac Cheesecake has proven to be a definite favourite when it comes to the dessert table with SOOOO many of you making it every week, but this is definitely more showstopper-y then that!
This cake is perfect for a present, for a birthday, for an occasion, or for a delicious bake. It is far easier to make than you think. The cake is so moist, it has not too much but enough frosting, and it looks damn delicious.
Caramac Drip Cake
Print Pin Rate
Ingredients
Cake
- 400 g unsalted butter (softened)
- 400 g light brown sugar
- 7 large eggs
- 400 g self raising flour
- 2 tsp baking powder
- 4 tsp whole milk
Caramac Buttercream Frosting
- 250 g unsalted butter (softened)
- 600 g icing sugar
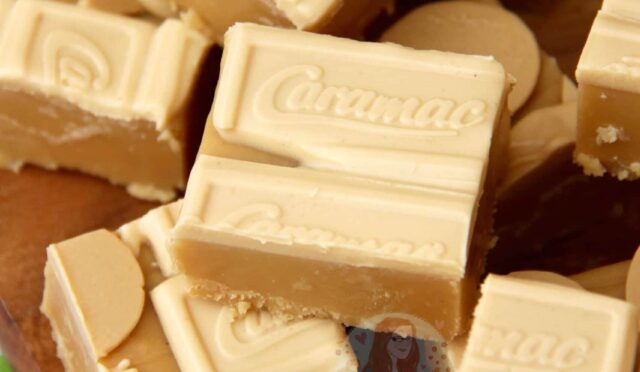
- 300 g Caramac (chopped)
- 1-3 tbsp whole milk
Decoration
- 100 ml double cream
- 100 g dark chocolate (finely chopped)
- 100 g Caramac (melted)
- leftover Caramac buttercream frosting
- 8-12 pieces Caramac
Instructions
Cake
-
For the cake – Heat the oven to 180C/160C Fan and line three 20cm/8inch sandwich cake tins with baking parchment – leave to the side.
-
Beat together the unsalted butter and light brown sugar until light and fluffy.
-
Add in the self raising flour, eggs, baking powder and beat again briefly till combined – try not to overbeat! If your mixture is really thick, mix in the whole milk a spoonful at a time to loosen.
-
Divide the mixture equally between the three tins and smooth it over.
-
Bake for 25-30 minutes until the cakes are golden and when the cake springs back (a skewer should also come out clean).
-
Once baked, leave the cake to cool in the tin for 10 minutes.
-
Now remove and leave to cool fully on a wire rack. If the cake has domed slightly, leave the cake to cool upside down to help flatten it slightly.
Caramac Buttercream Frosting
-
Melt the 300g of Caramac carefully in the microwave until full melted and smooth – leave to cool whilst doing the rest.
-
Beat the unsalted butter until it is smooth and loose.
-
Beat in the icing sugar 1/3 at a time until its fully combined.
-
Keep beating the buttercream for 5-6 minutes until it’s fluffy and light.
-
Add in the melted Caramac and beat again – if its a bit stiff, add in a spoonful of whole milk at a time until you get a smooth consistency.
-
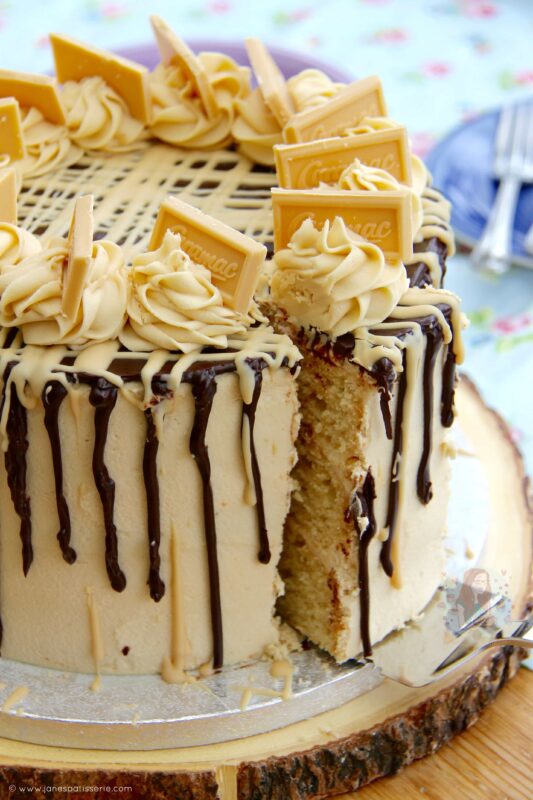
Once the cakes are cooled, put the first layer of cake on the serving plate and spread some of the buttercream onto the top of the first layer, add the second cake on top, and then top again with some of buttercream and then add the final sponge layer. Only use about 1-2 tbsp of buttercream per layer so that you have enough to decorate with!
-
With the leftover buttercream, as you can see, I covered the sides (and top) too! I tend to refrigerate my cake after my thin first layer to make this easier as the cake is so moist but this is optional – you could just slap it all on if you wish! Sometimes its best to do a thinner “crumb” layer and refrigerate it, and then do the thicker layer for the final finish!
Ganache Drip
-
Heat the 100ml of double cream until its just below boiling point, and pour over the finely chopped dark chocolate and leave for 5 minutes to sit.
-
After the 5 minutes, stir until smooth and leave it to cool for another 5 minutes.
-
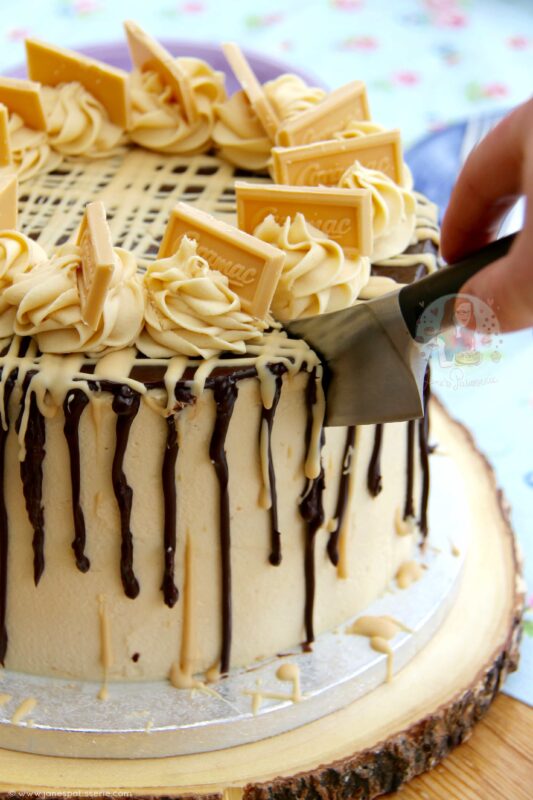
Gently pour/pipe the ganache around the edge of the cake to cause the drips, and pour the rest onto the top and spread evenly.
-
Set the cake in the fridge until the chocolate ganache hardens.
-
Melt the extra 100g of Caramac and then drizzle it over the top!
-
Place the cake back in the fridge and allow it to fully set.
-
Once the ganache and caramac are set, with any leftover frosting, pipe some little rosettes onto the top using any left over frosting and put the caramac pieces on top! Enjoy!
Notes
- If your ganache isnt fully melted after the mixing the chances are that the cream wasn’t hot enough – heat it for 10 seconds at a time in the microwave until its smooth, it really won’t take much longer as the cream in the mix makes it melt quicker.
- All of the decorations are completely optional – but I love this style of cake! To make a smaller version of the cake, use 300g of everything in the cake mixture rather than 400g (and it might take an extra 5-10 minutes to bake) and use 2/3 of the decoration recipes!
- This cake will last in an airtight container for 3 days, if its hot, store in the fridge.
- You can also freeze this cake for up to 3 months!
ENJOY!
Find my other recipes on my Recipes Page!
You can find me on:
Instagram
Facebook
Pinterest
Twitter
Youtube
J x
© Jane’s Patisserie. All images & content are copyright protected. Do not use my images without prior permission. If you want to republish this recipe, please re-write the recipe in your own words and credit me, or link back to this post for the recipe.