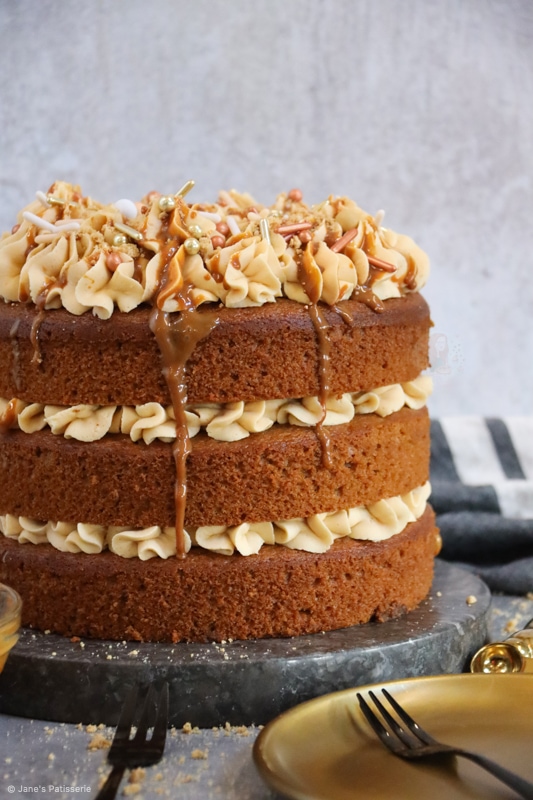
A deliciously cosy caramel ginger cake with easy ginger sponges, a ginger caramel frosting and more – heaven!
This delicious cake is so cosy, so warming, and just absolute heaven in every bite. I honestly can’t keep up with how tasty this cake is?! I know I am supposed to big up my own recipes but honestly… wow.
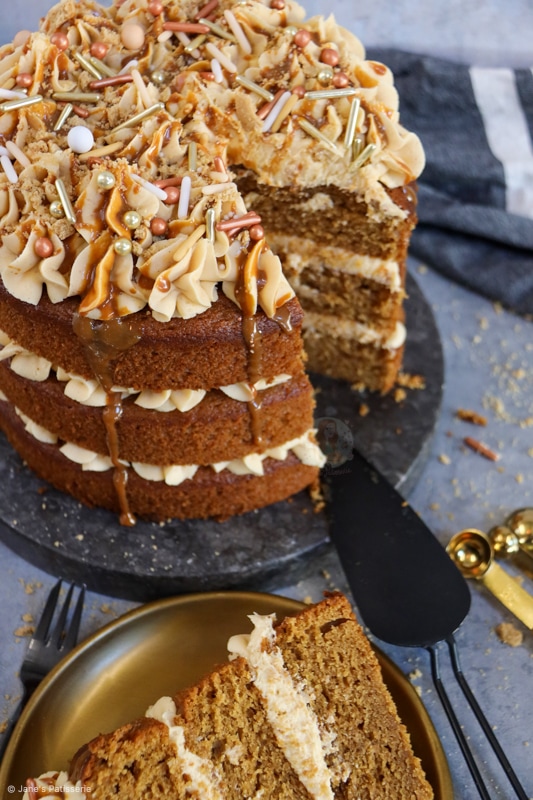
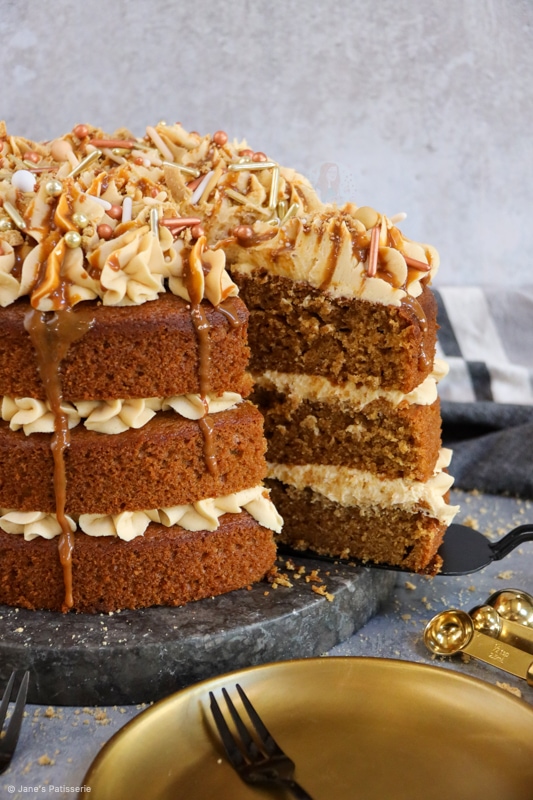
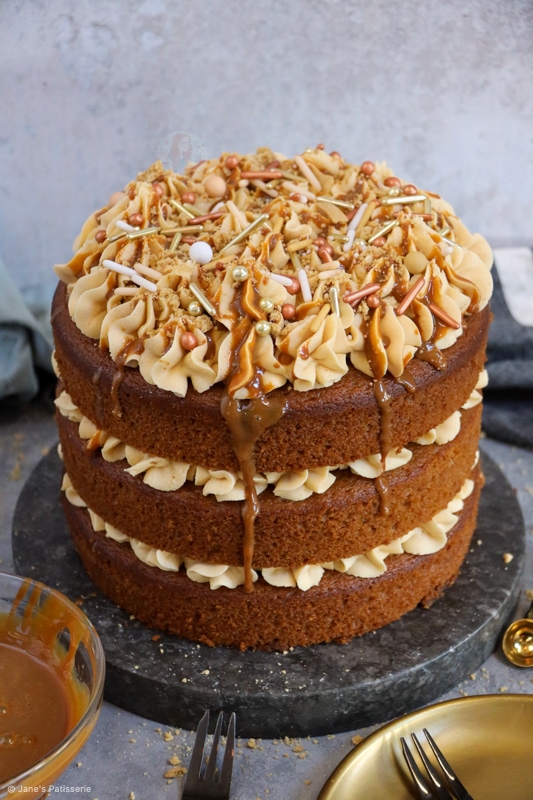
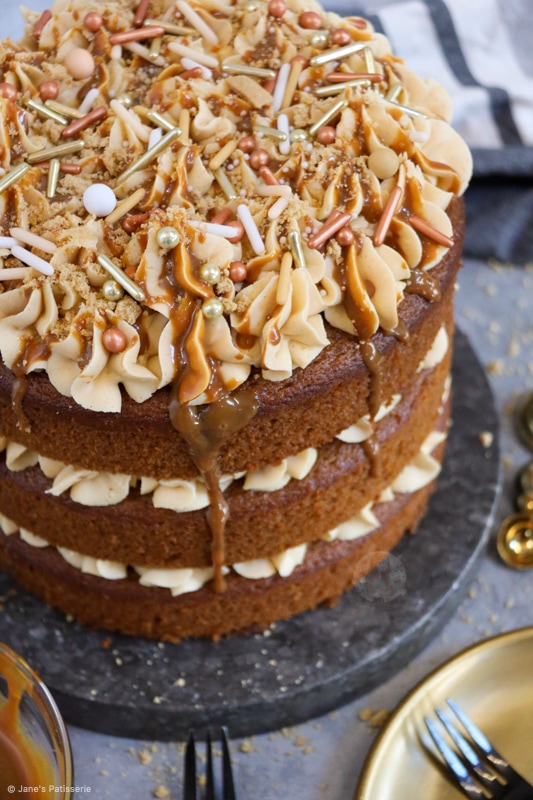
The layers of ginger sponges, with a caramel ginger flavoured frosting is just out of this world, and then topped with even more delicious bits to finish it off… YUMMY.
Ginger
As it is coming closer to winter, the ginger bakes really are going to start shining – and this will be a glorious one to start with. Honestly, it’s just delightful.
I love the warmth that you get with a ginger themed bake. My gingerbread blondies, my gingerbread people, my gingerbread drip cake recipe and so on all bring this sentiment as well, and I am here for it.
If you don’t like ginger, you are a bit stuck for this recipe – but honestly I really would recommend giving it a go. I just used ground ginger and mixed it into the sponge and frosting – and it worked wonders.
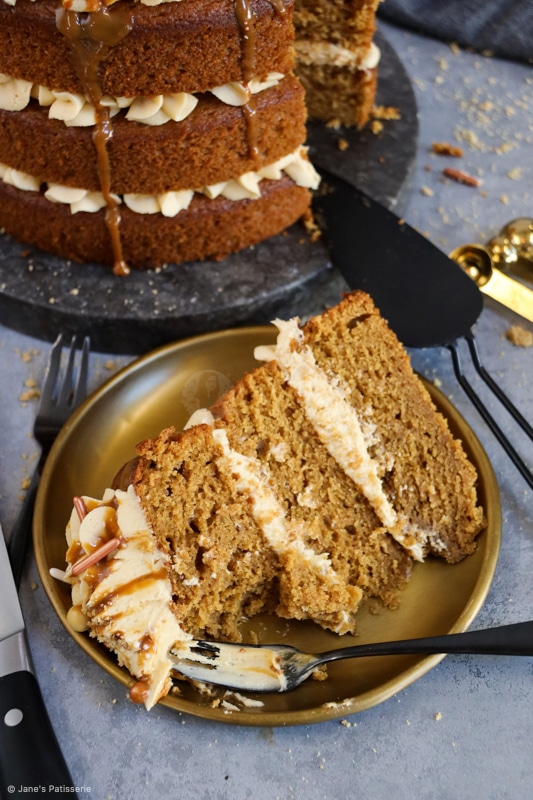
The sponges
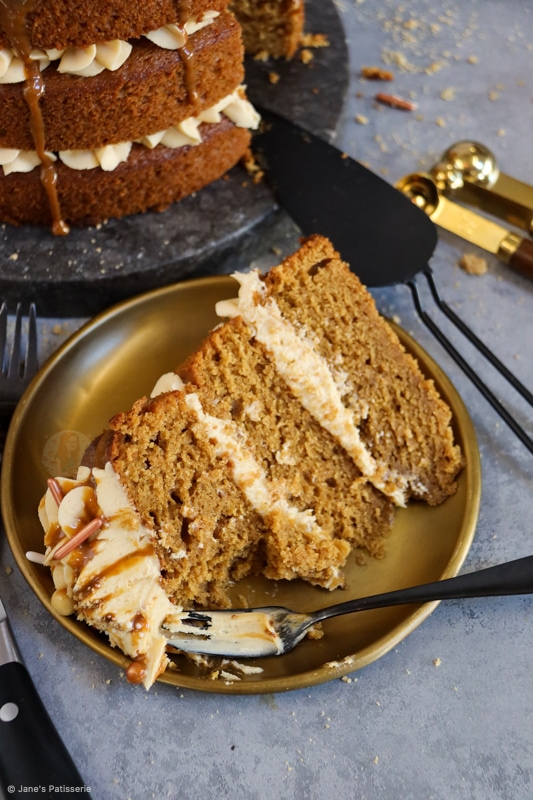
The sponges for the recipe are fairly similar to my ginger cake that has been on my blog for years – but I wanted to split it off into a three layer cake.
The mixture of butter, light brown sugar, golden syrup, and black treacle create a silky smooth mixture that mixes wonderfully with the flour, ginger, eggs and milk. It’s a very liquid cake mixture, but it really is meant to be! It’s the same in my gingerbread cupcakes.
You can also make this into a four layer cake if you wanted – just split the mixture between four tins instead and bake for 10 minutes less!
Caramel
I have done various caramel themed bakes over the years, such as my salted caramel drip cake, my salted caramel pretzel cupcakes, or even my caramel cookie cups.. so this one is up there now with the greats.
I know caramel isn’t everyones thing but I do love it and I did get so many requests for a bake like this, so I was more than happy to oblige.
You can use a ready made caramel (there’s no shame in using shop bought ingredients – don’t let anyone tell you otherwise!), or you can use my homemade caramel sauce recipe.
If you prefer salted caramel you can 100% add some salt into the recipe as well – it’s a delicious combo!
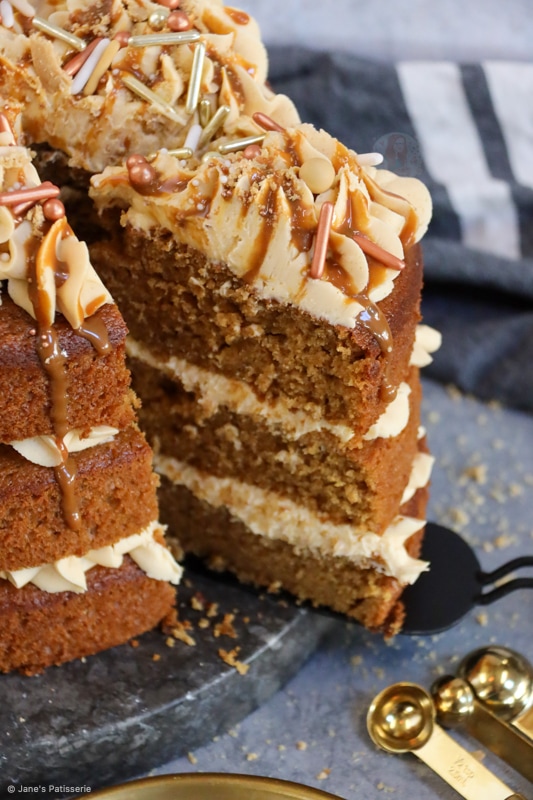
The frosting
I did go for an American buttercream style frosting again, but it does just work – so that is why. Because you are adding a liquid of the caramel you want a sturdy base which the American buttercream frosting provides.
One part unsalted block butter to two parts icing sugar – that’s all it is! I then flavour with ground ginger, caramel sauce and a little vanilla extract. It’s easy, and delicious.
You really do need to use the block butter though because if you use a margarine you will just have a mess on your hands which no-one wants.
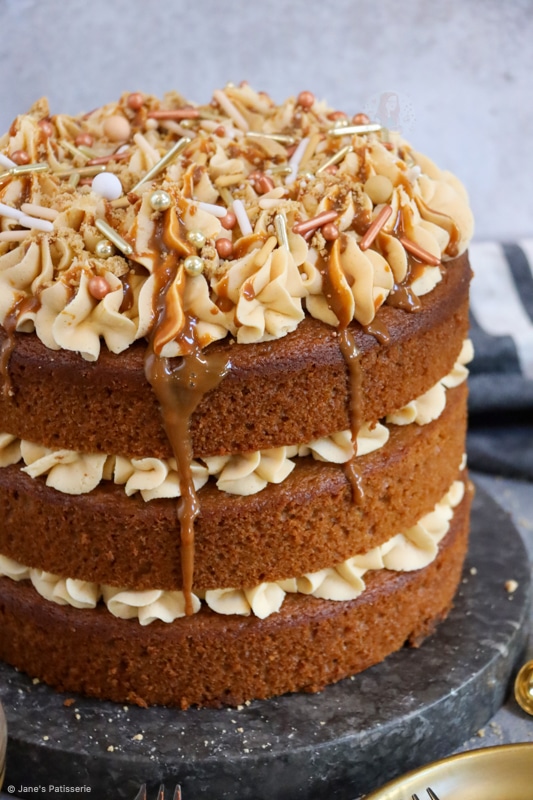
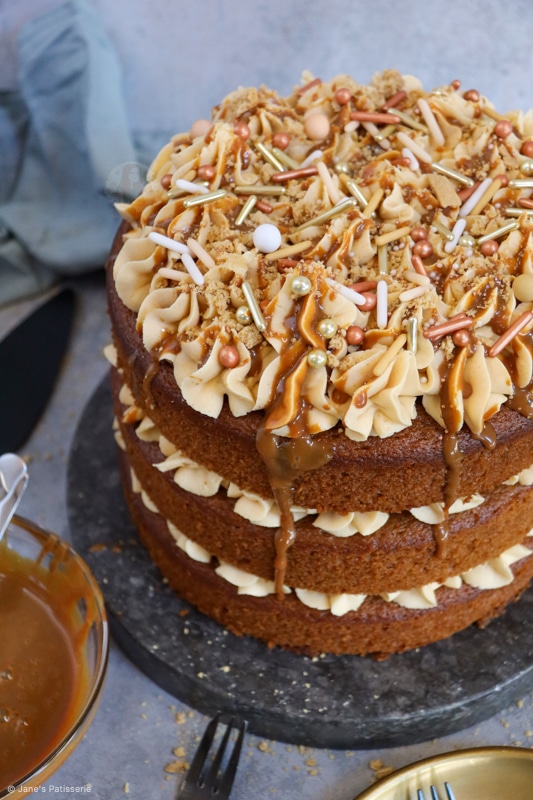
Decoration
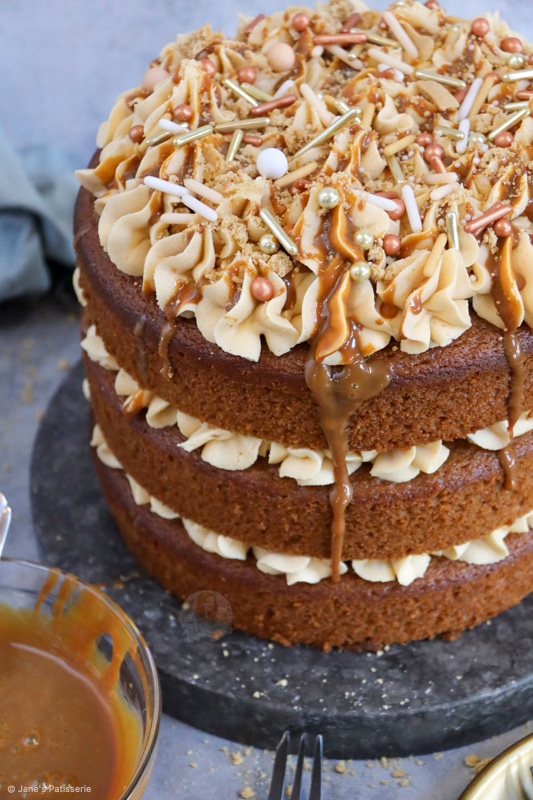
For the decoration I decided to keep it quite simple by piping my frosting onto the layers of sponge with my favourite piping tip as always – and layered as I went.
You can add a drizzle of caramel in-between each layer if you fancy as well, or just do the top like I did. I also decorated with some gingerbread biscuit crumbs and some sprinkles just because.
Sometimes simpler is better – and because this is quite a full flavoured cake, I didn’t feel the need for a drip style sponge.
Tips & Tricks
These sponges are purposely quite dense, but they are delightful. Make sure to cool them fully before moving them around. They stack well, but as mentioned above you can make them thinner by using four tins not three!
Use shop bought caramel or make your own, just go with it!!
This cake lasts 4+ days at room temp, or can freeze for 3+ months!
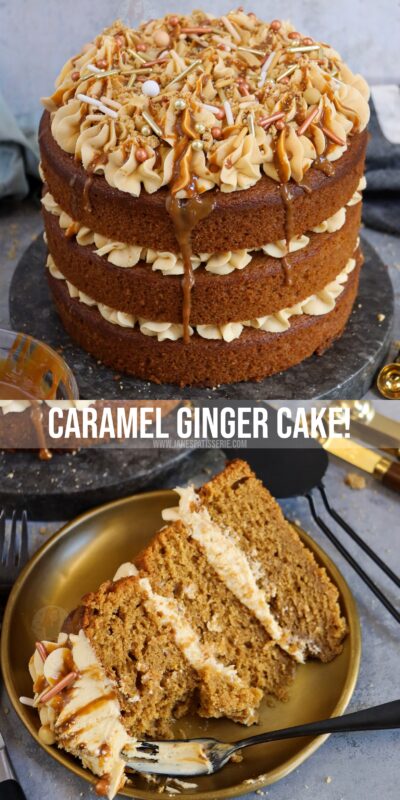

Caramel Ginger Cake!
#wprm-recipe-rating-0 .wprm-rating-star.wprm-rating-star-full svg * { fill: #343434; }#wprm-recipe-rating-0 .wprm-rating-star.wprm-rating-star-33 svg * { fill: url(#wprm-recipe-rating-0-33); }#wprm-recipe-rating-0 .wprm-rating-star.wprm-rating-star-50 svg * { fill: url(#wprm-recipe-rating-0-50); }#wprm-recipe-rating-0 .wprm-rating-star.wprm-rating-star-66 svg * { fill: url(#wprm-recipe-rating-0-66); }linearGradient#wprm-recipe-rating-0-33 stop { stop-color: #343434; }linearGradient#wprm-recipe-rating-0-50 stop { stop-color: #343434; }linearGradient#wprm-recipe-rating-0-66 stop { stop-color: #343434; }
Print Pin Rate
Ingredients
Cake Sponges
- 300 g unsalted butter
- 300 g light/dark brown soft sugar
- 300 g golden syrup
- 300 g black treacle
- 600 g self raising flour
- 4 tsp ground ginger
- 4 Medium eggs
- 400 ml whole milk
Buttercream
- 400 g unsalted butter (room temp)
- 800 g icing sugar
- 50 g caramel
- 1 tsp ground ginger
- 1 tsp vanilla extract
Decoration
- 100 g caramel
- sprinkles
- biscuit crumbs
Instructions
Cake Sponges
-
Preheat the oven to 180ºc/160ºfan and line 3x 8″/20cm cake tins
-
In a pan, gently heat the unsalted butter, sugar, golden syrup and black treacle together in a pan until smooth, allow to cool for 10 minutes.
-
In a large bowl, add the self raising flour and ground ginger together and pour in the butter/sugar/treacle mix – stir to combine.
-
Add in the eggs and milk and stir to combine.
-
Split the mixture between the three tins
-
Bake in the oven for 35-40+ minutes, or until baked through. Leave to cool fully.
Buttercream
-
Beat the room temperature unsalted butter on it’s own for a few minutes to loosen it and make it lovely and soft.
-
Add in the icing sugar, ground ginger, caramel and vanilla extract, and beat again.
-
Continue beating until the buttercream is lovely and fluffy and perfect – about five minutes.
Decoration
-
Pipe a third of the buttercream onto the first cake with the piping tip of choice, and repeat. Decorate with some caramel sauce, crumbs, and some sprinkles.
Notes
- This will keep for 3-4+ days! The flavour keeps on getting better as the days go on.
- For this recipe I used:
- This cake will freeze frosted or unfrosted for up to three months in a freeze proof container.
Find my other recipes on my Recipes Page!
You can find me on:
Instagram
Facebook
Pinterest
Twitter
Youtube
J x
© Jane’s Patisserie. All images & content are copyright protected. Do not use my images without prior permission. If you want to republish this recipe, please re-write the recipe in your own words and credit me, or link back to this post for the recipe.