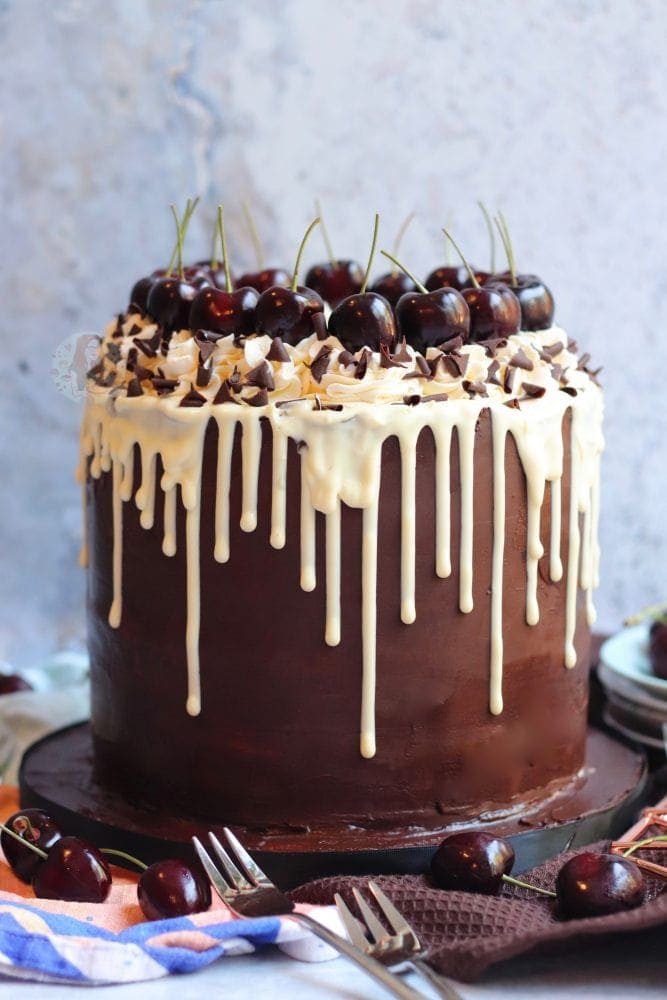
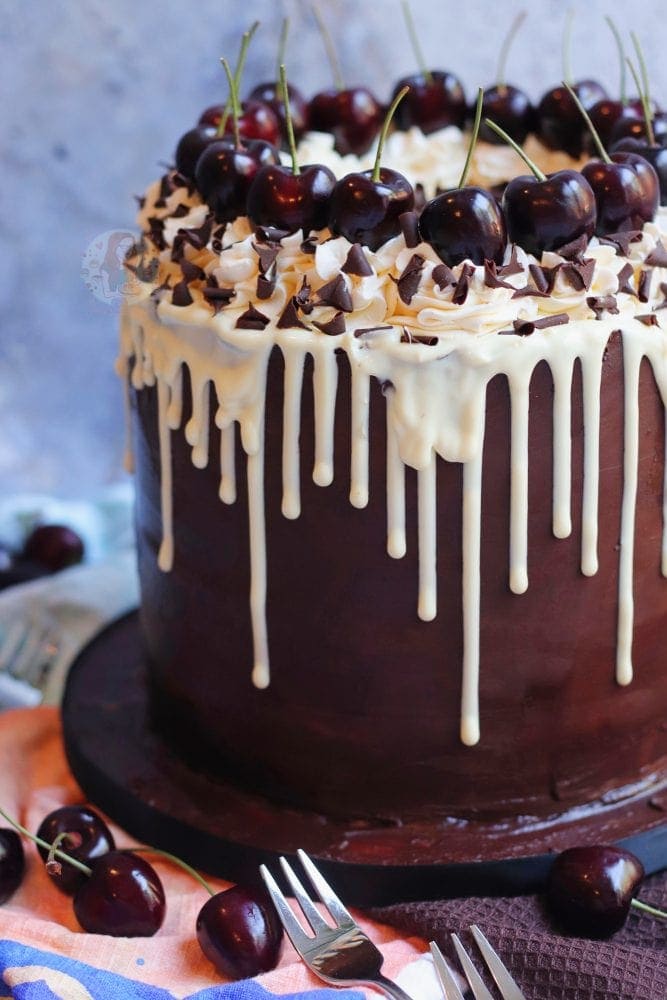
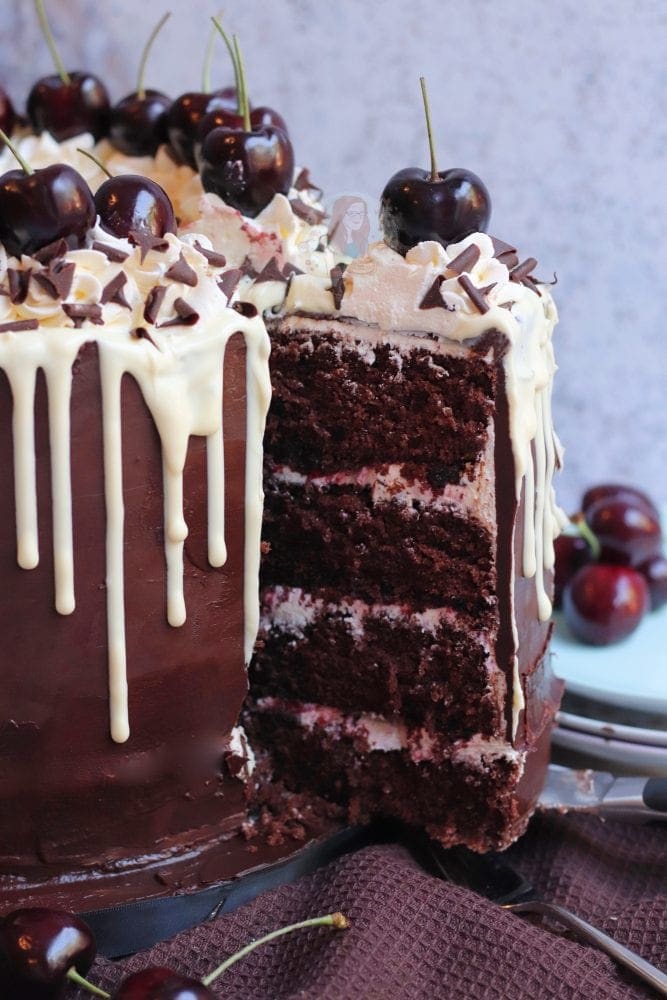
A four-layer black forest drip cake with chocolate sponges, cherries, vanilla buttercream, chocolate ganache, a chocolate drip and even more!
Black forest baking
I realise that this may be a bit of a weird cake to post onto my blog in the summer, but it was for my brothers birthday so I’m rolling with it. To be honest though, when really is black forest season?! I usually think Christmas but August will do nicely!
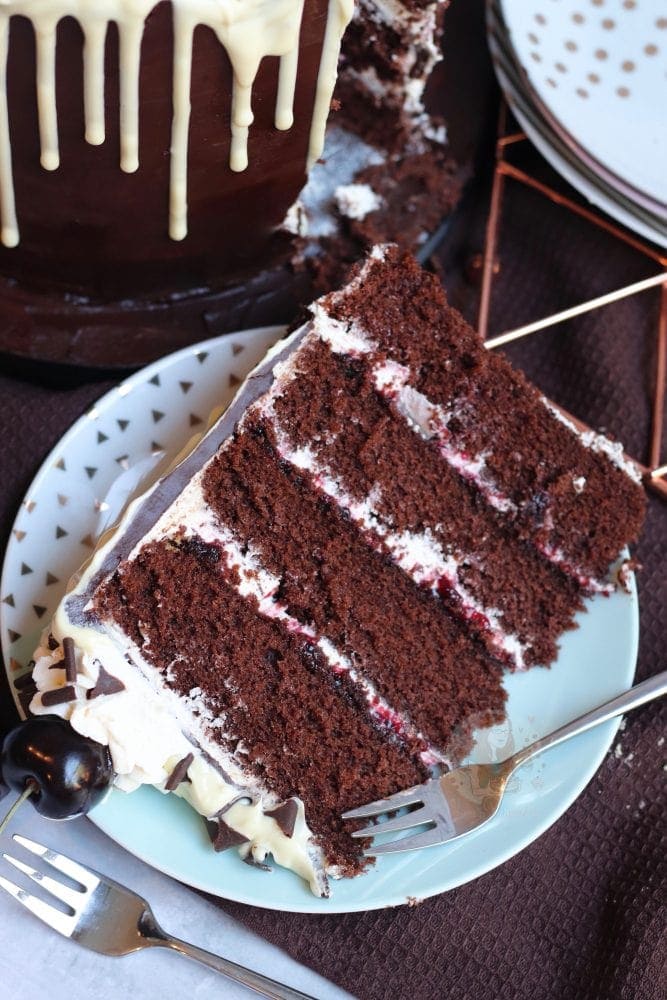
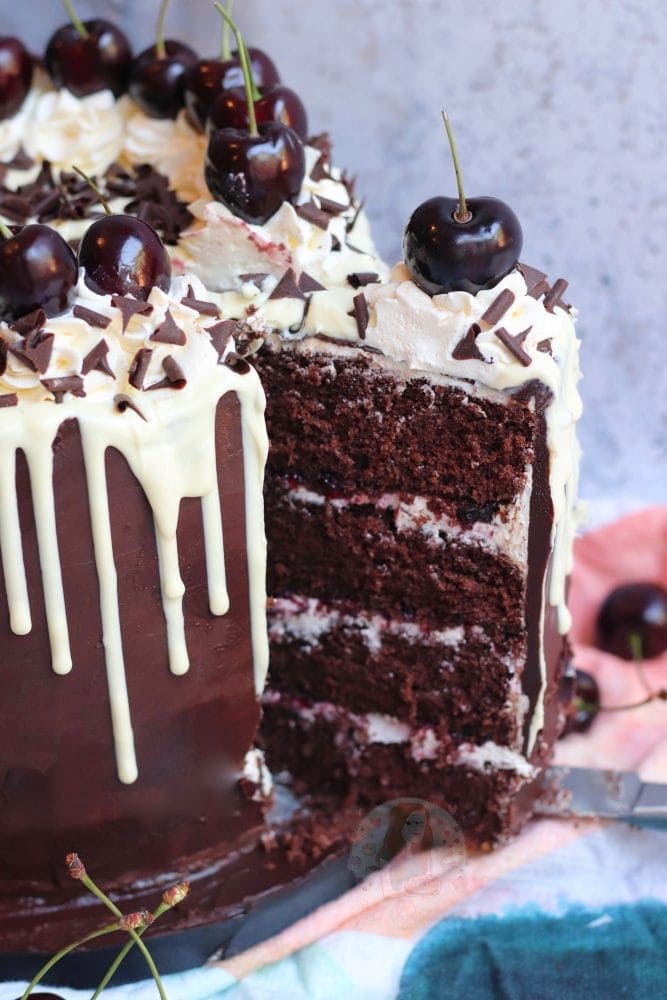
This cake is definitely a showstopper, as you will probably notice from the description at the beginning and the photos… I got a little carried away and went for a four layer insane cake instead of my usual three.
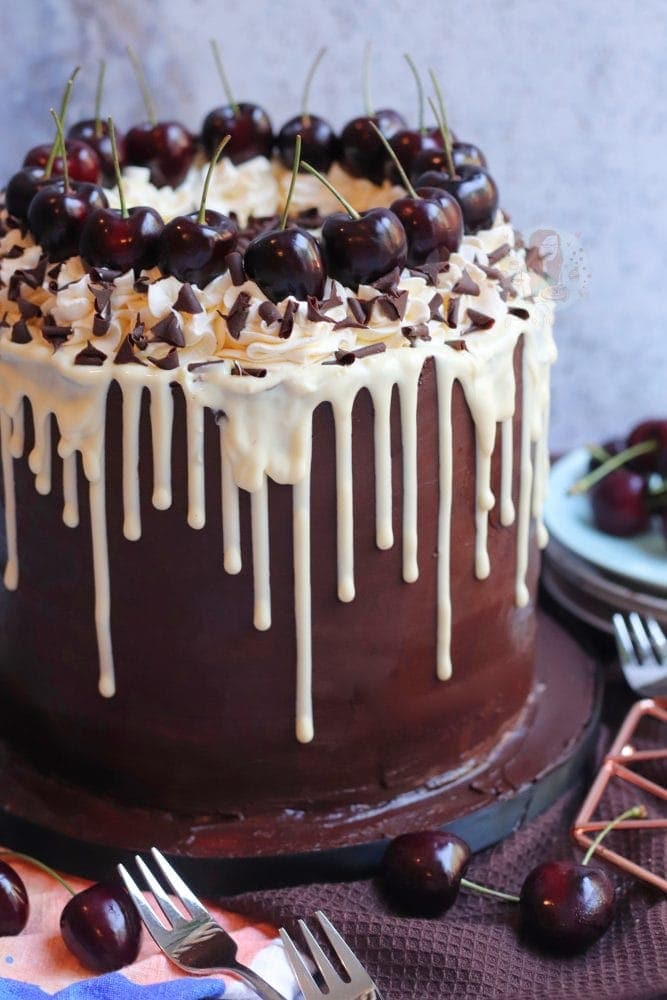
This is partly because my black forest cake is already a three layer cake, so I wanted to make this different enough to that, and also to show you guys how to do a four layer beauty with a dark chocolate ganache covering!
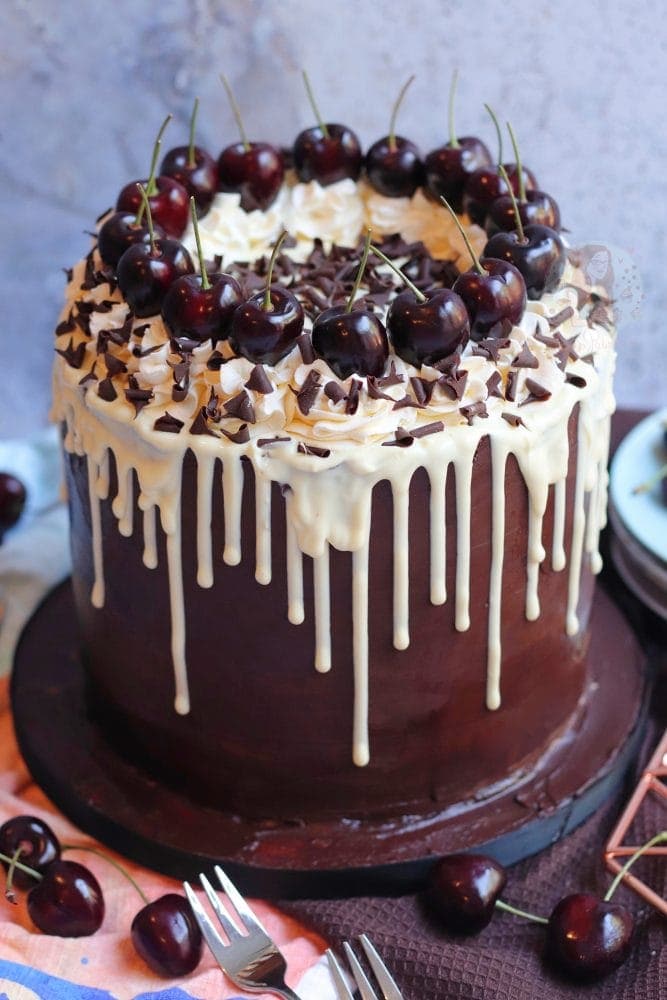
Black forest drip cake
Because this cake is a little more intense with four layers, buttercream, jam, fruit and ganache there are quite a few ingredients so sorry in advance for that… but if you want to bake this exact cake, there is no way around it! Only the best will do for my brothers birthday.
In all honesty, I was meant to do this cake for my brother last year but I got a little sidetracked with life and never gave him the black forest cake he had asked for, so I thought going a little OTT this year would make up for it! And it did. So much.
Smaller version
The good thing about this cake is that you can easily halve it. Because I went for a 500g mixed cake (to get four decent layers) you can easily just chop the recipe in half, and get a lovely two layered cake. I realise most of you won’t want a giant version of this, but I think they look better in the pictures!
Cream vs buttercream
When it comes to black forest cakes, there is a bit of a tussle about who is right in what the recipe puts. Theoretically a black forest cake should use fresh cream, but because I don’t want this cake to go in the fridge I use buttercream. It just means the cake lasts much longer and doesn’t dry out!
When I posted my black forest cake recipe I got a very shirty email from someone saying I was completely and utterly wrong for having used buttercream in it, even though I had explained in that post as well about freshness and the fridge… but there we are. You’ve had your pre-warning this time.
Cherries and jam
I went with cherry jam, and a jar of Opies cherries in kirsch for the filling, but if you don’t have access to the jar of cherries in kirsch, you can use fresh cherries soaked in kirsch overnight for this instead. Use the leftover liquid from the jar/bowl to soak into the sponges!
Ganache
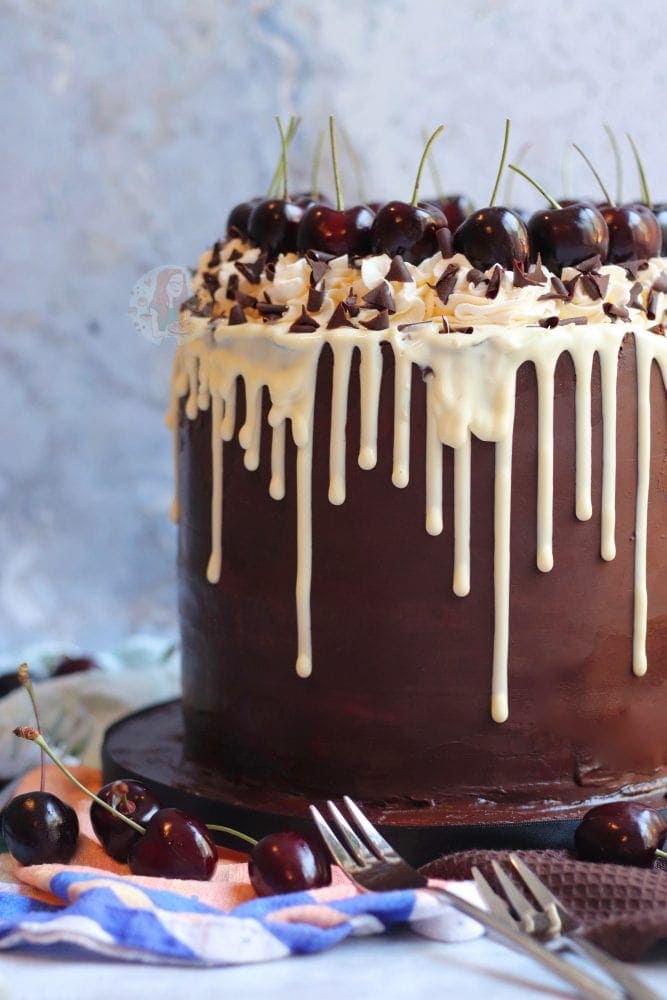
For the ganache, I decided to go with a dark chocolate one, so I had a nice contrast, similar to my Biscoff drip cake I posted recently. In that one I used a white chocolate ganache and explained the ganache rule of 1:1 for dark, 2:1 for milk, and 3:1 for white chocolate.
In my mind black forest = dark chocolate, so that’s why I went with it. However, you can swap the ganache up and use a milk chocolate version instead by using 400g milk chocolate and 200ml of double cream (same method).
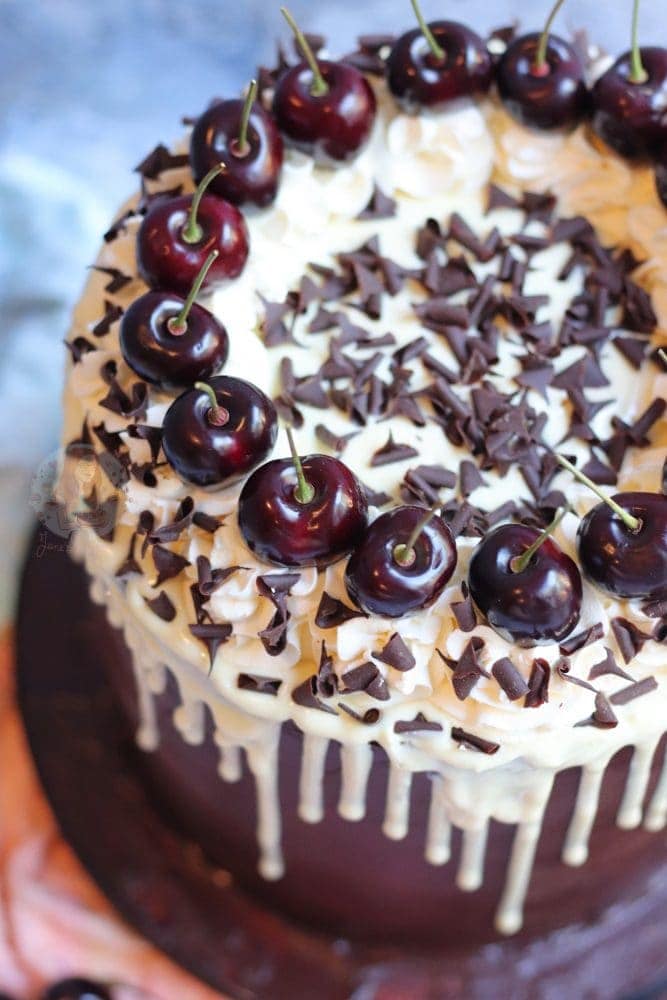
Decoration
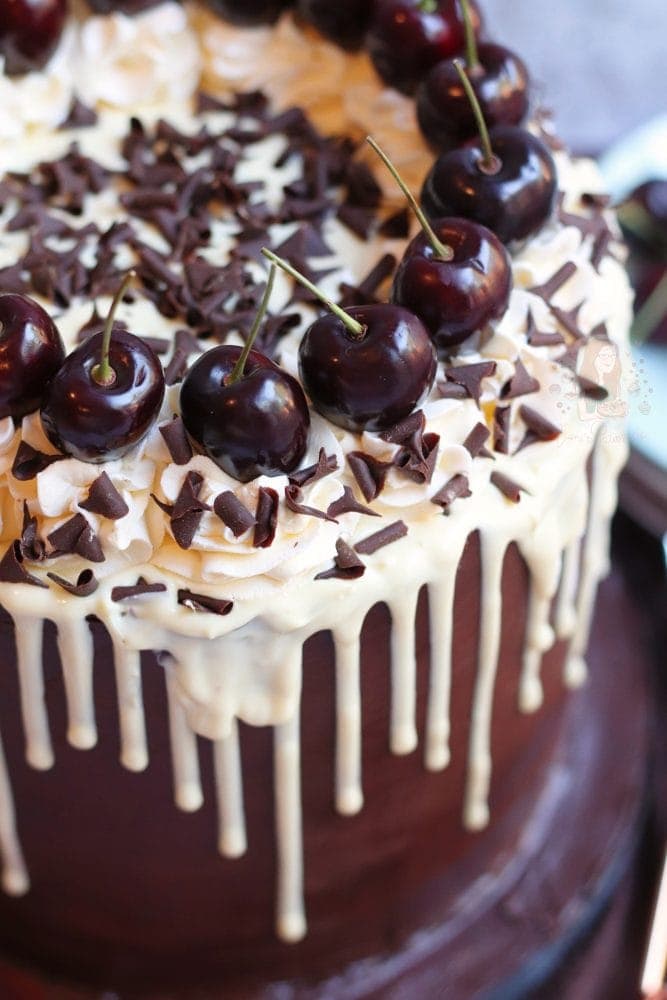
I wanted a little pizzazz to this cake, which is why I then went for the vanilla buttercream swirls on top and a white chocolate drizzle for an amazing contrast against the dark chocolate ganache.
Usually in a recipe post I won’t bother to cover the cake board if I use one because it doesn’t even slightly impact on the cake… and I wouldn’t have done it for this one either but as it was my brothers birthday I went that extra mile. I used some leftover ganache to cover it!
Cake board
I just got a 10″ Cake Board from Iced Jems, and brushed melted chocolate onto it once the cake was done and added a ribbon around the bottom. People can moan that I don’t cover cake boards normally all they want “As they can’t stand it” but if I’m just making a recipe post… what’s the point?!
Decorating tools!
As usual for this cake I used a large metal scraper to decorate it, as it makes smoothing around the ganache so much easier. I also used my favourite 2D closed star piping tip. An offset angled spatula is easiest to use when putting the buttercream and ganache on the cake too!
I hope you guys love this beauty of a cake as much as my brother and I did! Enjoy! x

Black Forest Drip Cake!
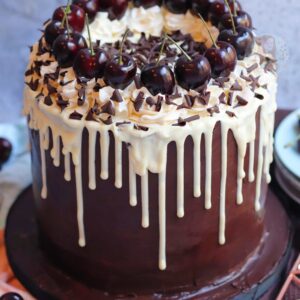
Black Forest Drip Cake!
#wprm-recipe-rating-3 .wprm-rating-star.wprm-rating-star-full svg * { fill: #343434; }#wprm-recipe-rating-3 .wprm-rating-star.wprm-rating-star-33 svg * { fill: url(#wprm-recipe-rating-3-33); }#wprm-recipe-rating-3 .wprm-rating-star.wprm-rating-star-50 svg * { fill: url(#wprm-recipe-rating-3-50); }#wprm-recipe-rating-3 .wprm-rating-star.wprm-rating-star-66 svg * { fill: url(#wprm-recipe-rating-3-66); }linearGradient#wprm-recipe-rating-3-33 stop { stop-color: #343434; }linearGradient#wprm-recipe-rating-3-50 stop { stop-color: #343434; }linearGradient#wprm-recipe-rating-3-66 stop { stop-color: #343434; }
Print Pin Rate
Ingredients
Cakes
- 500 g unsalted butter
- 500 g light brown sugar
- 10 medium eggs
- 400 g self raising flour
- 100 g cocoa powder
Buttercream
- 300 g unsalted butter (not stork) (room temp)
- 600 g icing sugar
- 1 tsp vanilla extract
Ganache
- 300 g dark chocolate
- 300 ml double cream
Filling
- 1 jar Opies cherries in kirsch
- 200 g cherry jam
- Kirsch (optional)
Decoration
- 150 g white chocolate
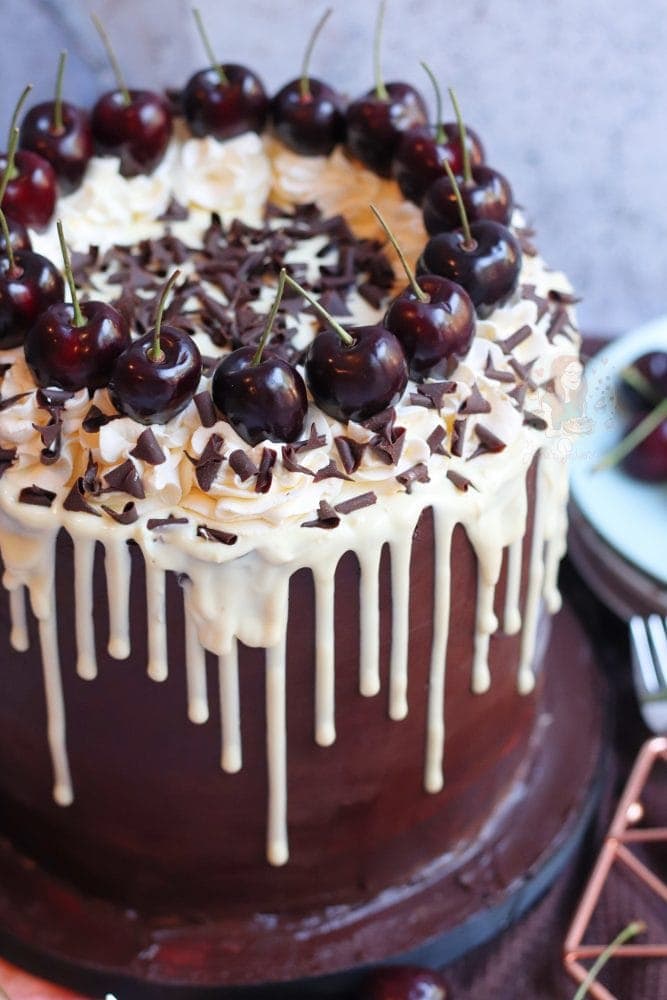
- Fresh cherries
- Sprinkles
Instructions
For the Cake!
-
Preheat your oven to 180C/160C Fan, and line four 8″/20cm cake tins with parchment paper.
-
In a large bowl or stand mixer, beat together your butter and sugar until light and fluffy.
-
Add in your flour, cocoa powder and eggs and beat again until a delicious cake mixture is formed.
-
Split evenly between the four tins and the bake in the oven for 30-35 minutes, or until baked through. A skewer should come out clean!
-
Leave the cakes to cool in the tins for 10-15 minutes, and then cool full on a wire rack.
For the Buttercream
-
Make sure your unsalted butter is at room temperature, and beat on its own for a few minutes to really make it supple.
-
Add in the icing sugar a little at a time, and beat fully.
-
Add in the vanilla and beat again until combined.
For the Ganache
-
Add your chocolate and cream to a heatproof bowl/jug, and heat in the microwave in 15-30 second bursts on low power stirring fully each time till melted and lovely.
-
Leave the ganache to sit, stirring every now and again, until a peanut butter like consistency is formed. You can do this in the fridge or at room temperature, just make sure to not let it get rock solid.
For the Assembly
-
Drain the cherries from the jar, keeping the liquid in a bowl.
-
Add a smidge of buttercream onto the cake board or plate you are using to secure the cake. Add the first sponge on top.
-
Drizzle over some of the kirsch liquid from the bowl.
-
Spread over some of the buttercream, and a little cherry jam, and some cherries from the jar.
-
Repeat this process with the next two sponges!
-
Add your final sponge on top, and drizzle with the kirsch.
-
Using some of the buttercream, do a crumb coat on the cake – use an angled spatula or similar to spread the buttercream around the cake thinly, filling in any gaps there may be and so that the sides of the cake are flat.
-
Put the cake in the fridge for 15-20 minutes or so to set the crumb coat.
For the Decoration
-
Once your ganache is at the peanut butter consistency, and your crumb coat has set, slather on the ganache with an angled spatula, and smooth around the edges with a large metal scraper till smooth.
-
Add some to the top of the cake and smooth this over so that the cake is sealed in the ganache.
-
Set the cake in the fridge for 15-20 minutes again till the ganache is solid.
-
Melt your white chocolate carefully, and drip down the sides of the cake using a small disposable piping bag with the end snipped off.
-
Let the chocolate sit for 5 minutes or so to set itself.
-
Pipe on top of the cake with the rest of the vanilla buttercream (and a 2D closed star piping tip), and add fresh cherries to the top of the cake and some sprinkles.
-
If you are decorating the cake board, spread/brush some leftover ganache onto the board.
-
Set the cake in the fridge for the final time and then enjoy!
Notes
- All of the decoration is optional – I just described and put the recipe everything I did for the cake.
- You can bake the cake into two tins instead of four if you don’t have four – just use deep 8″/20cm cake tins, and bake for longer!
- You can make a half size cake by literally halving the recipe and baking into two tins.
- I would not recommend using fresh cream in this cake in place of the buttercream as it’s not sturdy enough to then stack and ganache.
- If you can’t access Opies black cherries in kirsch, make your own by soaking some cherries in a bowl of kirsch overnight before baking.
- You can make the ganache the day before as well to make it quicker the following day, but you will need to very carefully re-heat the ganache to the consistency you want and you don’t want it to split.
- Alternatively you can make the ganache first, and leave it to do its thing whilst you do the rest and it should be ready in time!
- This cake will last for 3-4 days once decorated!
- For this cake I used:
- Small angled spatula for the ganache and buttercream
- Large metal scraper for the ganache and smooth the sides
- A 2D Closed Star Piping tip for the buttercream on top
- Small disposable piping bags for the white chocolate drip
- 10″ Cake Board for the cake to sit on!
ENJOY!
Find my other Recipes on my Recipes Page!
You can find me on:
Instagram
Facebook
Pinterest
Twitter
Youtube
J x
© Jane’s Patisserie. All images & content are copyright protected. Do not use my images without prior permission. If you want to republish this recipe, please re-write the recipe in your own words and credit me, or link back to this post for the recipe.