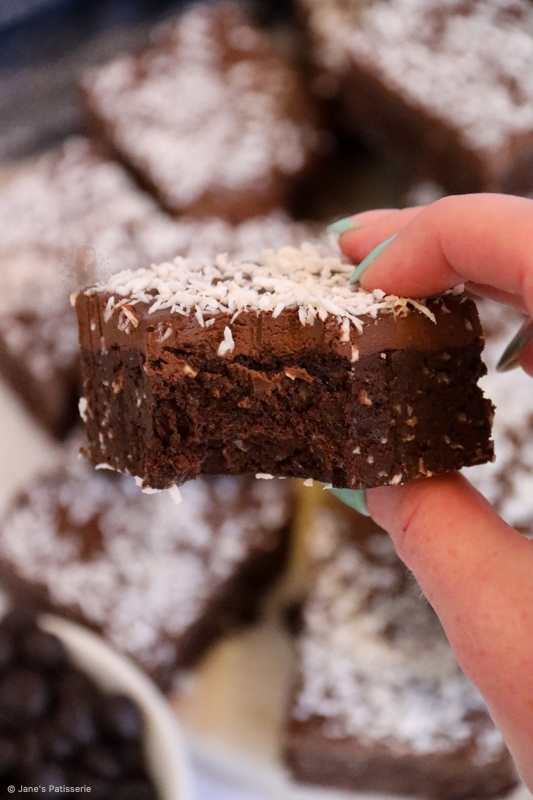
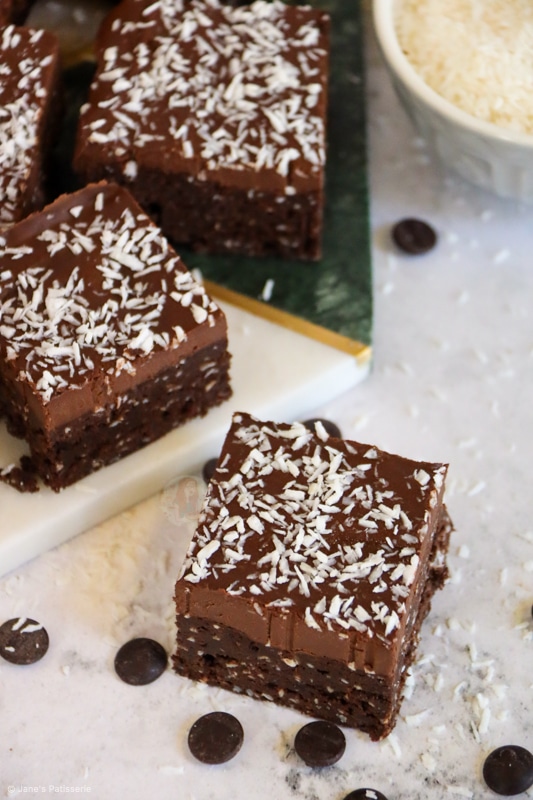
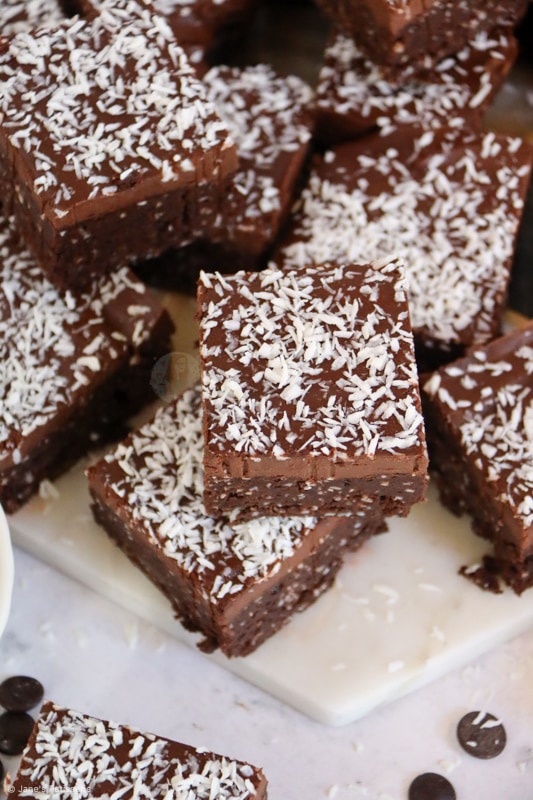
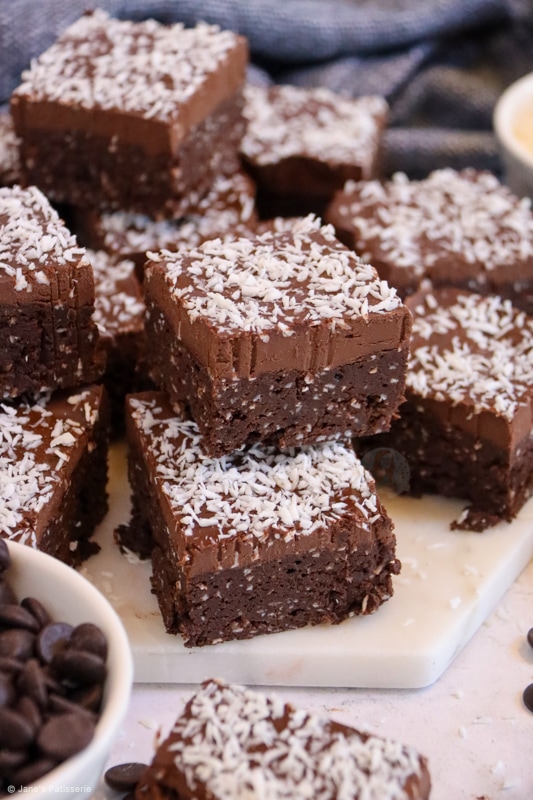
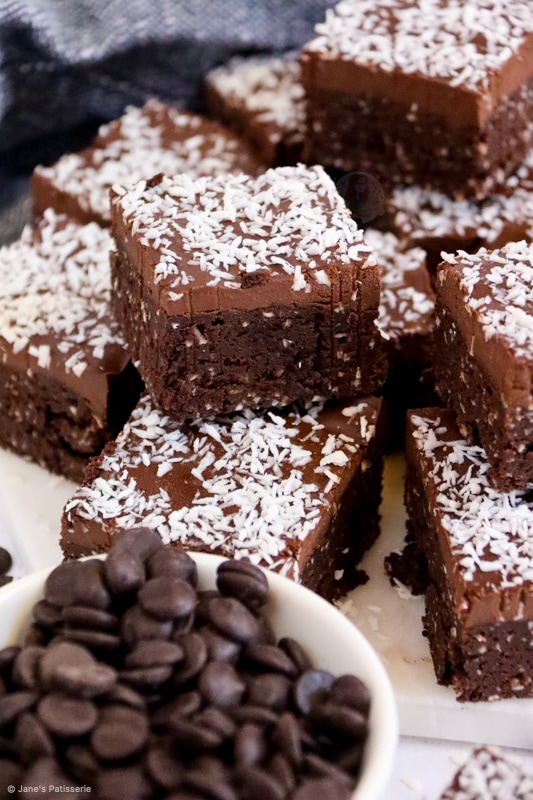
Easy fudgey coconut brownies topped with a scrumptious chocolate ganache frosting and toasted coconut!
A couple of months ago I posted the recipe to my oreo brownies and cheesecake brownies and I believe that they were a hit, especially by how many people baked them since then.
However, I decided to try something a little different as I had what felt like a tonne of desiccated coconut lying around which I had neglected to use.
I asked my families opinion and they all wanted something chocolatey so I thought that the perfect compromise would be a brownie packed full with the deliciously sweet taste of coconut running through it.
Brownies
Brownies are by far one of my favourite things to bake and I am just in love with all of them. My Rolo Brownies, my biscoff brownies, or even my triple chocolate brownies are always just so delicious.. but if you are a coconut fan then you will simply adore these.
Chocolate
When baking brownies, it is so so so important to stick to using the correct chocolate. I used dark chocolate, and I always will. You want the chocolate to be 70+% cocoa content for best results, and this is for the base brownie mix and the ganache.
When it comes to chocolate that you fold through, you can use whatever chocolate chip you fancy – for these I used milk chocolate to make it slightly lighter.

Coconut
Following the success of my coconut chocolate rocks and my coconut chocolate chip blondies, it is obvious chocolate and coconut go together like two loving peas in a pod.
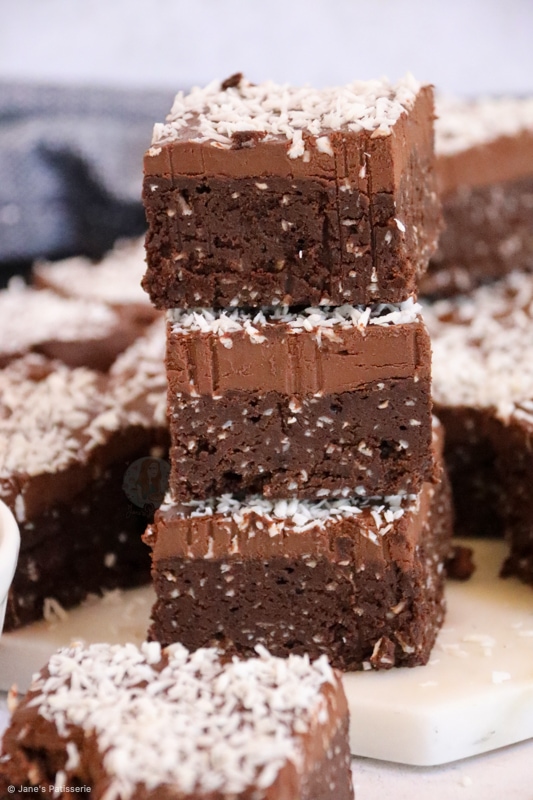
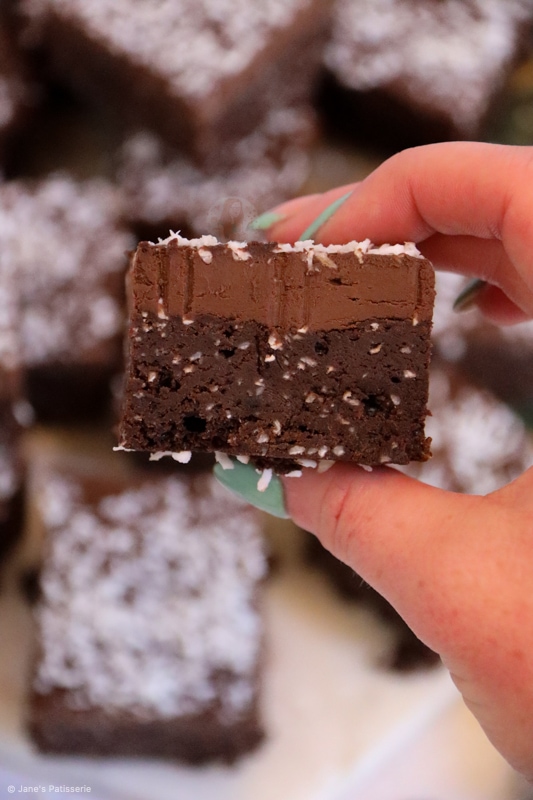
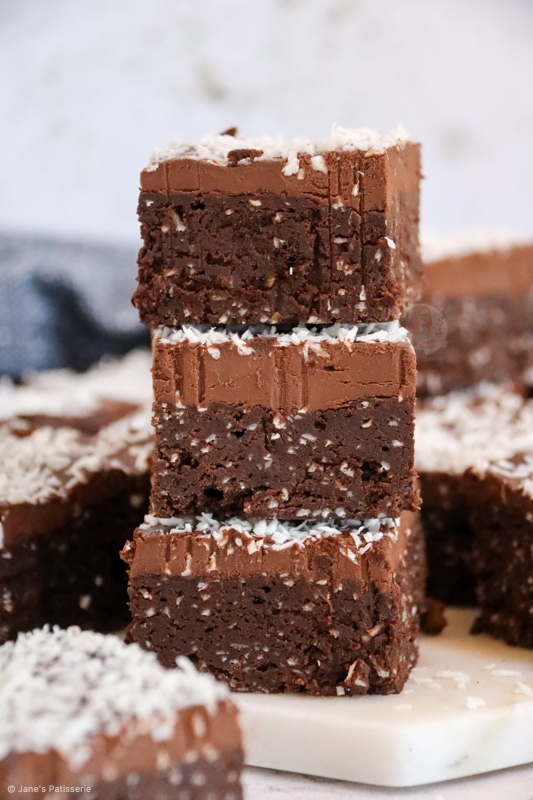
However with this recipe, the base is chocolate with delicious coconut mixed through so it is present in every mouthful, which for me, makes the coconut the star of the show.
I decided to fold through desiccated coconut into the brownie mix, and then top with the ganache and even more desiccated coconut on top.
Baking
Brownies are deceptively easy – you need to follow the instructions to whip the eggs and sugar enough, and then carefully fold the ingredients together… and once thats done? Pour in the tin.
The tin is so important.. as its not always so simple to change to a different size. My brownies are perfect to bake in a 9″ square tin or a 7×11″ brownie tin – you’ll get the best results with these sizes.
You want to bake the brownies until there is a slight wobble in the middle of the tin. I don’t mean the entire bake needs to wobble, but just a bit.
Once you reach this stage, you want to bring the brownies out and let them cool in the tin. Then, you can top with the ganache.
Ganache
So for these brownies I decided to level them up slightly like I did with my baileys brownies and make a coconut ganache for a frosting.
It’s so easy with just dark chocolate and coconut cream melted together until its silky smooth, and then spread over and topped with some extra desiccated coconut.
Once the brownies are topped with the ganache, you can ‘set’ the brownies overnight for the perfect bake.
Tips and Tricks
Just putting it out there – these brownies warmed as a scrumptious dessert with a little ice cream – YASSSSSS! You could even try using these brownies in my brownie swirl ice cream which, to be honest, is already making me salivate!
If you don’t fancy the ganache, you can use some melted chocolate, or a chocolate frosting, then sprinkled with toasted coconut! It might seem a little simple but its not too much and over powering, its perfect for them!
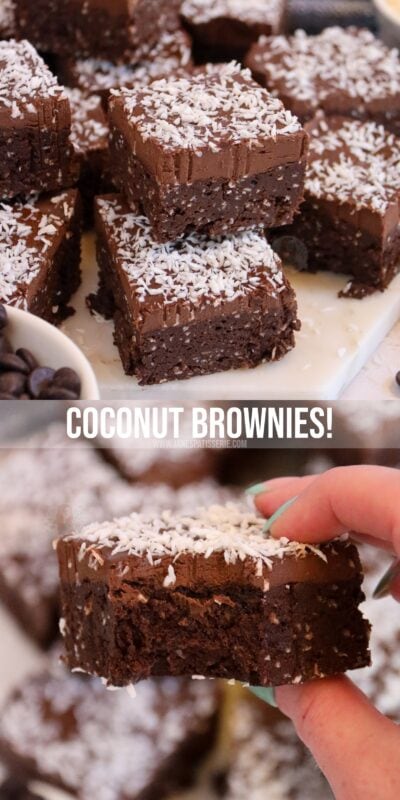
Coconut Brownies!
Print Pin Rate
Ingredients
Brownies
- 200 g unsalted butter
- 200 g dark chocolate (chopped)
- 4 medium eggs
- 275 g caster sugar
- 100 g plain flour
- 50 g cocoa powder
- 75 g desiccated coconut
Ganache
- 200 g dark chocolate
- 200 ml coconut cream
- 25 g desiccated coconut
Instructions
Brownies
-
Preheat your oven to 180ºc/160ºfan and line a 9″ square baking tray with parchment paper.
-
Melt together the unsalted butter and dark chocolate in a heatproof bowl over a pan of boiling water, or in the microwave for short bursts until melted.
-
Leave to the side to cool to room temperature.
-
Using an electric whisk/stand mixer, whisk together the eggs & caster sugar for a few minutes until the colour has turned pale, and doubled in volume.
-
Fold through the chocolate mix, then add the cocoa powder, plain flour and desiccated coconut and then fold together again – still being careful to not knock out the air!
-
Pour into your prepared tin and smooth over.
-
Bake in the oven for 25-30 minutes, until there is an ever so slight wobble in the middle.
-
Once baked, leave to cool in the tin completely.
Ganache
-
Add the dark chocolate and coconut cream into a jug
-
Heat on a low heat in the microwave (or in a pan), and stir often until smooth.
-
Spread the ganache onto the brownies, sprinkle on some extra coconut and then set the brownies in the fridge overnight for best results.
Notes
- These will last in an airtight container for 1 week, but I very much doubt they will last that long.
- You can just slap on the frosting and then cut the squares, but I wanted mine to look neater as they were for a party!
- I used this 9″ square masterclass tin
- This recipe has been updated, the old recipe was:
- 100g cocoa powder
- 250g unsalted butter
- 500g caster sugar
- 4 medium eggs
- 100g self raising flour
- 150g desiccated coconut
Find my other recipes on my Recipes Page!
You can find me on:
Instagram
Facebook
Pinterest
Twitter
Youtube
J x
© Jane’s Patisserie. All images & content are copyright protected. Do not use my images without prior permission. If you want to republish this recipe, please re-write the recipe in your own words and credit me, or link back to this post for the recipe.