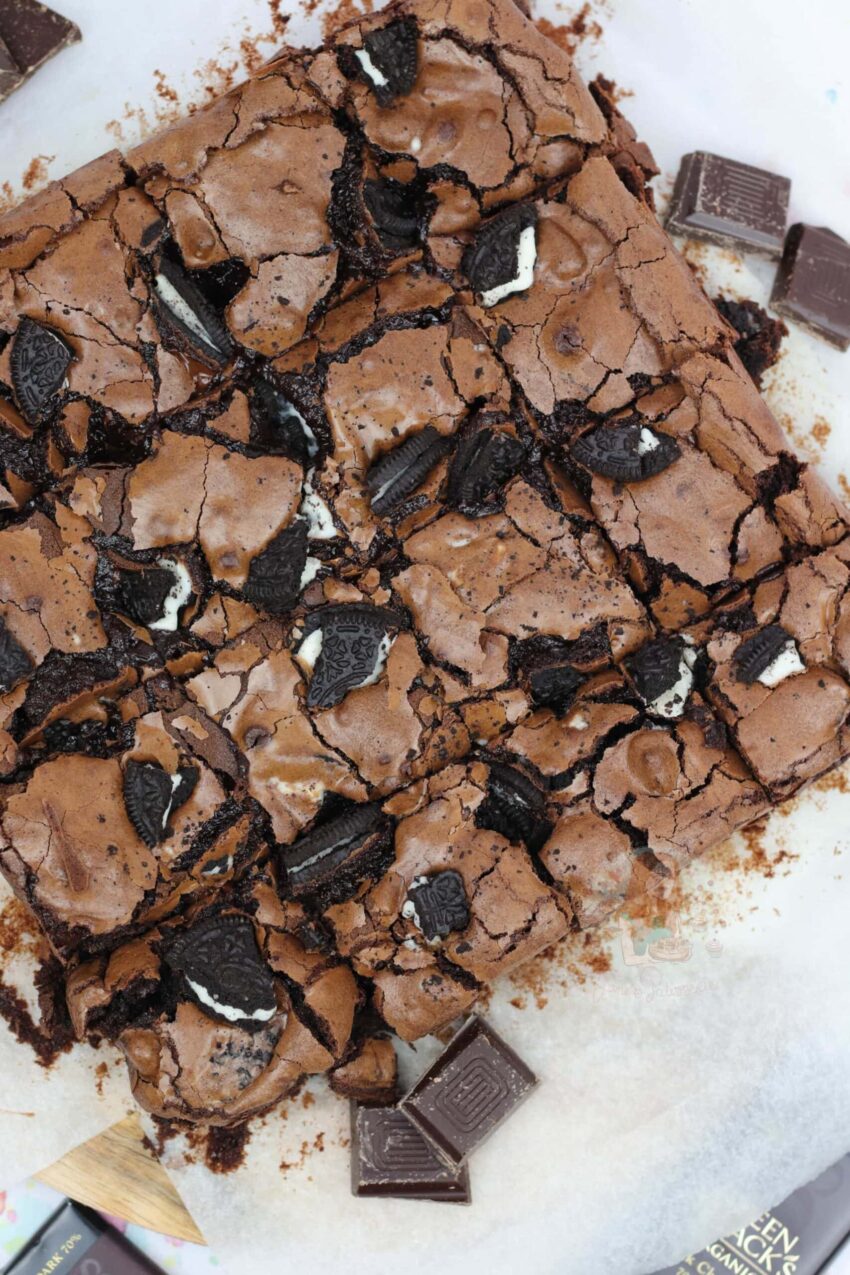
Thick fudgey chocolate chunk dairy free brownies with Oreos!
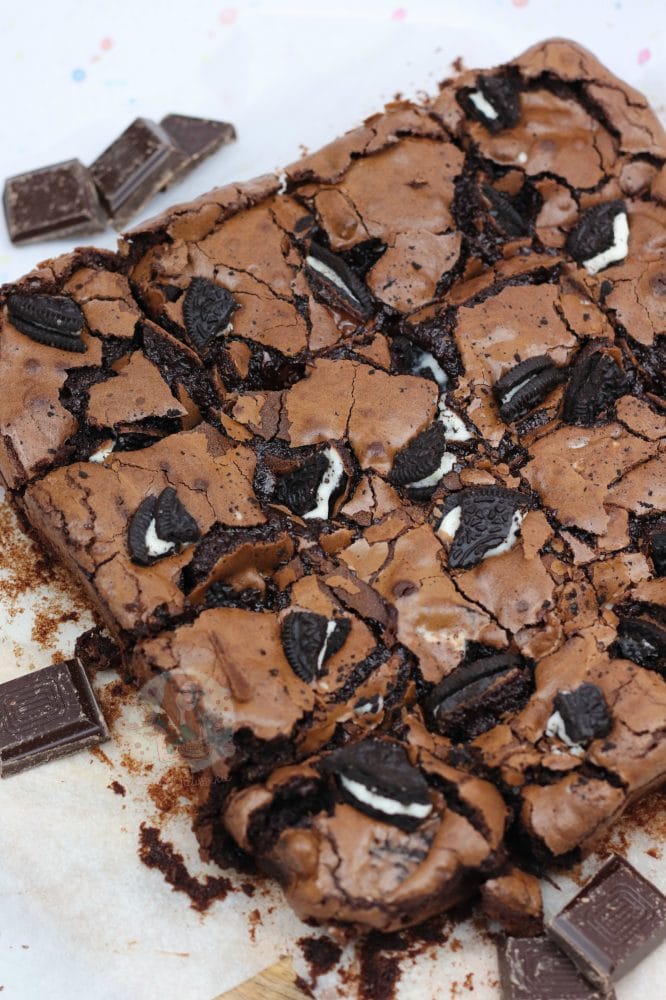
Dairy free brownies
So recently my friend started a dairy free diet, and I’ve had to do one for a little bit as well. I was basically testing to see if I have an intolerance as I’m aaaaalways poorly and have never known the cause, BUT yayayay its not dairy for me. I don’t know if I could live without cheese, or you know… all of the chocolates I eat ever. However, my friend is still sticking strong with it. Therefore, I want to make her a delicious tasty treat to make her realise that you can still have insanely delicious treats that are dairy free!
I’ve eaten a good few dairy free things over the past few weeks, and my god they are expensive. Some things, are naturally dairy free such as Oreos, to thats perfect. I love them. But if you go to the dairy free part of a supermarket, they can be SO PRICEY. Like wow. I realise its because if they are mass producing products, they tend to use different ingredients which makes it more expensive, but its also because eating free-from products is on the rise. I find it a shame, but it happens. Therefore, making stuff at home is IDEAL.
Chocolate
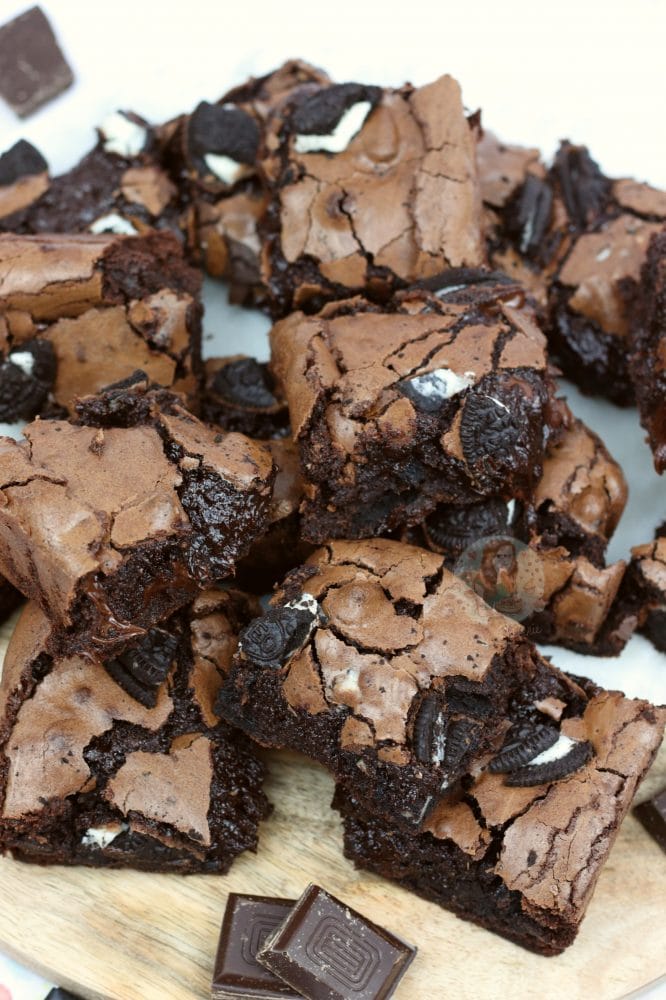
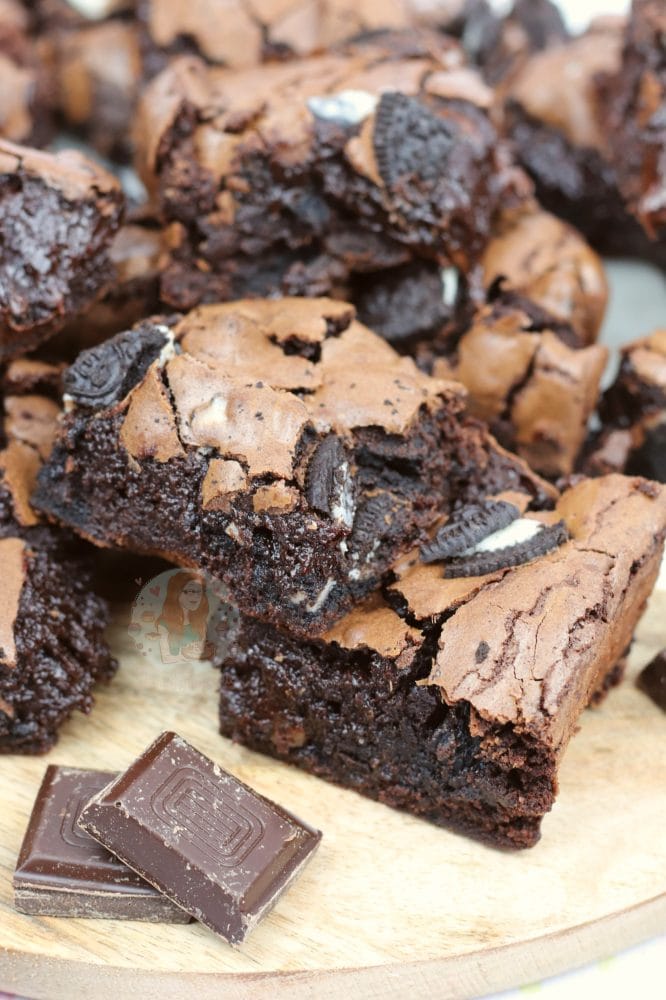
One of the most amazing things about dark chocolate, is that ~most~ of them are dairy free naturally. The darker the chocolate, the higher the chance of them being dairy free. Some brands however sell flavoured dark chocolates, and they can therefore then contain dairy, but most don’t. When I was being dairy free, I was LOVING Green & Blacks chocolates, and Hotel Chocolat chocolate, but to be strict I avoided Lindt as the ones I saw still contained some form of milk.
Because my brownie recipes have a base of dark chocolate, that part was easy. Just use dark chocolate that definitely doesn’t have dairy in. Then, swapping the butter I usually use for a dairy free spread literally worked so perfectly. The mixture I would say is slightly thinner, but it didn’t matter luckily! Then the rest of my ingredients were naturally dairy free as well. Using dark chocolate chunks, and then some Oreos for a bit more fun, we are onnnnnnn for some dairy free brownies! Yum.
Tips and tricks!
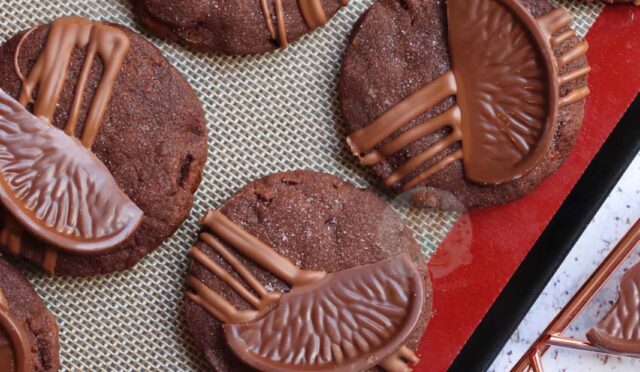
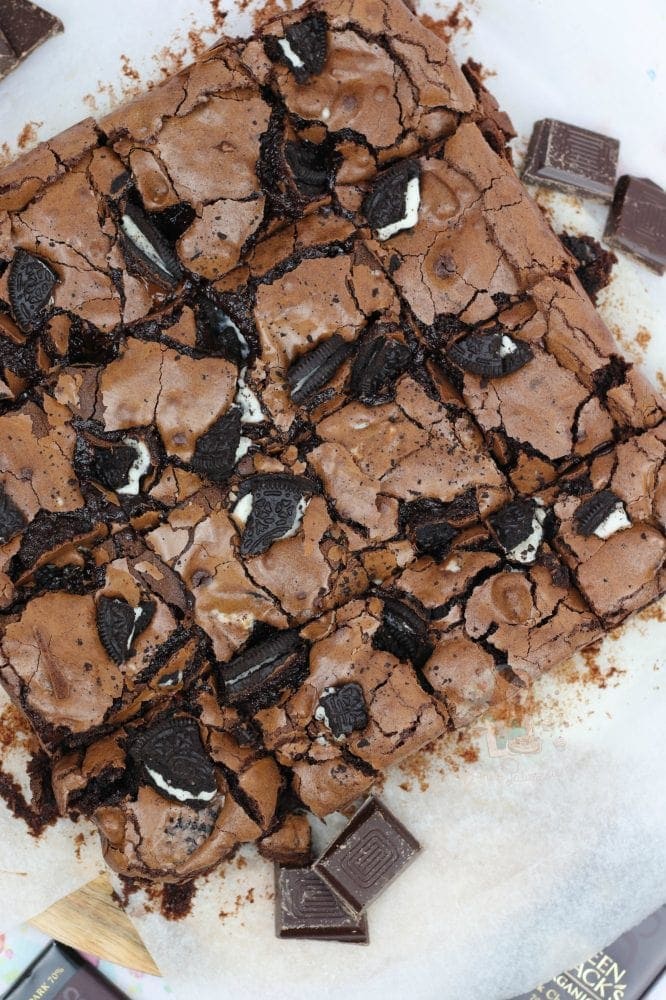
Literally they follow the same process as all my other brownies such as my Toblerone brownies and Terry’s chocolate orange brownies, and its perfect. I love being able to make something for people who often miss out, and so easily! And the best thing is, you can easily make them gluten free as well. Simple swap the flour for a gluten free alternative, ( I ALWAYS recommend Doves Farm brand), make sure the cocoa powder and such is also gluten free, and use more chocolate chunks instead of the oreos, and you have a doubly free-from treat.
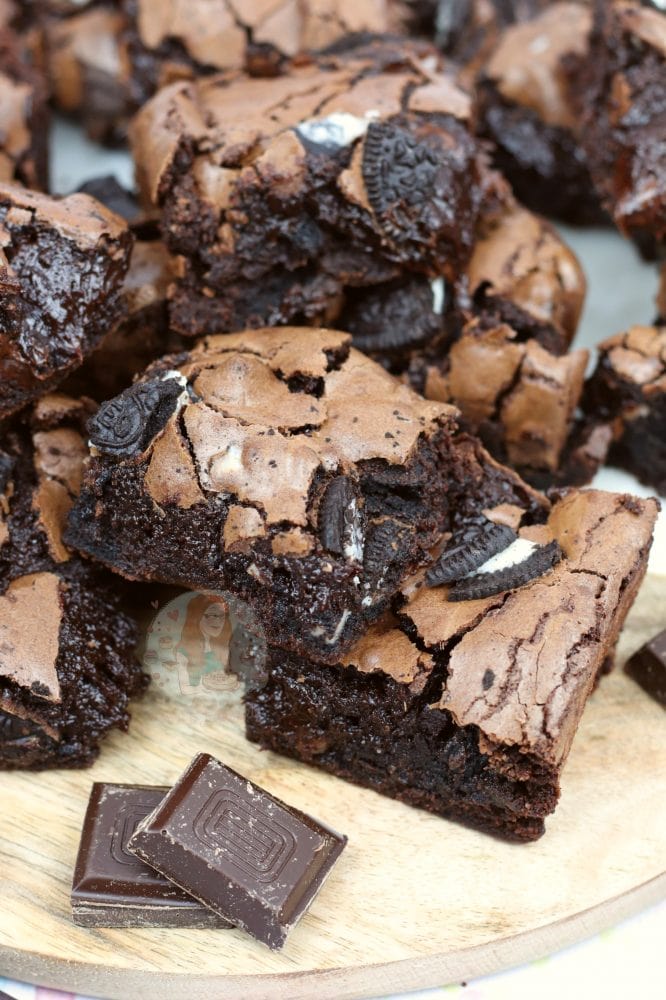
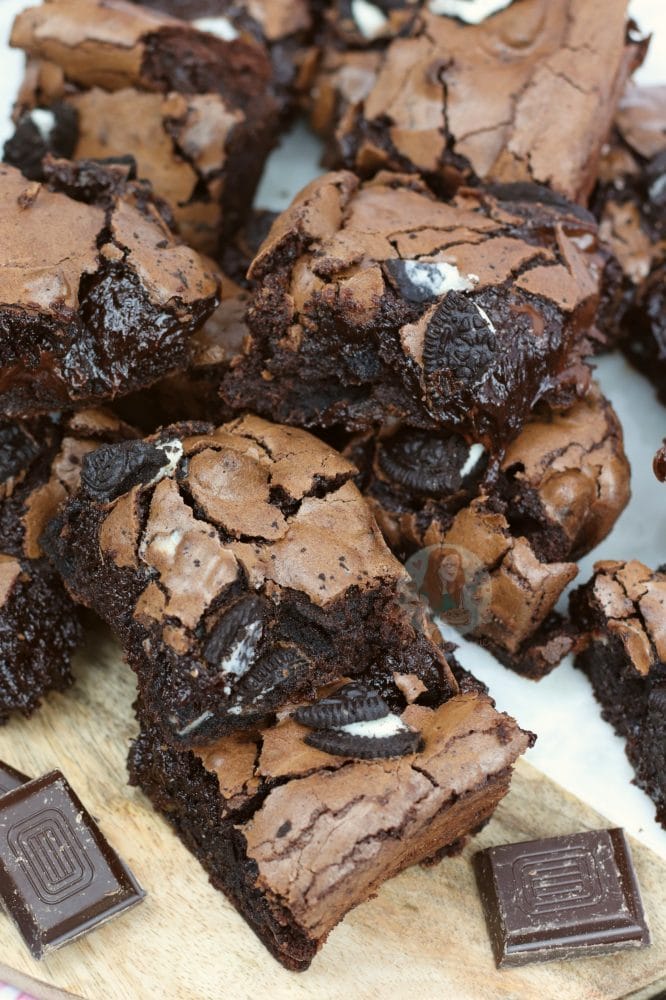
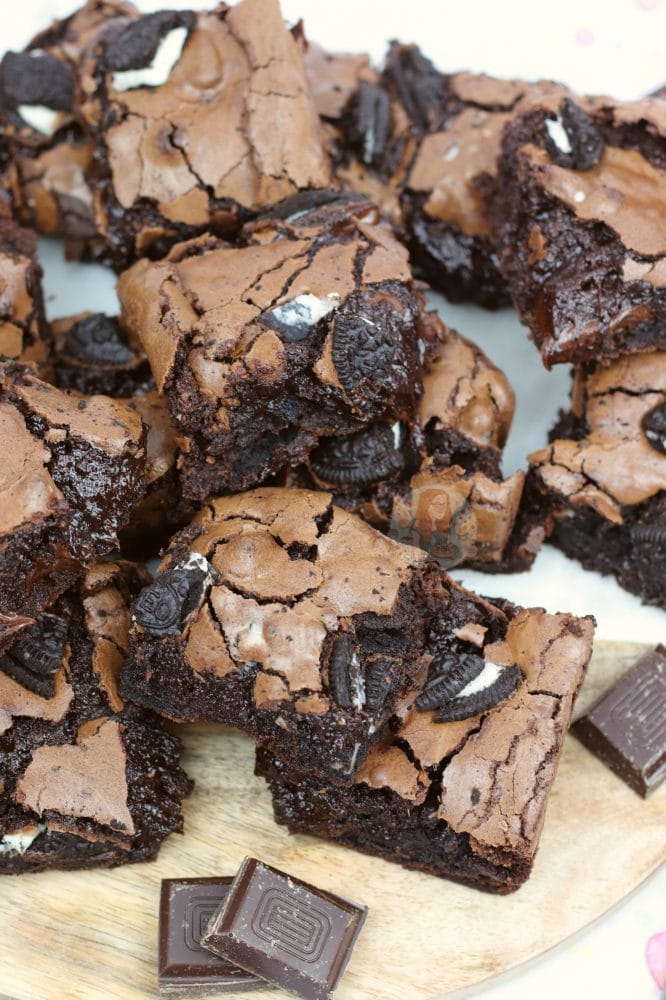
I can’t explain how delicious fudgey and perfect, and how HEAVENLY these were. To be honest, you can’t tell the difference! Honestly, you can’t! It’s amazing. They are gooey, and so undeniably chocolatey and I just want to bake more. Best news of all was that my friend LOVED them, so thats all I wanted. If you know anyone who is dairy free, try these out for them and I hope you enjoy! x
‘May contain milk’ warning
Please be aware that Oreos and dark chocolate “MAY contain milk” or other dairy ingredients due to cross contamination at factories for example. The ingredients list itself however for the products I used, such as the Oreos, are dairy free. Please check whatever ingredients you pick up thoroughly if you have a severe allergy.
Dairy Free Brownies!
#wprm-recipe-rating-0 .wprm-rating-star.wprm-rating-star-full svg * { fill: #343434; }#wprm-recipe-rating-0 .wprm-rating-star.wprm-rating-star-33 svg * { fill: url(#wprm-recipe-rating-0-33); }#wprm-recipe-rating-0 .wprm-rating-star.wprm-rating-star-50 svg * { fill: url(#wprm-recipe-rating-0-50); }#wprm-recipe-rating-0 .wprm-rating-star.wprm-rating-star-66 svg * { fill: url(#wprm-recipe-rating-0-66); }linearGradient#wprm-recipe-rating-0-33 stop { stop-color: #343434; }linearGradient#wprm-recipe-rating-0-50 stop { stop-color: #343434; }linearGradient#wprm-recipe-rating-0-66 stop { stop-color: #343434; }
Print Pin Rate
Ingredients
- 200 g dark chocolate
- 200 g dairy free spread (I used Vitalite)
- 3 large eggs
- 275 g caster sugar
- 100 g plain flour
- 35 g cocoa powder
- 150 g dark chocolate chunks
- 150 g Oreos (chopped)
Instructions
-
Preheat your oven to 180C/160C Fan, and line a 9″ square tin with baking parchment.
-
In a heatproof bowl, add your 200g of dark chocolate, and the 200g dairy free spread. Melt in the microwave, or on a double boiler. Mine took 90 seconds to melt, in 30 second bursts. Cool for a few minutes.
-
In a large bowl, or a stand mixer bowl, add the eggs and the caster sugar. Whisk together for about 3-5 minutes. You want it to thicken, get paler, and become mousse like. It will make a trail that lasts a couple of seconds when you lie the whisk out of the mix.
-
Once the egg/sugar mix has been whisked, fold in the chocolate mixture. Be careful not to knock the air out.
-
Add in the plain flour and cocoa powder, and fold again carefully.
-
Finally, add in the chocolate chunks and the chopped Oreos, and fold a few times. Pour into the tin, and bake in the oven for 25-30+ minutes.
-
Once baked, leave to cool in the tin, or on a wire rack.
Notes
- I used Vitalite spread, as its the one I had in the fridge. You can use any other, or even the dairy free Stork (the one wrapped in foil).
- The cocoa powder I used was a supermarket own on, that is naturally dairy free. Same with the dark chocolate.
- I used regular oreos, but use any flavour you like thats also dairy free!
- Always double check the ingredients you are using, but I only had to change the spread/butter part of the brownies.
- Please be aware that Oreos and dark chocolate “MAY contain milk” or other dairy ingredients due to cross contamination at factories for example. The ingredients list itself however for the products I used, such as the Oreos, are dairy free. Please check whatever ingredients you pick up thoroughly if you have a severe allergy.
- Some brownies can take longer to bake in the oven, keep going if they aren’t quite done. If after an hour they haven’t finished, take them out, cool, and store in the fridge till cutting and it’ll be fine.
- These will last for 4-5 days after baking.
Enjoy!
Find my other Brownie Recipes on my Recipes Page!
You can find me on:
Instagram
Facebook
Pinterest
Twitter
Bloglovin’
Youtube
J x
© Jane’s Patisserie. All images & content are copyright protected. Do not use my images without prior permission. If you want to republish this recipe, please re-write the recipe in your own words and credit me, or link back to this post for the recipe.
SaveSave
