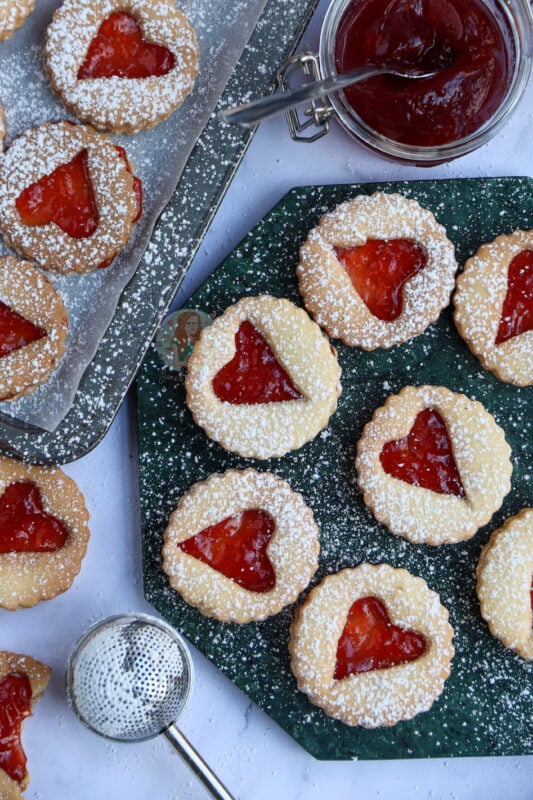
Homemade jammie dodger biscuits based on the classic biscuit. Soft, sweet & crunchy biscuit filled with your favourite flavour jams!
I have always loved baking cookies, and biscuits and all things jammy – but sometimes I just can’t be bothered. However, when it comes to jammie dodgers? They are 100% worth effort of making them yourself.
I used to be addicted to the shop-bought ones all the time – and they featured on my Jammie Dodger Cupcakes for ease (as they were requested to be that way) but I usually bake my own – it is a bit of effort I will admit, but I think they are so much better homemade!
Seriously, homemade jammie dodger biscuits (sometimes referred to as Linzer cookies) are delicious – I use a slightly more in-depth biscuit than just a shortbread (but you can do that if you prefer) but I love this. The egg makes the dough richer and along with the jam the flavouring married together is perfection in my eyes.
The dough itself is really easy to bring together and create – once it’s made you can slightly flatten the disk of dough, wrap in clingfilm and then chill in the fridge until it’s ready. Make sure not to over chill though as it will be rock solid and hard to roll out.
When you are rolling the dough out it is important to flour the work surface, and your rolling pin and roll the dough out until it is about the thickness of 1-2 £1 coins. This will create the perfect biscuit! I tend to cut out my circles first, and then on half cut out the hearts in the middle.
You can keep bringing the dough together and re-rolling and cutting out until all of the dough is used up! Make sure to chill the biscuits again if you are not baking straight away – and for example if only a few trays fit in your oven at a time.

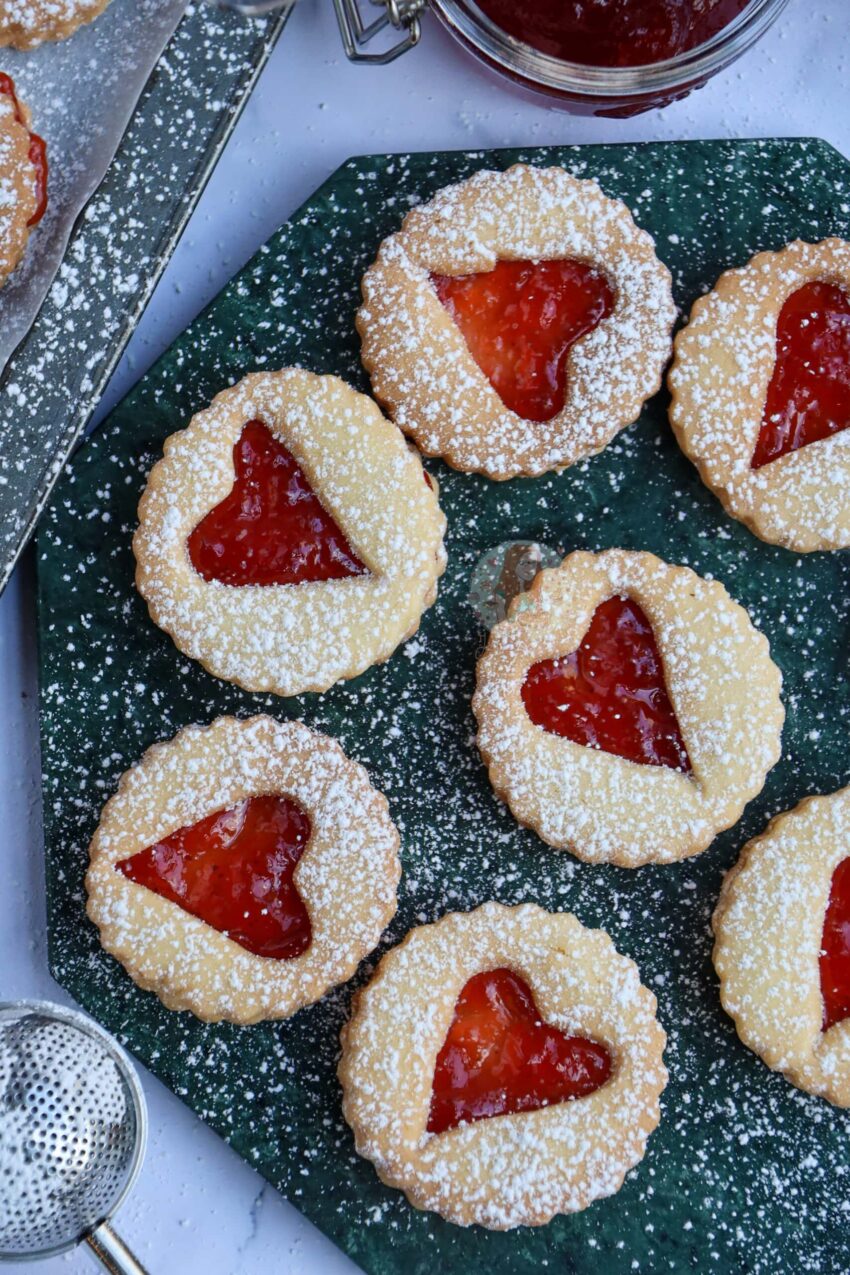
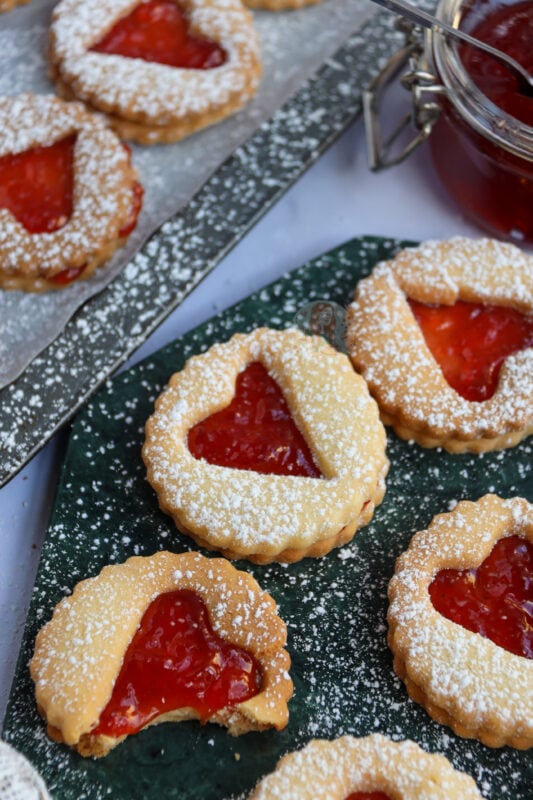
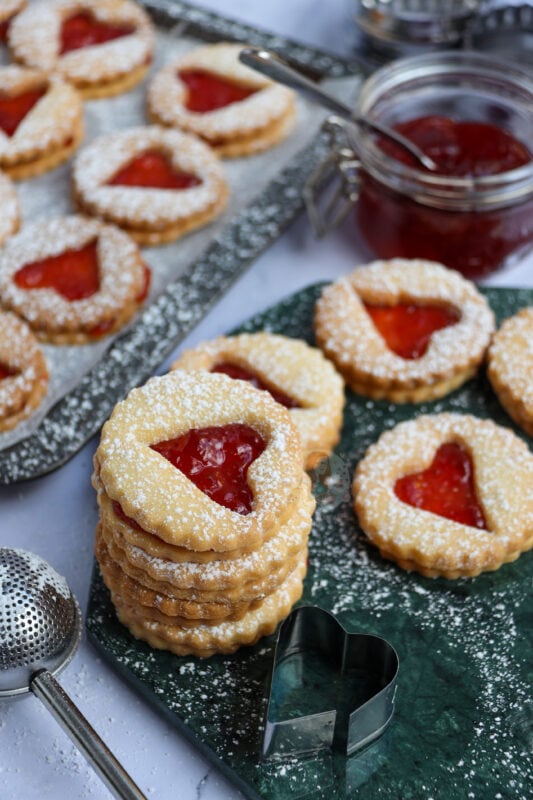
As it is nearly Valentine’s day I decided to post these as heart & circle jammie dodgers, like the classic ones, but as you can see.. my cutters are a little bent. I have used the same cutters than were handed down to me from my Gran (seriously, it feels like there are hundreds) and I will still always use them now.
I don’t want uniform shapes in my biscuits, but obviously – you can! I make these as flowers, hearts, circles, even triangles sometimes and they are still equally as delicious and yummy every time! My personal favourite is to fill the biscuit with strawberry jam as it’s my favourite, but sometimes I do an assortment of many – they suit going on cupcakes, being dunked in tea or coffee.. or just being gobbled up at work! Heaven!
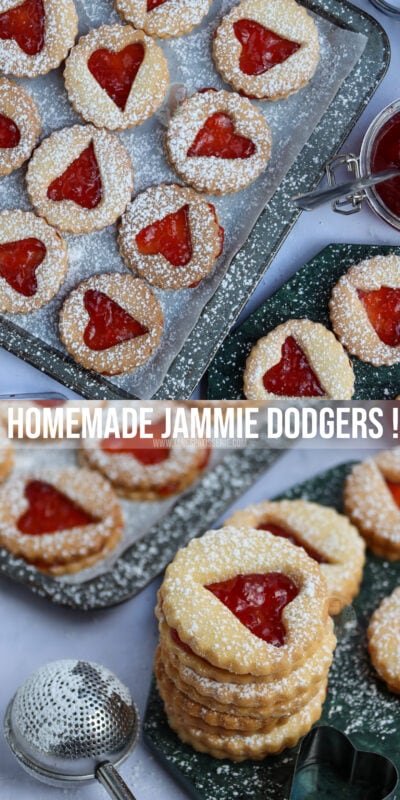

Homemade Jammie Dodgers!
#wprm-recipe-rating-1 .wprm-rating-star.wprm-rating-star-full svg * { fill: #343434; }#wprm-recipe-rating-1 .wprm-rating-star.wprm-rating-star-33 svg * { fill: url(#wprm-recipe-rating-1-33); }#wprm-recipe-rating-1 .wprm-rating-star.wprm-rating-star-50 svg * { fill: url(#wprm-recipe-rating-1-50); }#wprm-recipe-rating-1 .wprm-rating-star.wprm-rating-star-66 svg * { fill: url(#wprm-recipe-rating-1-66); }linearGradient#wprm-recipe-rating-1-33 stop { stop-color: #343434; }linearGradient#wprm-recipe-rating-1-50 stop { stop-color: #343434; }linearGradient#wprm-recipe-rating-1-66 stop { stop-color: #343434; }
Print Pin Rate
Ingredients
- 250 g Unsalted butter (room temp)
- 150 g Icing sugar
- 1 tsp Vanilla extract
- 2 Egg yolks
- 350 g Plain flour
- 200 g Jam
Instructions
-
With a whisk (electric is best unless you’re a machine) beat together the butter and icing sugar until its smooth and combined.
-
Once combined, add in the vanilla extract, plain flour and egg yolks and whisk again until there is a dough!
-
Wrap up the dough and refrigerate for at least one hour.
-
Once the dough is chilled, preheat the oven to 180C/160C Fan and line two-four large baking trays with parchment paper.
-
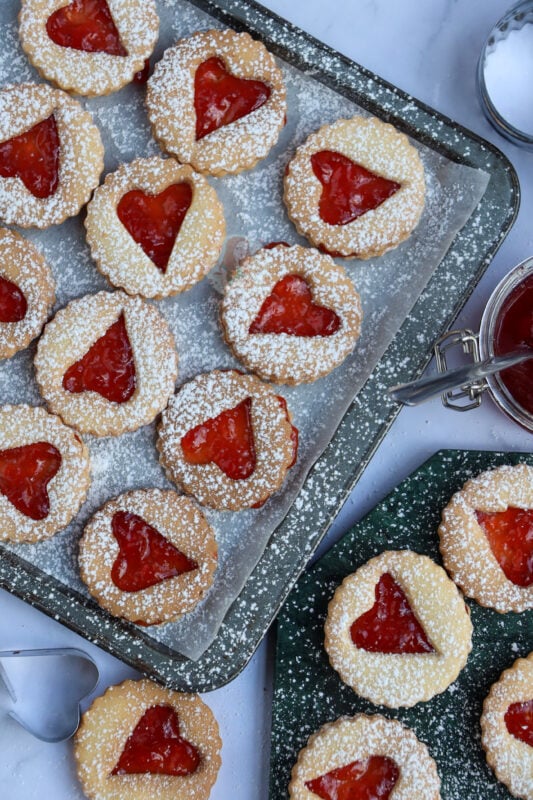
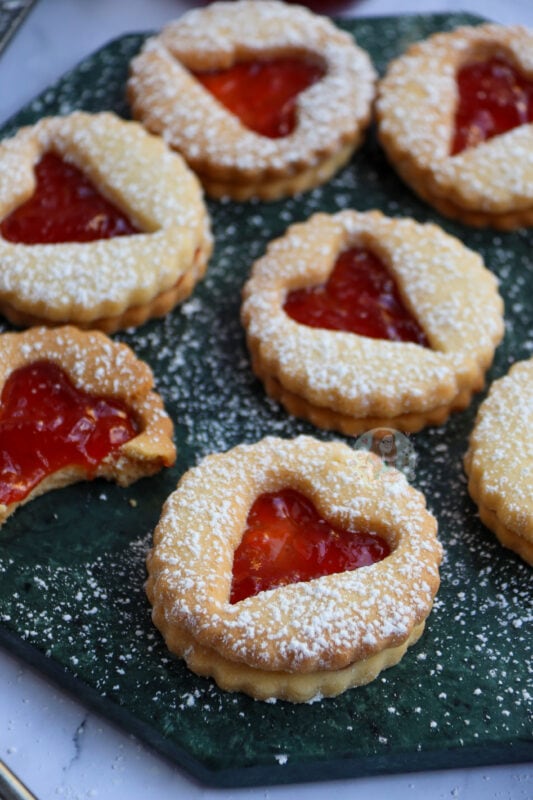
With half of the dough, roll out the dough to roughly the thickness of 1-2 £1 coins and cut out 15 circles/hearts/shapes (Preferably a 6-8cm cutter) and then using a smaller little cutter (As you can see in the photos) cut out another little shape in the middle so that you’ll see the jam once they’re assembled.
-
Split them between the two trays and bake in the oven for 10 minutes!
-
Using the other half of the dough, and the little bits you cut out, roll the dough out to the same thickness and cut out 15 of the same shapes, but don’t cut the middles out
-
Transfer to the other sheets and refrigerate for 10 minutes. Once chilled, bake the second batch in the oven for 10 minutes or until they’re turning pale golden!
-
(If you have any more dough leftover then roll them out again like before and split between whole biscuits and patterned biscuits, and refrigerate them for at least 10 minutes before you bake them, handling the dough so much will warm it up and you want it to be cold when baking)
-
Leave the biscuits to cool on the baking tray
-
Once cooled, on the solid biscuits, spoon a larger teaspoon of jam into the centre and help it spread out, but not right to the edge.
-
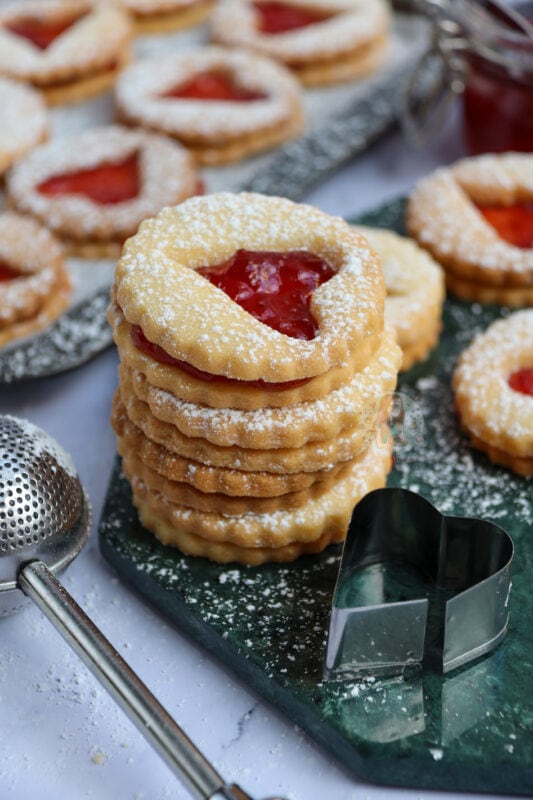
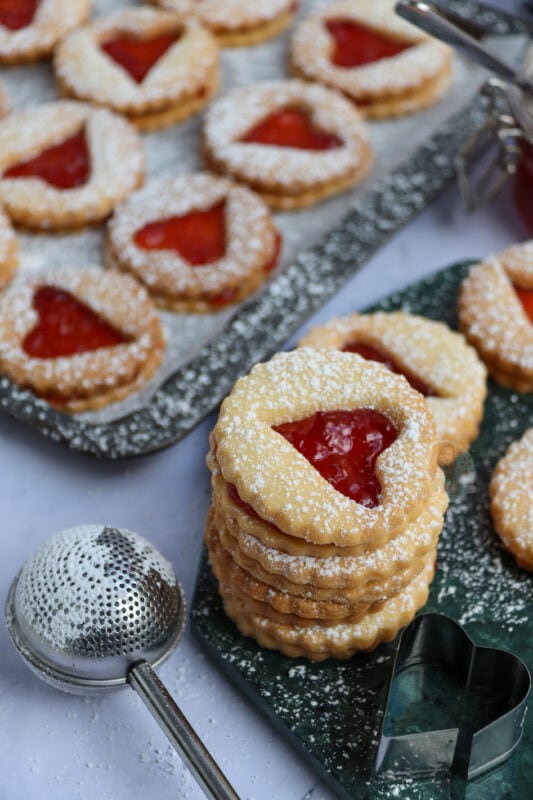
Press the other biscuit on so that they are aligned – you should effectively have a jam biscuit sandwich (Like in the photos!)
-
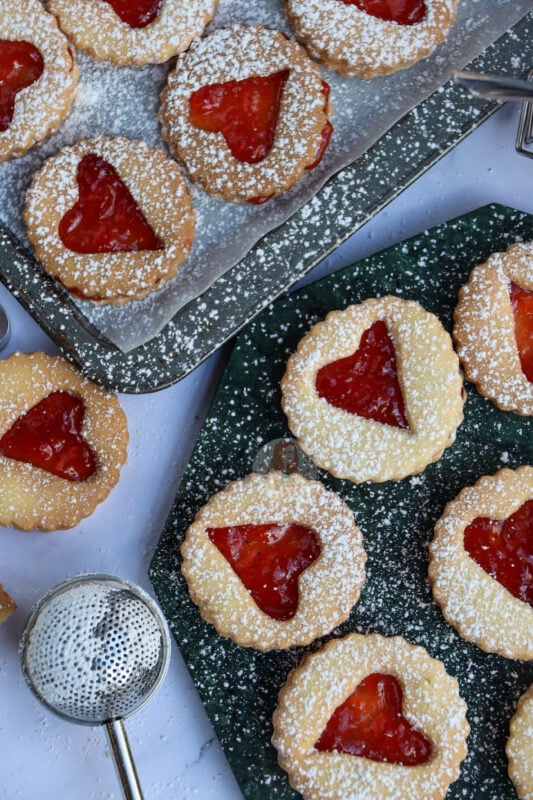
Dust the biscuits with some icing sugar and enjoy!
Notes
- You can use whatever flavour Jam you like, Strawberry is my personal favourite though and is what you can see pictured.
- I made my centres into little hearts for Valentines, but you can make flower shapes, circles, squares, whatever you fancy!
- These will last in an airtight container for up to one week but would also be a great topped for my Jammie Dodger Cupcakes!
ENJOY!
Find my other Recipes on my Recipes Page!
You can find me on:
Instagram
Facebook
Pinterest
Twitter
Youtube
J x
© Jane’s Patisserie. All images & content are copyright protected. Do not use my images without prior permission. If you want to republish this recipe, please re-write the recipe in your own words and credit me, or link back to this post for the recipe.


