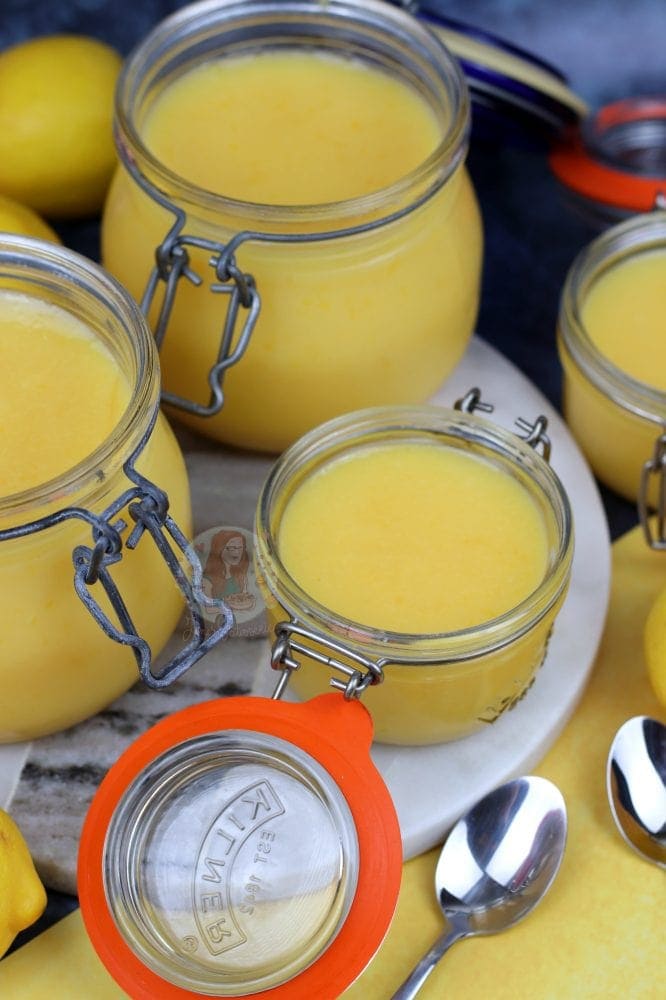
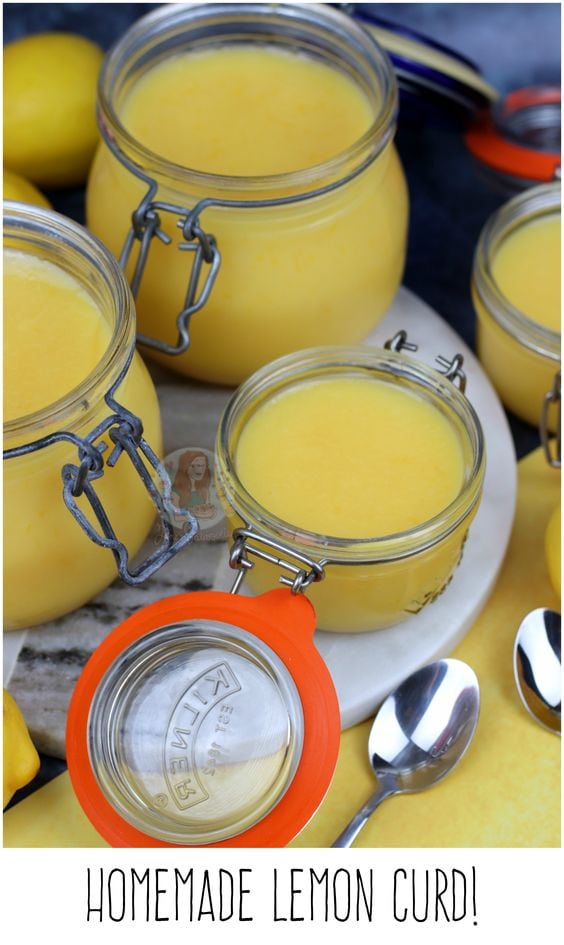
Homemade Lemon Curd!
Zesty, fruity, and easy to make Homemade Lemon Curd! Perfect for use in Cupcakes, Pies, or just on its own!

So, I am FINALLY sharing the recipe I use for Homemade Lemon Curd – and it is deliciously yummy. I have mashed up a few different recipes from the BBC, the Hairy Bikers and more as I have practiced over time on what works best for me every time! I have made this with quantities much higher as well, and it works well every time.
Lemon Curd is one of those treats that I used to think was icky and horrible when I was younger as why would you want anything different from Strawberry Jam?! Needless to say I was obviously neglecting the DELICIOUSNESS of it from the beginning. I use this recipe in my Lemon Meringue Cupcakes as its perfect with the super lemony flavour, but I also use it at any opportunity, such as a Lemon Victoria Sponge for the Summer nights!

I think that Lemon Curd is one of those things that you should keep at and not be impatient for, it might take a little time and you really can’t be hasty with it otherwise it might Curdle, or not thicken enough to set! Lucky enough the mixture is still cooked, so don’t worry about the eggs being inside it, as these are hard to avoid using as its what makes Lemon Curd.. Lemon Curd (other then the Lemon of course!)
The good thing about a curd like this, is that you can just whack all the ingredients together, whisk it all up, and microwave it. It works SO WELL in the microwave, I can rarely be bothered to do it in the correct way any more. It does seem to take an absolute age when doing in the microwave when you make a higher quantity, but simply microwave on full power for minute intervals until it noticeably starts to thicken up every time you stir.

Recently I made 150+ Macarons so ended up using rather a large amount of egg whites, but having 24 egg yolks spare did leave me at a bit of a stump. I asked my lovely followers on Twitter what I should do, and so many suggested making Lemon Curd… so I gave it a go! I followed this recipe, but multiplied the rest of the ingredients by three, added in two large eggs so there was a bit of egg white in there, and microwaved it for about 15 minutes in total.
Even though it took a long time, and my large pyrex bowl was basically about to overflow, it was DELICIOUS. It left the lemon curd super bright, so lemony, and utterly perfect. You can see the results of it in my photos, and it made soooo much. But it shows just how adaptable this recipe is! I have also tried Orange Curd, and even Lime Curd (and these are yummy too!!) but lemon is the classic – and the best in my opinion!

Homemade Lemon Curd!
Category: Dessert
Ingredients
- Zest of 5 Lemons
- Juice of 5 Lemons
- 125 g Unsalted Butter
- 250 g Caster Sugar
- 3 Medium Eggs
- 3 Medium Egg Yolks
Instructions
-
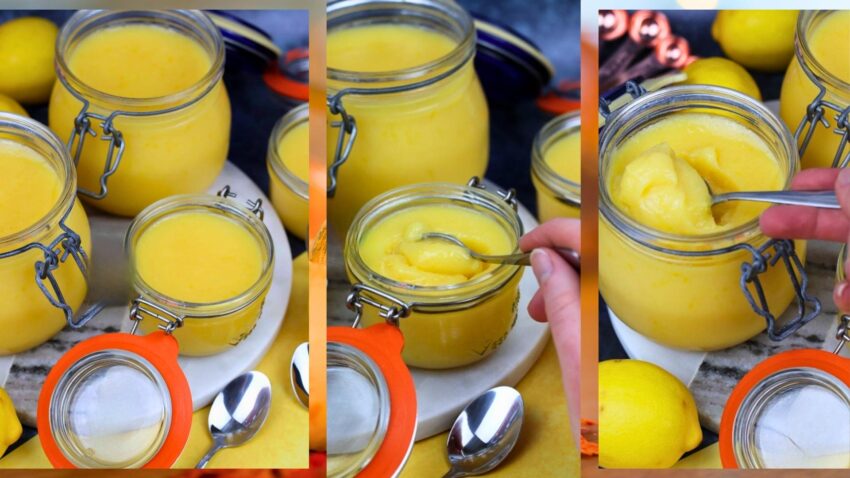
Clean/Steralise your Jam Jars so that the Curd will be able to last for its full time… I often just dishwasher clean them on their own so that they’re squeaky clean!
-
Put the Zest & Juice of the Lemons, the Butter, and the Sugar into a heatproof bowl – I use a large glass bowl. Set the bowl over a pan of simmering water (not boiling water!!) and stir the mixture occasionally till the butter has melted!
-
Beat the Eggs & Egg Yolk together in a separate bowl so they’re combined well, and then pour into the lemon mix – whisk all of the ingredients together so that they are combined well and whisk continually in the heatproof bowl for 10-14 minutes.
-
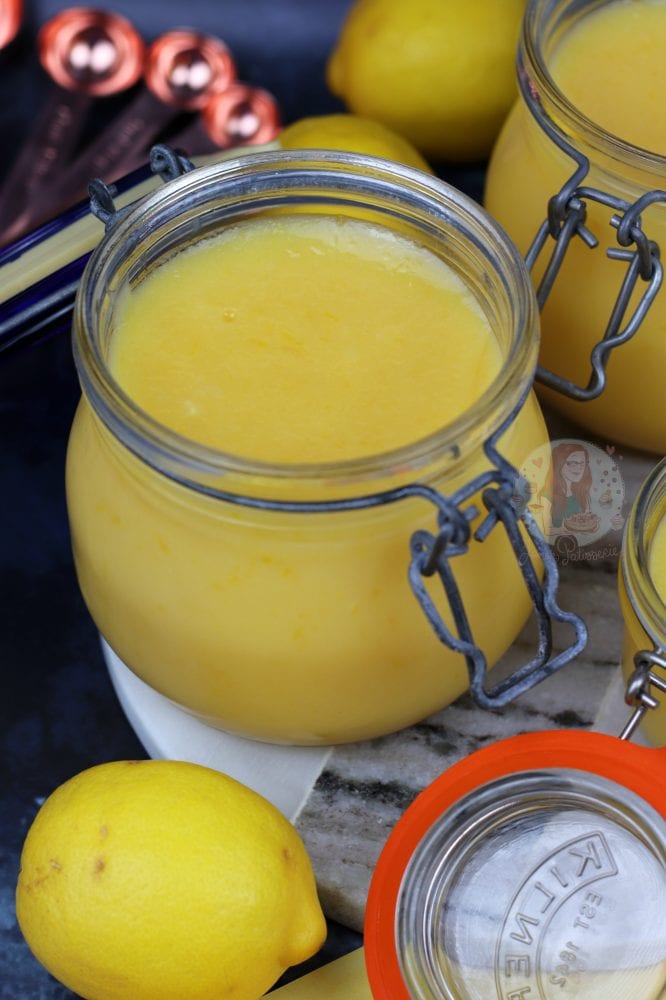
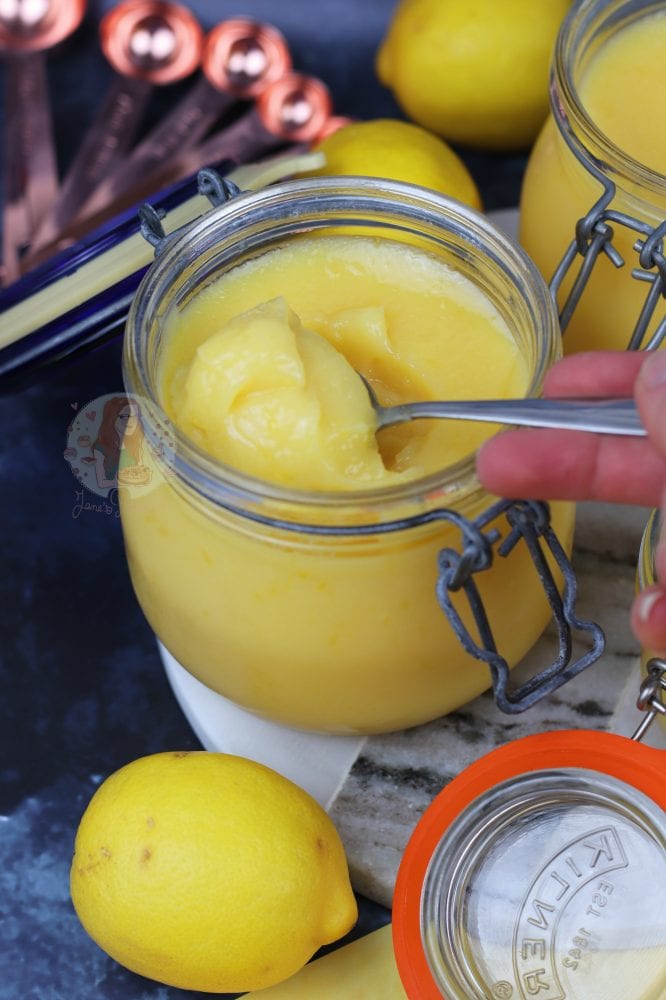
You will know when its done when the mixture will coat the back of a spoon without dripping off too much – it will have thickened considerably and be nice and creamy like custard – it will thicken more when cooling in the jar so don’t be worried if its still pourable!
-
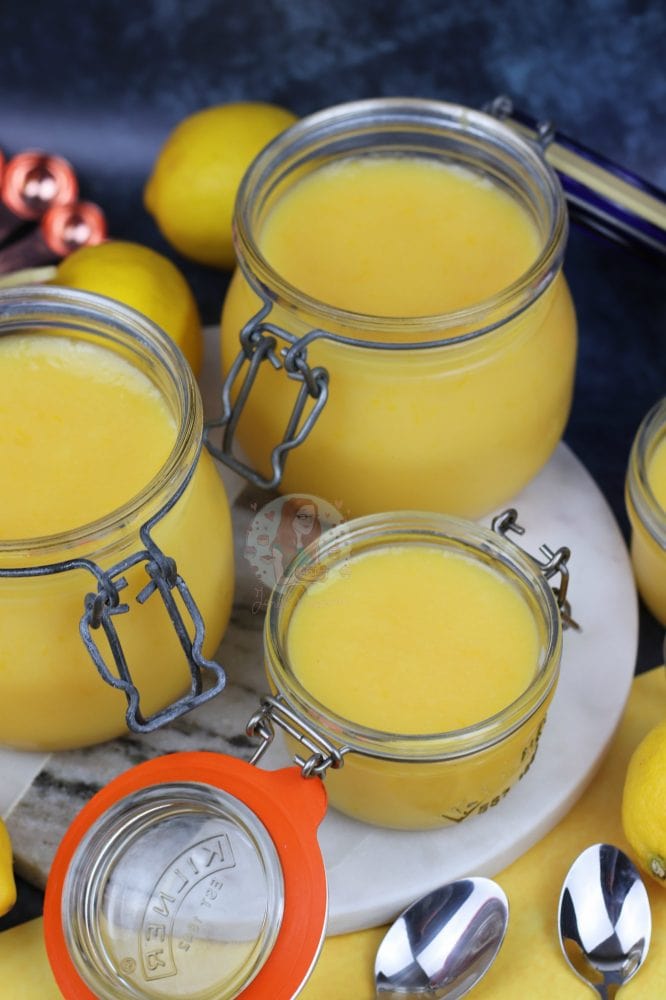
Set the Lemon Curd on the side to cool down completely – stir it occasionally as its cooling so that the consistency stays throughout, but it must be completely cool when poured into the jars. Once cooled, store in the sterilised jars and keep in the fridge! The Lemon Curd will last in the fridge, in sterilised jars, for two weeks!
Notes
- To sterilise jars, wash the jars in very hot, soapy water or put through the hot cycle of a dishwasher. Place the jars onto a baking tray and slide into an oven set to 160C/325F/Gas 3 for 10-15 minutes – tip from the BBC Food website.
- Alternatively, add all the ingredients into a large microwaveable bowl, and whisk together. Microwave on full power for minute intervals, whisking in-between. It’ll be done when it thickens up and coats the back of the spoon as well.
- If in a squeaky clean jar, it will last in the fridge for up to 2 weeks.
Enjoy!!