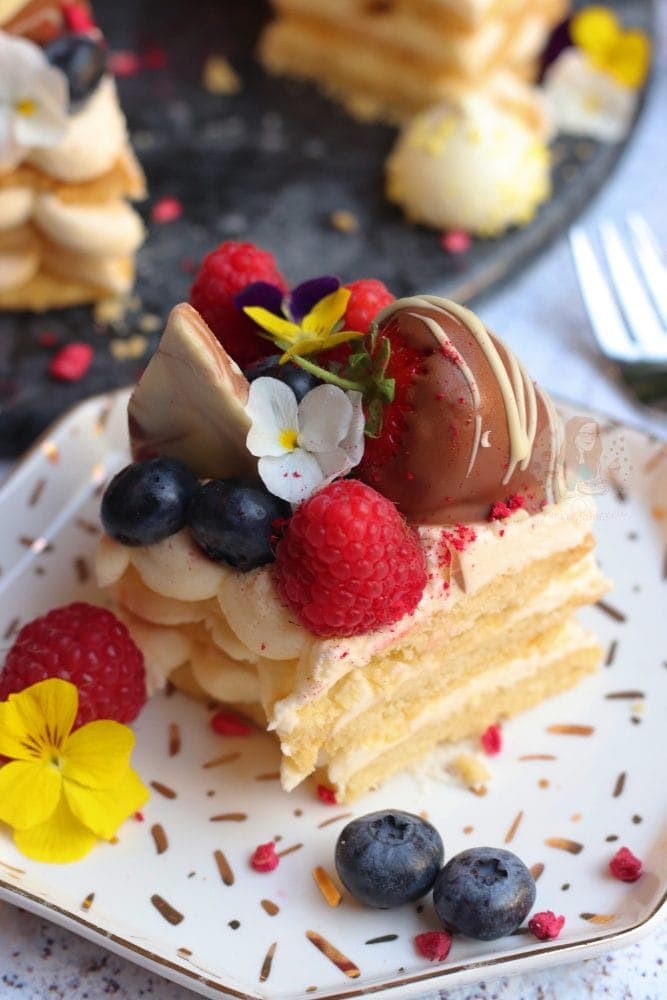
A vanilla shortbread cookie, with vanilla buttercream frosting, and all the delicious decoration… this letter cookie cake is perfect for birthdays and all occasions!
Letter cookie cakes
So… letter cookie cakes? Yeah, I realise I am a bit late in posting the recipe for this one, the crazy phase of these was a little while ago now, but in all honesty I just hadn’t got round to it. I do still utterly adore this sort of ‘cake’, so I am more than happy to post the recipe for it now, and hopefully it’s not too late for you guys!
One thing I must discuss from the beginning? Is that YES it technically is a ‘cake’ even though there is no cake involved in the bake. It’s more the style of bake you could say? It would easily take the place of a cake at an occasion!
These have been around for a while now, and I am unsure of where they started… sorry. They come in many variations, some which do include sponges that are cut very thinly, and some that include meringue… but I thought I would start with cookie.

Shortbread
I’ve made a few of these nows, and the biscuit can vary somewhat depending on what recipe you use, but I thought I would make it as simple as possible, and use shortbread. I’ve made sugar cookie versions before, but that dough requires more ingredients, so maybe next time.
I thought that shortbread was easy, as the base of it is just three ingredients. Butter, sugar and flour. You add flavouring in is you wish, for example I did vanilla, but you can vary this to anything you fancy. Lemon, orange, mint, etc!
Butter
When making the biscuit dough, I really would recommend using actual unsalted butter. It just fares so much better, makes the dough easier to work with, and has the classic buttery taste that shortbread desires.
For this time, as it’s my first recipe for these, I went with vanilla as it is the basics. A chocolate version will be zooming your way shortly, so don’t worry!
Cutting the dough
When cutting the dough out, it is SO MUCH EASIER to roll the dough in between sheets of parchment paper, as then you don’t have to try and move the delicate shape, after you’ve cut it. I’ve tried, and failed, many times.
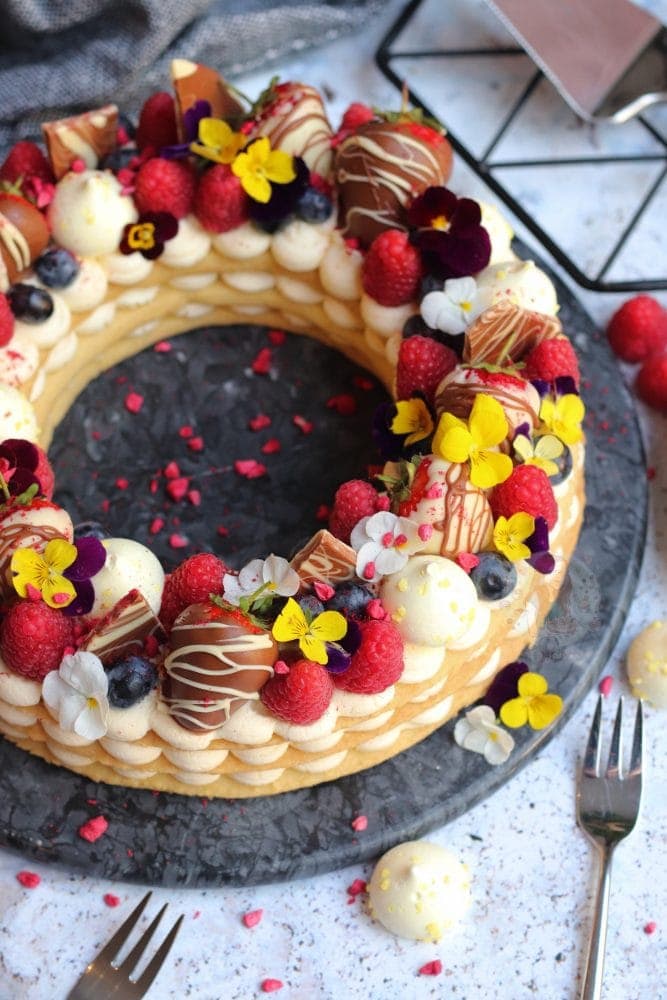
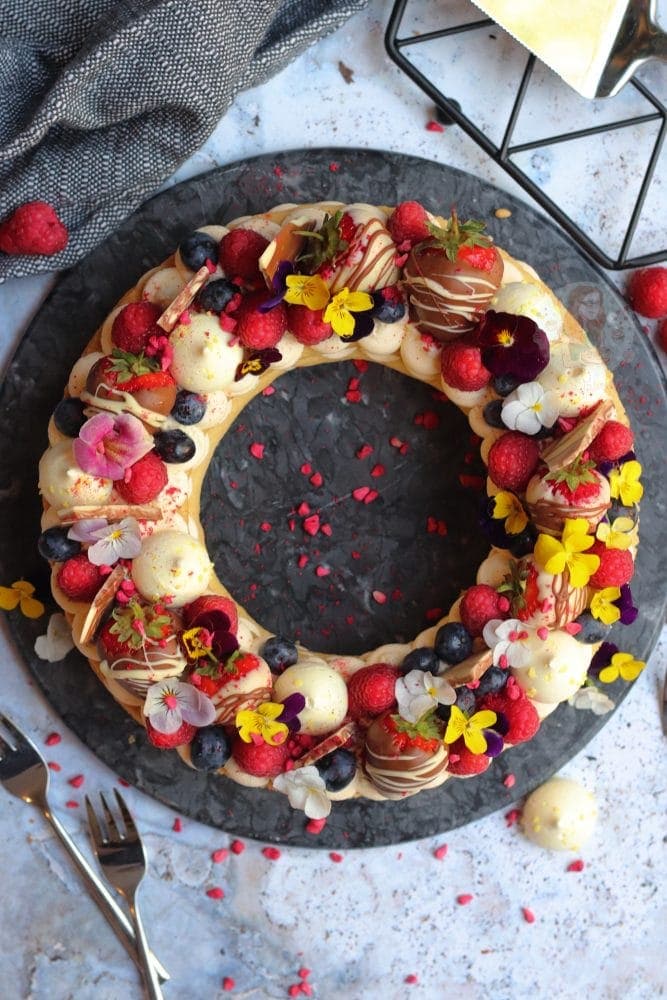
I went for a basic O shape as you can see, but you can cut out any letter or number you want, print it off, and make a stencil and cut to that. For the amount of dough I have used, it was perfect for three O’s, and some off-cut shortbread cookies. If you want to make a massive letter, with three or four layers, this probably won’t be enough biscuit dough.
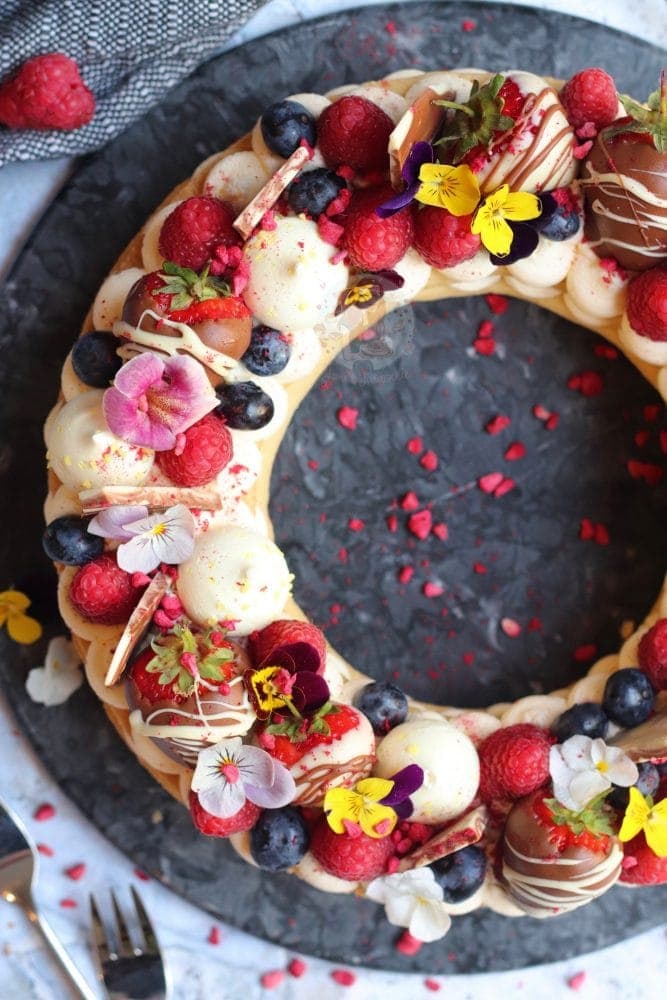
When making an extremely simple shape like this, you can just use two differently sized bowls like I did! If using a different letter or shape, you want to stick to a maximum height/width of probably 25cm or so, so that you have enough dough!
You want to roll the biscuit dough to be 1/2cm thick, and then put the dough in the fridge till solid as it will help it keep its shape. You want to be VERY careful with it before, during, and after baking because of the biscuit breaks, you’re scuppered.
Buttercream
For the buttercream, I again just went simple with american buttercream frosting, as sometimes it is just best. It does make the bake very sweet, but that’s what you have to expect from a letter cookie cake. It will be sweet!

When making the buttercream, you should also use unsalted butter. Not a spread, not stork, not a branded butter that you like… just basic, unsalted butter. No added liquid, no trying to make it low fat, just stick to the recipe!
Decoration
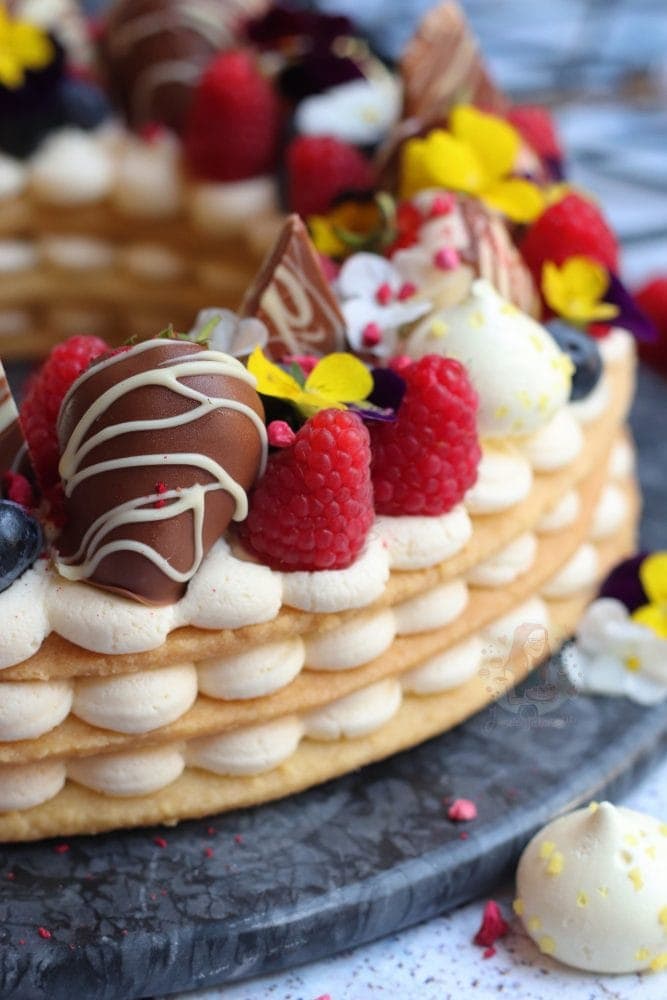
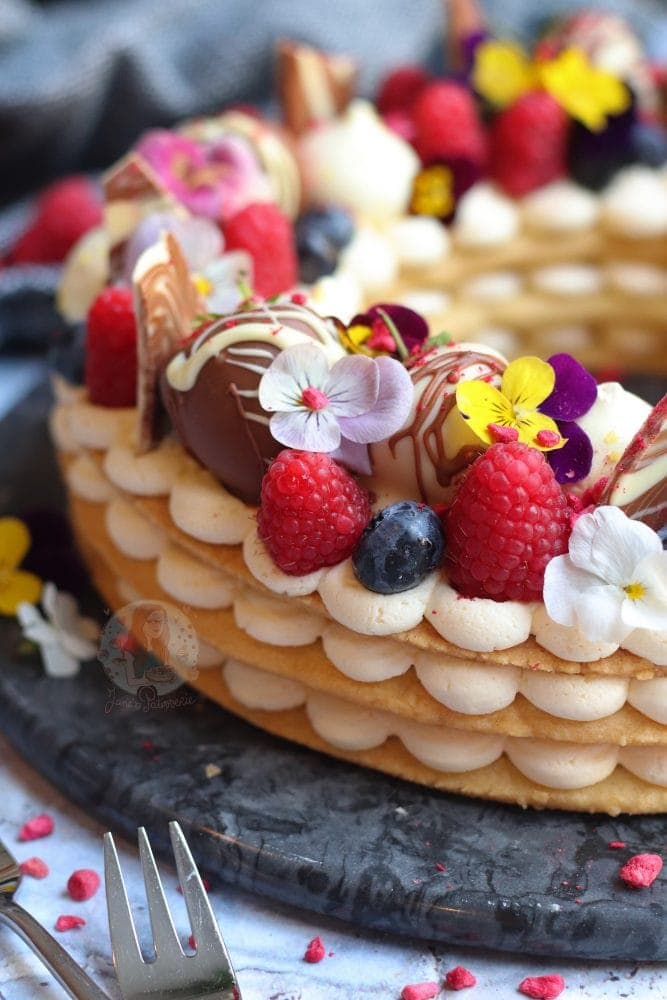
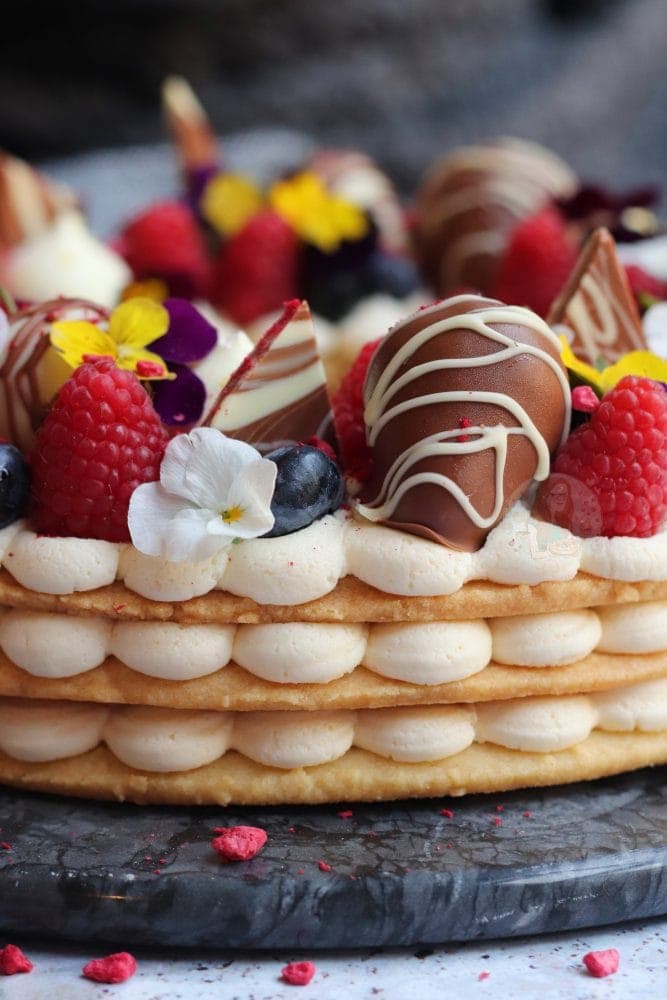
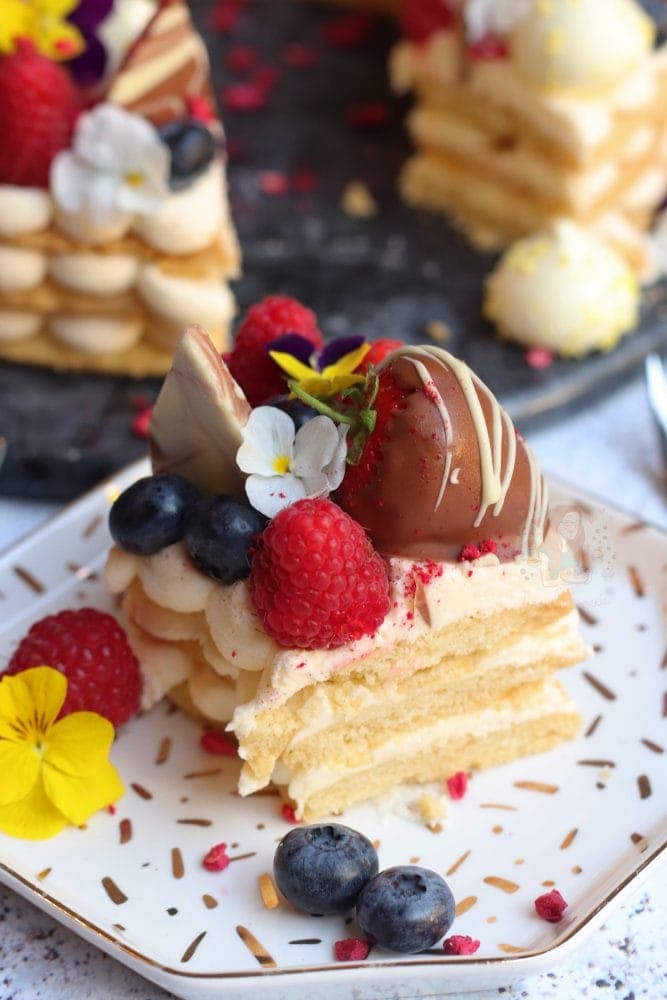
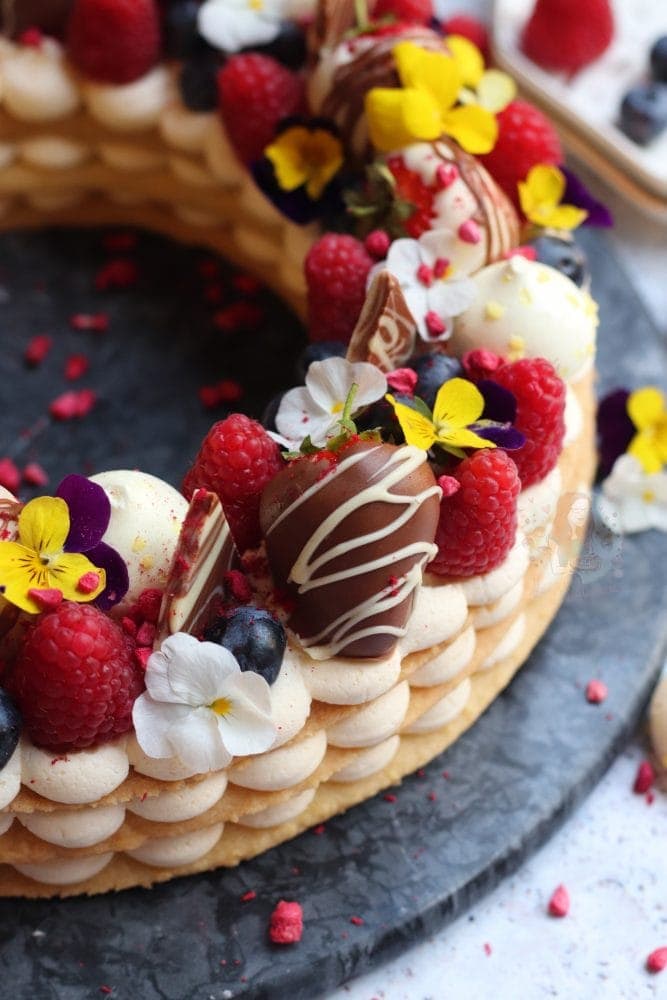
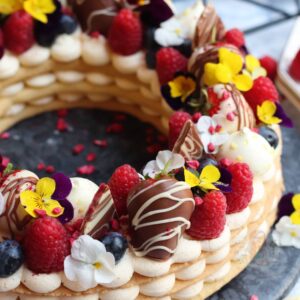
Decoration wise, you can go as much, or as little as you want. I use a jumbo round piping tip for this bake, with some large disposable piping bags. It’s the easiest thing to use, as you can get the cute little rounds of buttercream that make the bake so symmetrical.
I then use anything I have in my fridge, or anything I fancy for the topping. Chocolate coated strawberries, raspberries, blueberries, mini meringues, edible flowers, chocolate bark shards, freeze dried raspberries, and so on!
You can also use sweets, chocolates, other cookies, macarons, other fruit, and so on! There is nothing stopping you using what you want. I just think it’s best to randomly put the bits on top, and don’t think about it too much. I always think these look best when they’re random.
Put the larger bits on first, and then fill with the smaller items. Or, do it the other way around! I tend to lay out what I am using, and grab bits and roll with it. One of the best things about this sort of bake is that it is so easily personalised!
Other shortbread recipes
If you fancy some of my other shortbread recipes – please check out my website! With household favourites such as millionaires shortbread, shortbread hearts and chocolate orange shortbread cookies, theres a recipe for everyone!
Have any questions? Leave them below! Enjoy! x

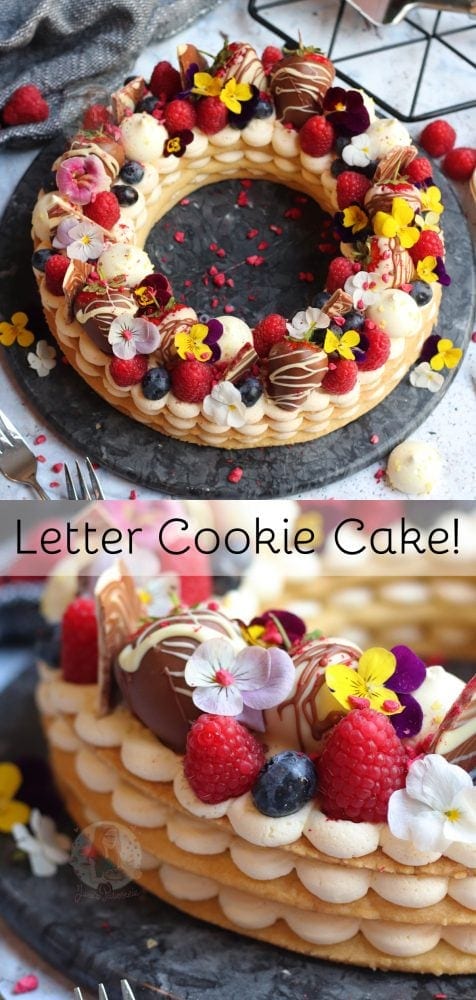
Letter Cookie Cake!
#wprm-recipe-rating-6 .wprm-rating-star.wprm-rating-star-full svg * { fill: #343434; }#wprm-recipe-rating-6 .wprm-rating-star.wprm-rating-star-33 svg * { fill: url(#wprm-recipe-rating-6-33); }#wprm-recipe-rating-6 .wprm-rating-star.wprm-rating-star-50 svg * { fill: url(#wprm-recipe-rating-6-50); }#wprm-recipe-rating-6 .wprm-rating-star.wprm-rating-star-66 svg * { fill: url(#wprm-recipe-rating-6-66); }linearGradient#wprm-recipe-rating-6-33 stop { stop-color: #343434; }linearGradient#wprm-recipe-rating-6-50 stop { stop-color: #343434; }linearGradient#wprm-recipe-rating-6-66 stop { stop-color: #343434; }
Print Pin Rate
Ingredients
The Cookies
- 250 g unsalted butter (not Stork)
- 125 g caster sugar
- 375 g plain flour (extra for dusting)
- 1 tsp vanilla
The Buttercream
- 250 g unsalted butter (not stork)
- 500 g icing sugar
- 1 tsp vanilla
Decoration
- Chocolate covered strawberries
- Raspberries
- Blueberries
- Mini meringues
- Edible flowers
- Sprinkles
- Freeze dried raspberries
- Chocolate shards
Instructions
For the Cookies
-
Make sure your butter is at room temperature.
-
Beat together the butter and sugar until creamy and thoroughly mixed.
-
Add in the plain flour, and vanilla, and beat again until a dough is formed. It can be a little crumbly, but it does come together.
-
Get two larger pieces of parchment paper, and roll 1/3 of the dough in between it.
-
Roll out so it’s larger than your largest bowl, and then lightly cut around the bowl, without cutting through the paper. Add a smaller bowl to the middle, and cut around that as well, and remove the excess dough.
-
If using the shape of a letter, or number, cut out around a stencil lightly, and remove excess dough.
-
Repeat the process again, for the other two layers.
-
Place the three large cookies in the fridge for at least 30 minutes, or the freezer for 10 minutes.
-
Preheat your oven to 180C/160C fan, and then bake the cookies in the oven for 12-15 minutes, or until they are lightly starting to brown. Leave the cookies to cool fully on the tray.
-
With the excess dough, you can cut out any shapes of cookie you want. They will take about 10 minutes to bake, at the same temperature.
For the Buttercream
-
Make sure your butter is at room temperature.
-
Beat the butter on it’s own for a few minutes to loosen it and make it lighter.
-
Add in the icing sugar and beat fully to incoporate it!
-
Add in the vanilla, and keep on beating the buttercream for about 5 minutes to make it lovely and light and fluffy!
For the Decoration
-
Add a bit of buttercream onto your serving plate to stick the first biscuit down.
-
Carefully add on your first biscuit shape, and pipe on your buttercream! You can use whatever piping tip you like!
-
Add on the second biscuit and repeat!
-
Add on the third biscuit, and repeat again.
-
Now top with whatever you like – raspberries, chocolate dip strawberries, mini meringues, sprinkles, chocolate shards, blueberries, freeze-dried fruit and so on!
-
For this, it’s best not to overthink it, and just go with the flow! I usually add on the larger objects, and then go down in size to make sure everything fits!
-
Enjoy!
Notes
- You can of course cut whatever biscuit shape you like! I just did the circles as the easiest example.
- I don’t add measurements for the decorations as this can vary on the size of the biscuit cake you make, or shape.
- Also, some people may want to decorate it differently!
- I would store this in the fridge personally, and it lasts a good 2-3 days!
ENJOY!
Find my other Recipes on my Recipes Page!
You can find me on:
Instagram
Facebook
Pinterest
Twitter
Youtube
J x
© Jane’s Patisserie. All images & content are copyright protected. Do not use my images without prior permission. If you want to republish this recipe, please re-write the recipe in your own words and credit me, or link back to this post for the recipe.