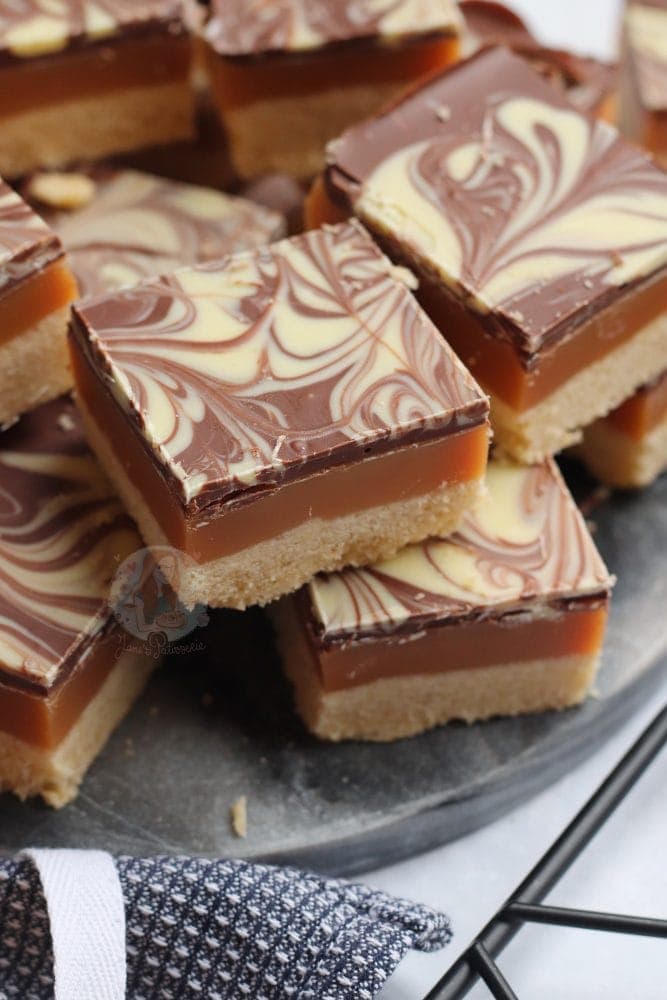
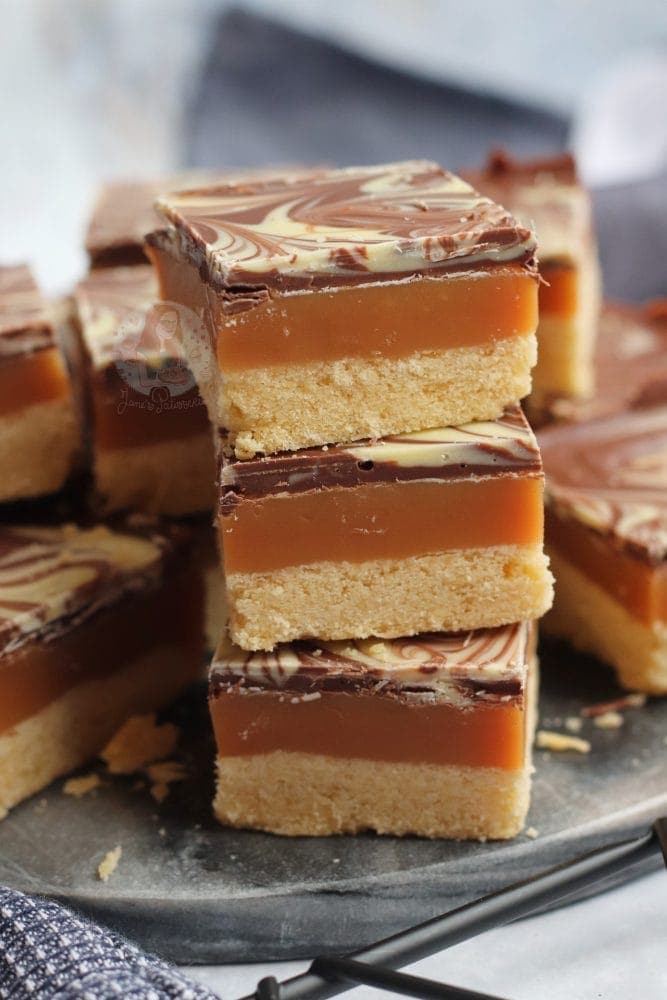
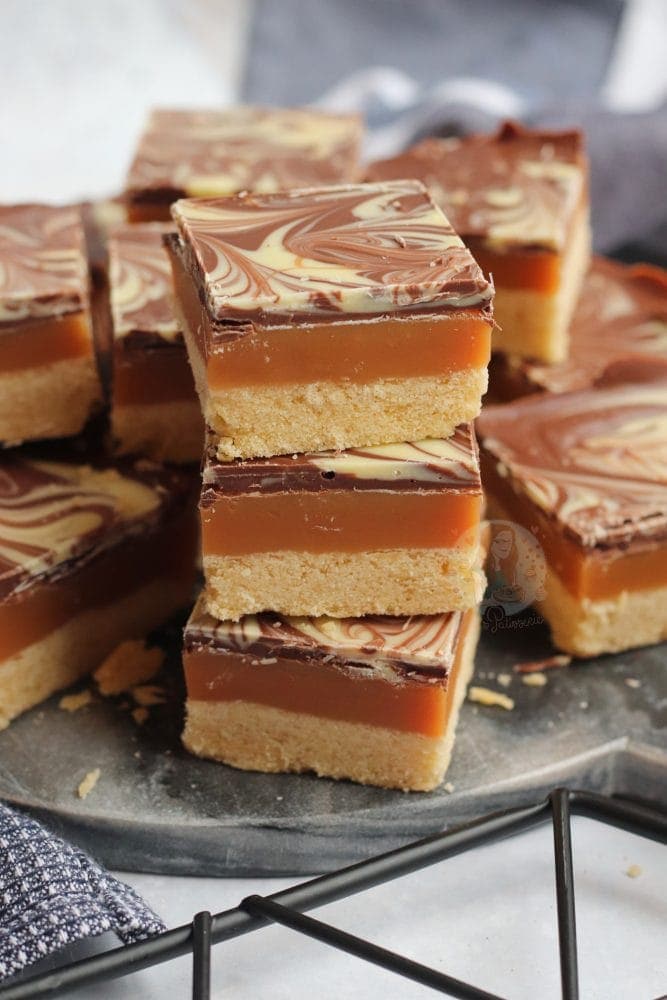
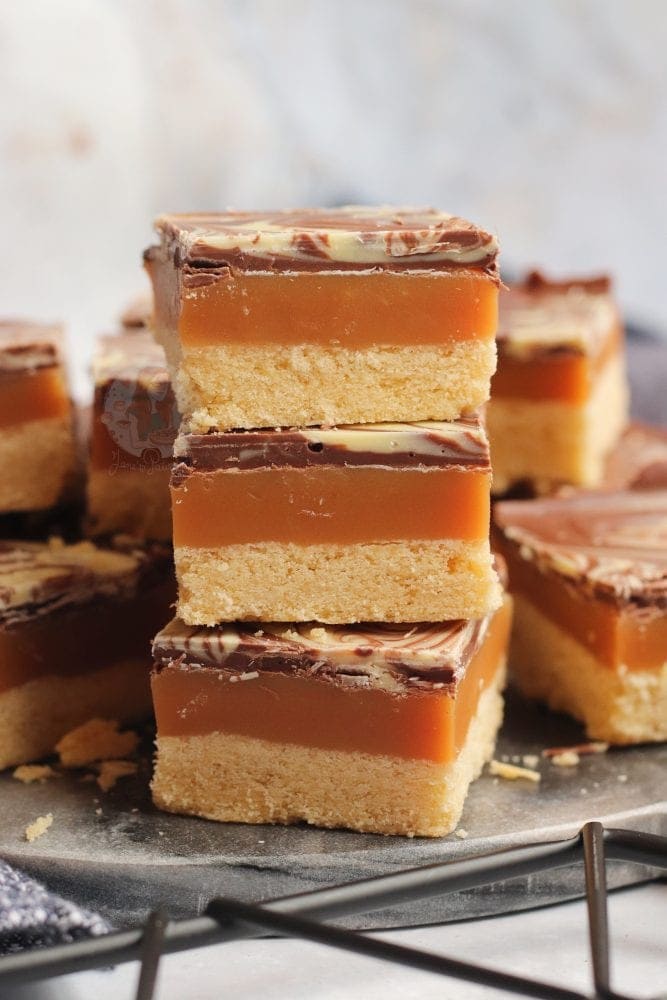
A complete ‘how-to’ guide on how to make millionaires shortbread! A homemade shortbread base, homemade caramel filling, and a chocolate topping.
Back to basics
So it’s been a while since I posted my last ‘back to basics’ post – my last being my no-bake lemon cheesecake post in May last year! And after the success of my youtube video on how to make Millionaires Shortbread, I thought I’d do the blog post for it too!
I have obviously made quite a few millionaires shortbread recipes already, but I thought I would cover it down to every last detail. Basically, completely dumb it down into the ground so that if you are scared to make it, you won’t be any more!
Shortbread
For the shortbread, it really is quite basic – you can do it by hand, or in a food processor, or in a stand mixer, or with an electric hand mixer. You just want to mix the sugar and butter together until creamy, and then add the flour and combined until a dough is formed.

If you are doing this by hand, you can add all three ingredients together, making sure the butter is cold and cubed, and rub the mixture together with the tips of your fingers until it creates a bread crumb texture. Then, you effectively knead it together to form the dough.
Butter
I always tend to use classic unsalted block butter but you can use a baking spread for this bit if you prefer. I just prefer the taste when it comes to real butter! When using a mixer to make it, you add the butter and sugar together, beat until creamy, and then add in the flour and combine.
Tin
Press the shortbread into a lined tin – I use a 9″ square tin – and make sure it’s even. I use a 9″ square tin as it’s the ultimate depth for the number of ingredients I use! If you use a smaller tin, it will take longer to bake – if you use a larger tin, you might have issues as the shortbread really isn’t that thick.
Bake
You bake it in the oven at 160C in a fan oven, 180C regular, and bake until it’s starting to golden. When it’s starting to golden, and it’s been in for at least 20-25 minutes, you’ll know it’s baked through!
Caramel
For the caramel, you REALLY have to work on it. You can’t cheat and use a tin of carnations caramel and stick it on top as it doesn’t set. You can’t really skip the steps, as it really is a caramel. I don’t often make my caramels from complete scratch as many of my readers prefer the easier versions, and I get that, but for millionaires shortbread? You do.
You have to make sure to stir the caramel a lot to prevent it from catching and burning. I use a medium level of heat, and a larger pan so its easier to stir. You have to be careful as it obviously does get VERY hot, but it’s worth it. It is delicious and heavenly.
I use a gas hob because I much much prefer it for making caramel. I get that not everyone has gas though – some have electric, some have induction – but on my gas hob, I usually use between level 7 and 6 of strength on a medium-size ring, on my 9 level hob.
You want to use actual unsalted butter – as it creates the best caramel. I use golden syrup, because it creates the most wonderful caramel, as I explain in my video. If you can’t access golden syrup, however – I suggest using the caramel from this recipe post instead.
Baking tools!
You want to use a good quality pan if you can, as some pans have a very thin base. Basically, if the base is too thin, you might burn the caramel. So if you are worried, take the temperature down a notch and do it for a little longer instead to prevent any catching!
You also want to use a flat bottomed spatula, like these ones. Using a spatula with a sharp corner means you can really scrape the caramel, and prevent it from catching in the corners!
Caramel problems
I’ve received comments about people getting little dark coloured lumps in the caramel, and this is down to catching. Once it’s caught, there isn’t really anything you can do, other than preventing it from getting any more burnt.
If your caramel is grainy by the end, that’s because you didn’t dissolve the sugar properly at the beginning. You really want to slowly melt the condensed milk, golden syrup, sugar and butter together before it starts to boil – then it will be lovely and smooth.

The timing is something I can’t really narrow down on. It takes between 5-7 minutes to boil. This can vary depending on the type of stove you use, the brand of ingredients, the pan you use, and so on. I don’t boil the caramel to temperature, and I never have. Watch my youtube video to see the caramel go from the beginning to the end!
Leave to set
Once you have poured your caramel onto your shortbread, you have to leave it to set. I usually do this in the fridge because it’s quicker. Once it’s set, you add the chocolate!
Chocolate
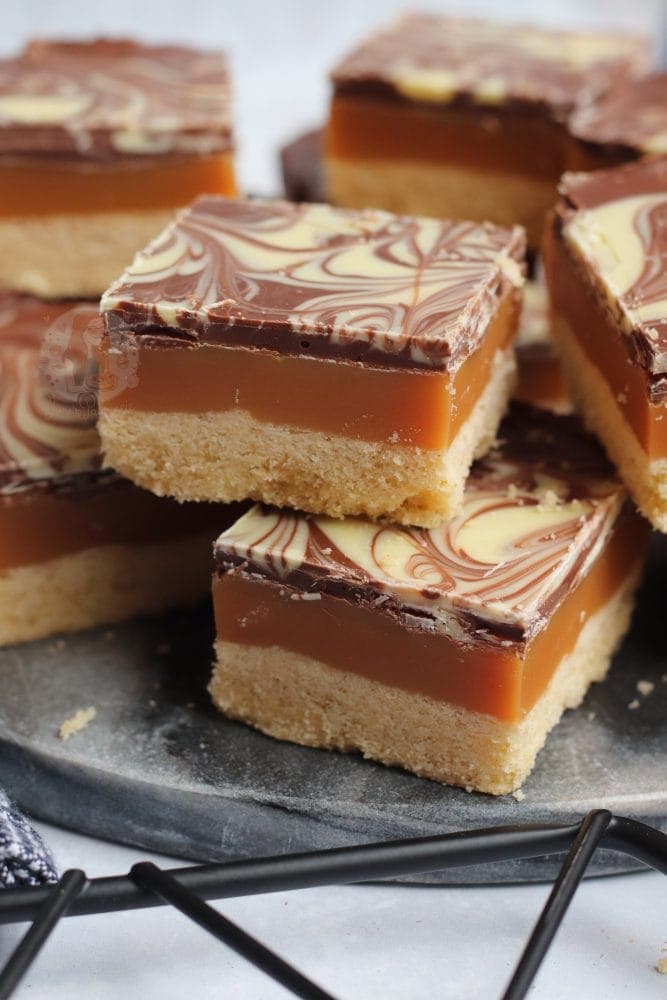
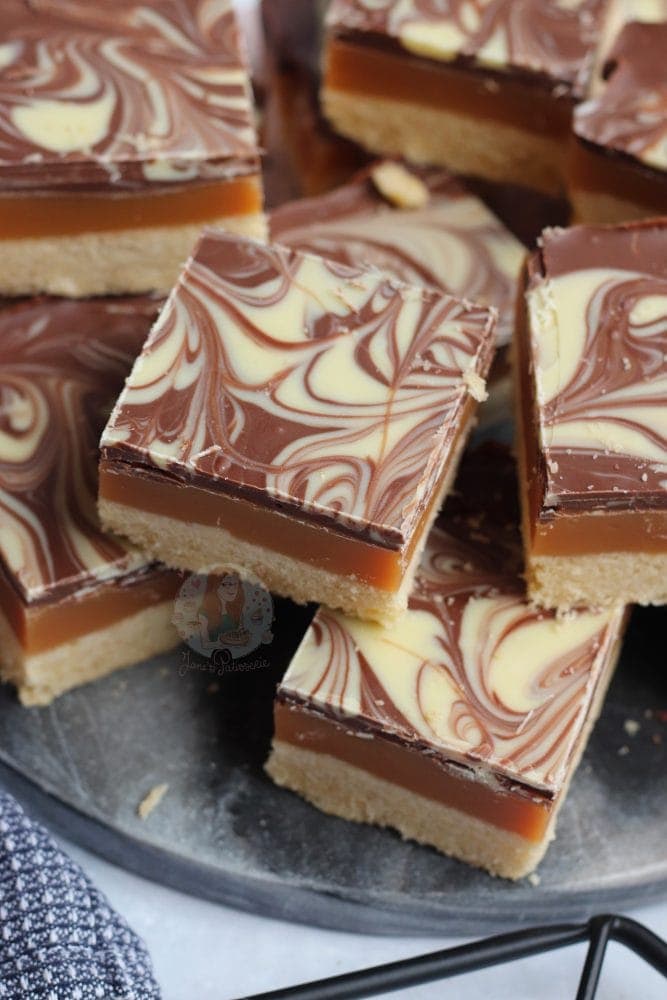
The chocolate part is quite straight forward – you just want to melt it, and cover the top, and let it set as well. I used a mix of milk and white chocolate, but you can use whatever you fancy! All milk, all dark, all white.. or all three! Any flavour you fancy too. It’s epic and easy!
Portion
So… once you’ve reached the end of making it, you enjoy it. However, cutting it up can be an issue for some. As I used a 9″ square tin, I use a 26cm knife to cut it. This is because the knife is larger than the traybake, and it makes it a hell of a lot easier. I tend to make sure it’s straight, score the chocolate ever so slightly, and then just cut straight down.
You can try a few different other things, such as scoring the chocolate when it’s not fully set yet, or heating the knife before cutting – but honestly, I just find using a large and sharp knife and going straight down is the best method for me!
Storing millionaires shortbread
If you find once your Millionaires shortbread is finished, that the caramel is rock solid and more like toffee, you overdid it slightly on the boiling. It’s best to keep and store it at room temperature from now on, so it’s at least not fridge cold hard. If your caramel is too soft, you didn’t do it for long enough, so should definitely be kept in the fridge!
I really hope this post helped – any questions, leave them below! And of course, remember that you can watch me make it on youtube! Enjoy! x
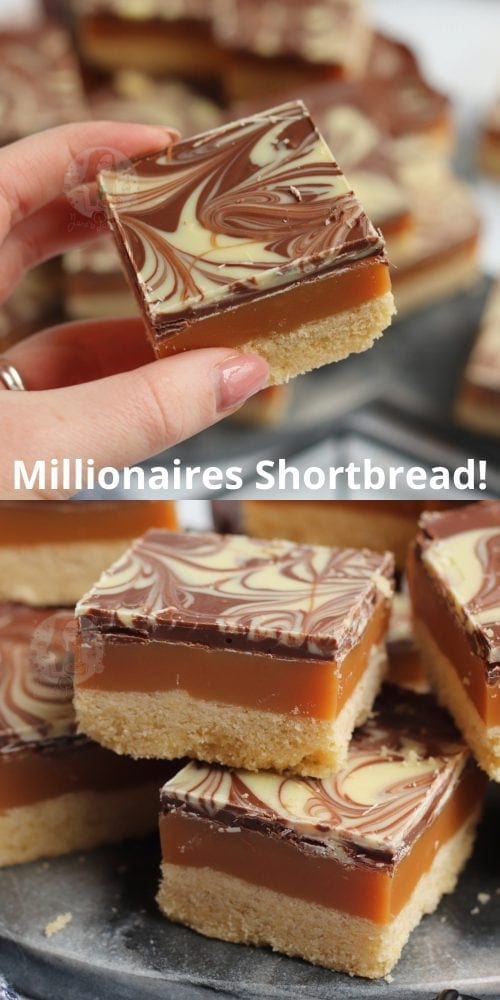
Millionaires Shortbread!
#wprm-recipe-rating-4 .wprm-rating-star.wprm-rating-star-full svg * { fill: #343434; }#wprm-recipe-rating-4 .wprm-rating-star.wprm-rating-star-33 svg * { fill: url(#wprm-recipe-rating-4-33); }#wprm-recipe-rating-4 .wprm-rating-star.wprm-rating-star-50 svg * { fill: url(#wprm-recipe-rating-4-50); }#wprm-recipe-rating-4 .wprm-rating-star.wprm-rating-star-66 svg * { fill: url(#wprm-recipe-rating-4-66); }linearGradient#wprm-recipe-rating-4-33 stop { stop-color: #343434; }linearGradient#wprm-recipe-rating-4-50 stop { stop-color: #343434; }linearGradient#wprm-recipe-rating-4-66 stop { stop-color: #343434; }
Print Pin Rate
Ingredients
Shortbread Ingredients
- 200 g unsalted butter
- 100 g caster sugar
- 275 g plain flour
Caramel Ingredients
- 200 g unsalted butter
- 3 tbsp caster sugar
- 4 tbsp golden syrup
- 397 g condensed milk (one tin)
Decoration
- 200 g milk chocolate
- 100 g white chocolate
Instructions
-
Preheat your oven to 180C/160C Fan, and line a 9x9inch deep square tin with parchment paper.
-
Cream together the sugar and butter in a stand mixer with the paddle attachment until smooth – mix in the flour until a dough is formed. It will be crumbly but the ingredients will be evenly dispersed!
-
Firmly press the mixture into the bottom of tin and bake in the oven for 20-25 minutes until pale golden on top!
-
Once baked, remove from the oven and leave to the side. In a large saucepan pour the condensed milk, butter, sugar, and golden syrup and melt on a medium heat until the sugar has dissolved – stir frequently to stop anything from catching.
-
Once the sugar has dissolved, turn the heat up high and let the mixture come to boiling point and boil for 5-7 minutes stiring constantly so that the mixture doesn’t catch. BE CAREFUL as the mixture is VERY hot and can burn you if it splashes back!
-
The mixture will be ready when it has changed to a slightly darker golden colour, and has thickened to a soft fudge texture!
-
Pour the caramel onto the shortbread base and leave to set for an hour in the fridge.
-
Once set, melt the milk chocolate and pour over the caramel – melt the white chocolate and pour over too – swirl it into the milk chocolate with the end of a cake skewer so it forms a pretty pattern.
-
Chill the shortbread back in the fridge for another 1-2 hours until the chocolate has gone hard**!
-
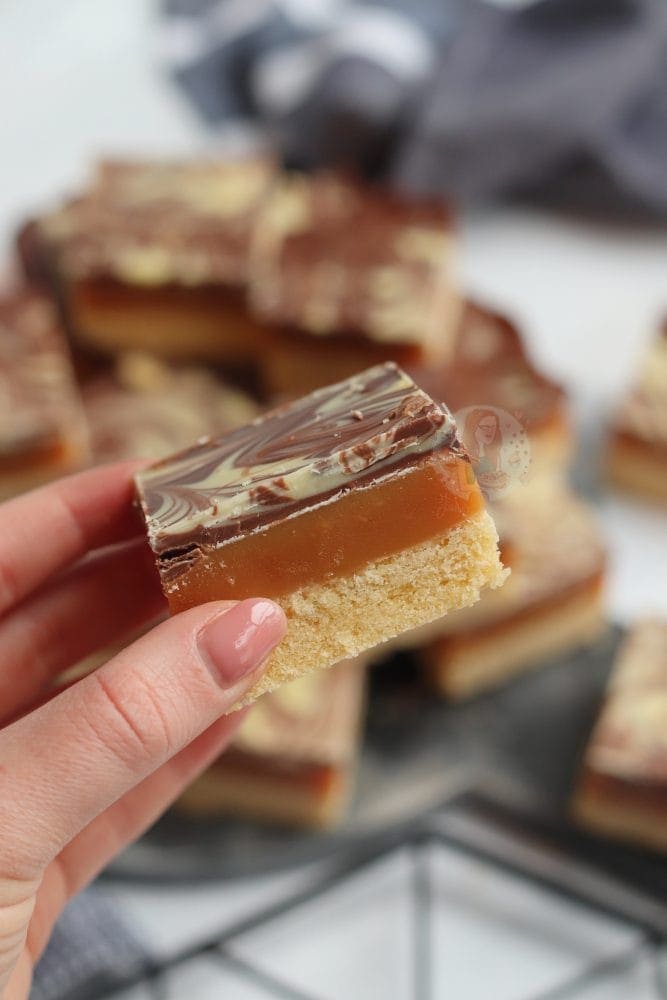
Chop your shortbread into the separate pieces and enjoy!
Notes
- This will keep in an airtight container for at least 1 week – if they last that long!
- If you can’t access golden syrup, you can give corn syrup or honey or similar a go, but I have not tested these as much. Alternatively, you can use my millionaires flapjacks caramel!
- If your caramel is rock solid when you remove it from the fridge, you have slightly over done it. Not to worry though, when you pour the chocolate on, leave it to set at room temperature rather than in the fridge and it should soften the caramel slightly.
- **If you struggle to cut your shortbread and tray bakes without the chocolate cracking on top, set it at room temperature rather than in the fridge and it’ll be softer so therefore won’t crack when you cut it!
- I recommend using a 9″ square tin like this one!
- I also recommend using a spatula like these to prevent any catching!
- And if you are wondering – this is the golden syrup I use.
ENJOY!
Find my other Traybake Recipes on my Recipes Page!
You can find me on:
Instagram
Facebook
Pinterest
Twitter
Youtube
J x
© Jane’s Patisserie. All images & content are copyright protected. Do not use my images without prior permission. If you want to republish this recipe, please re-write the recipe in your own words and credit me, or link back to this post for the recipe.