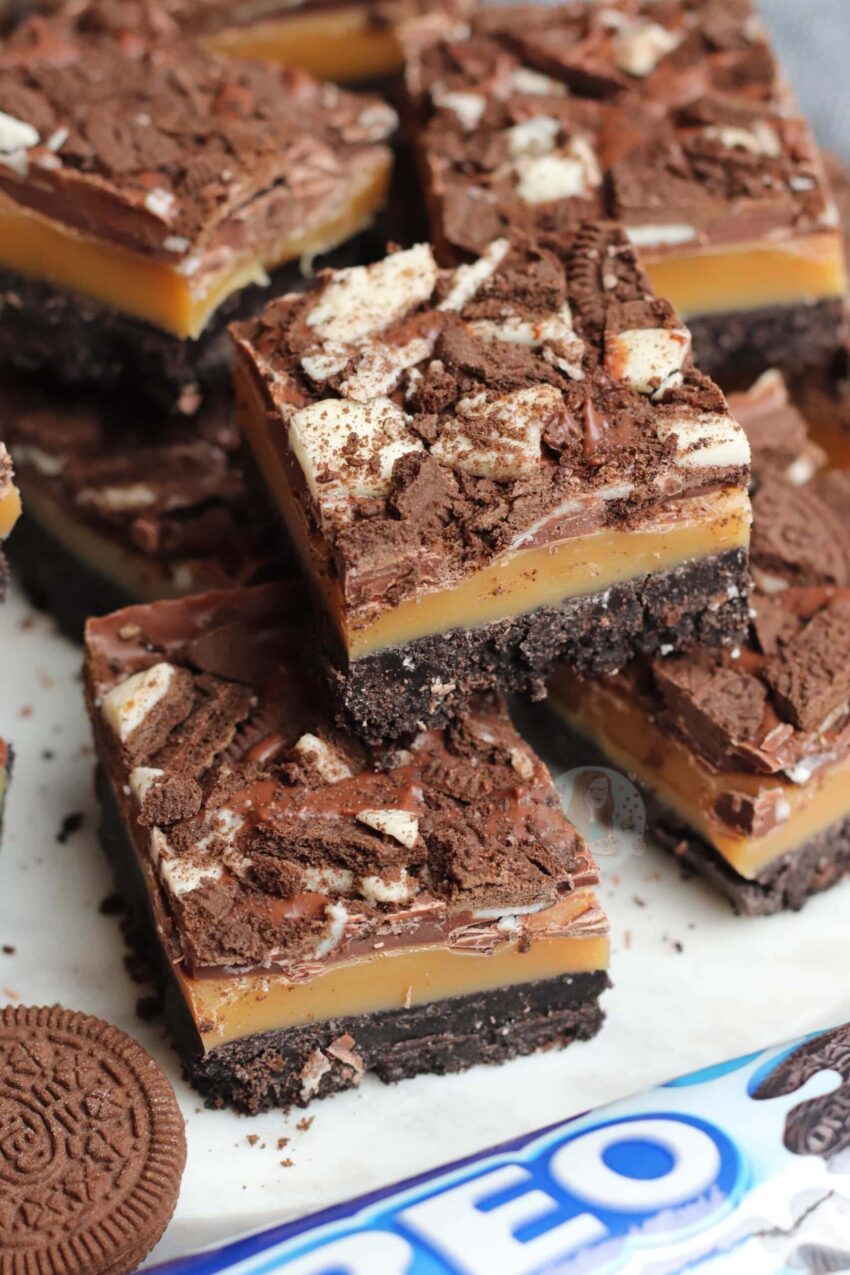
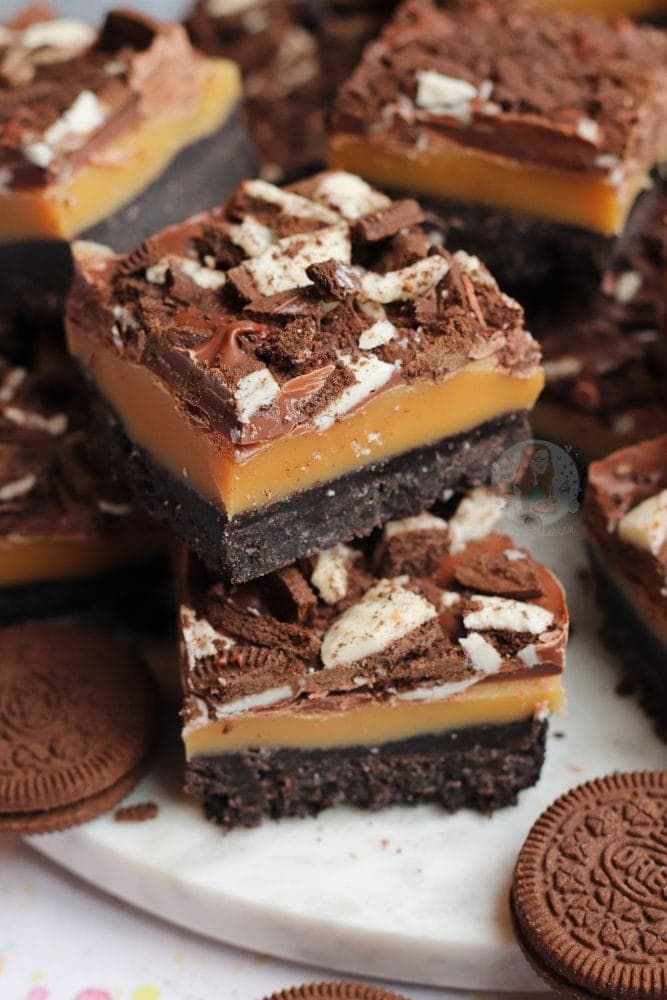
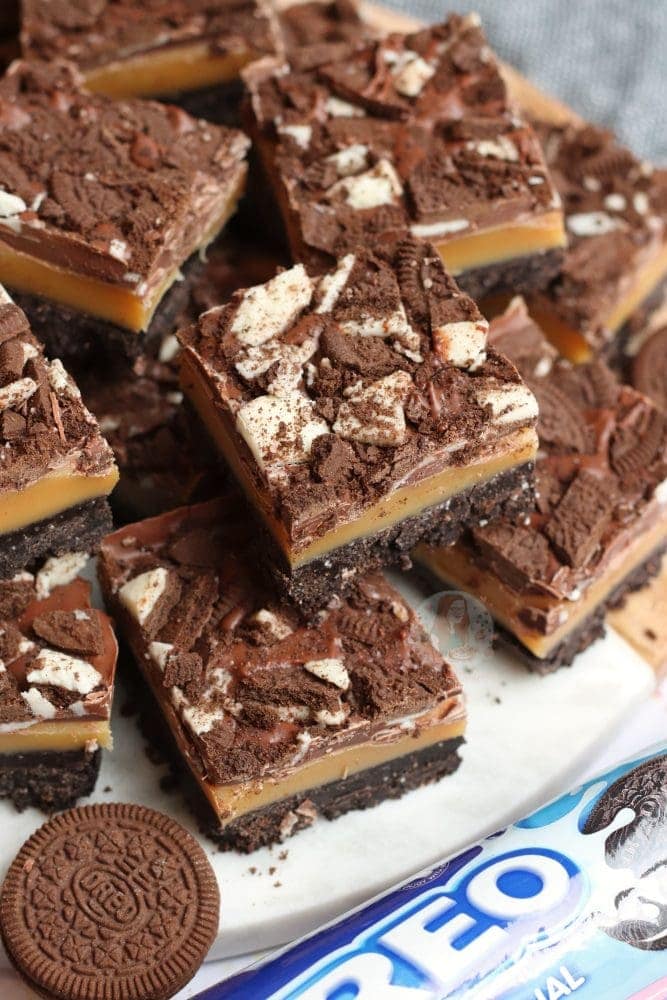
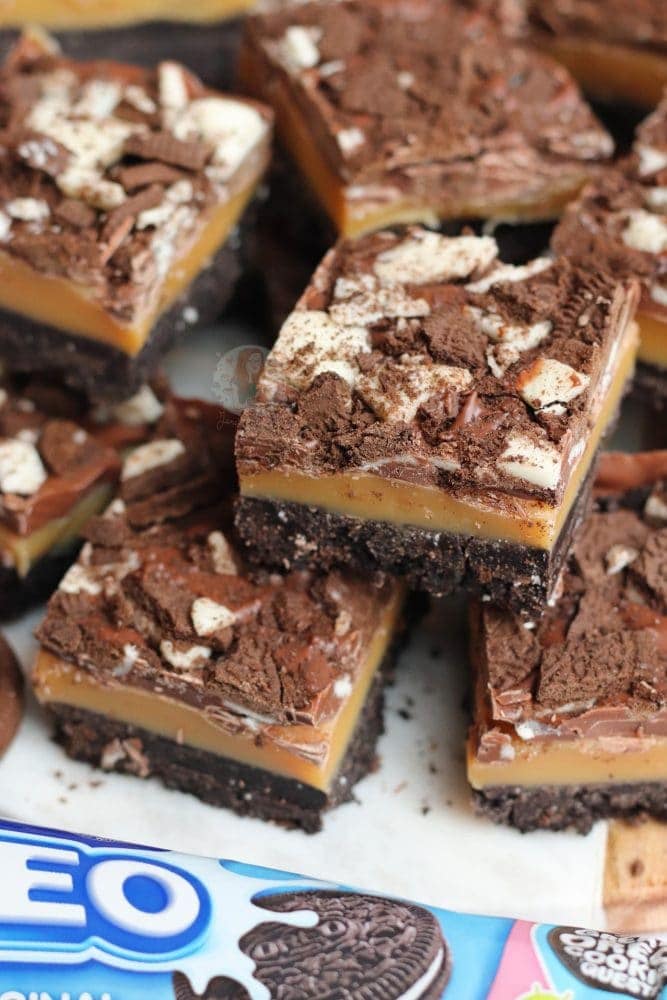
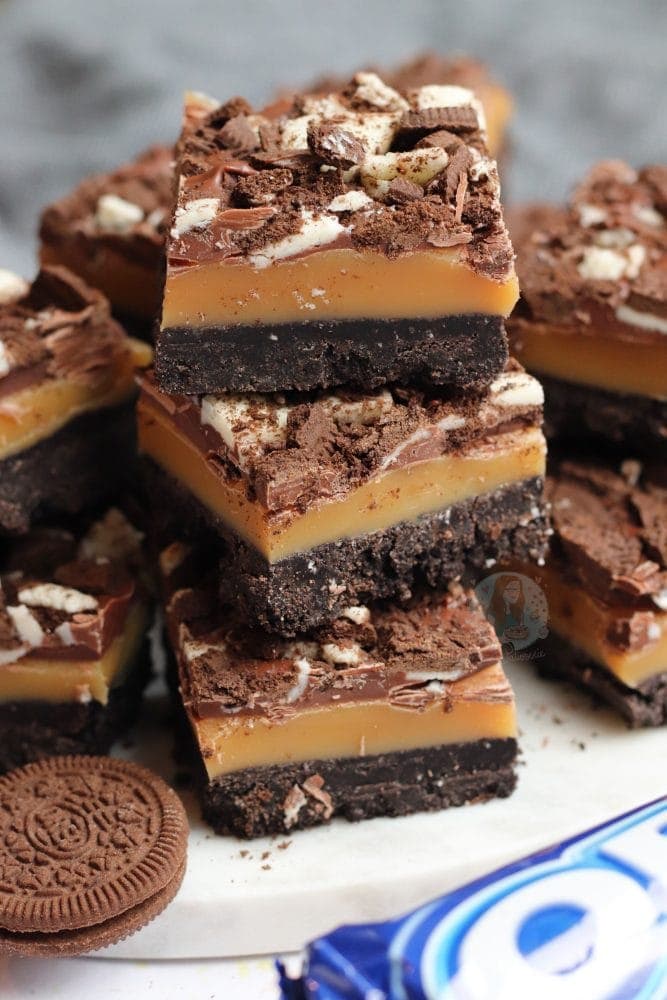
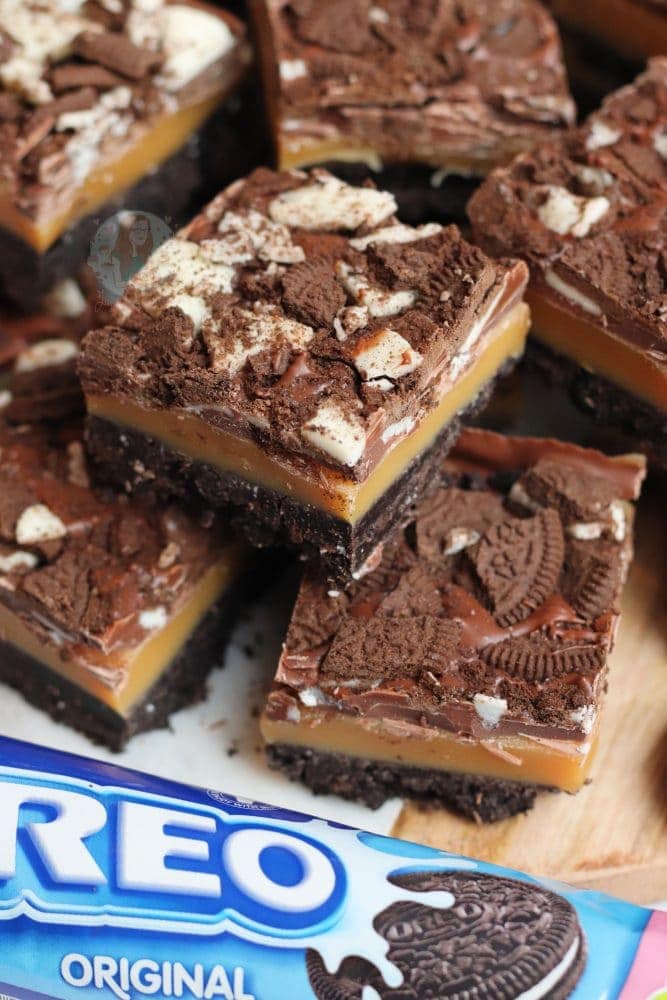
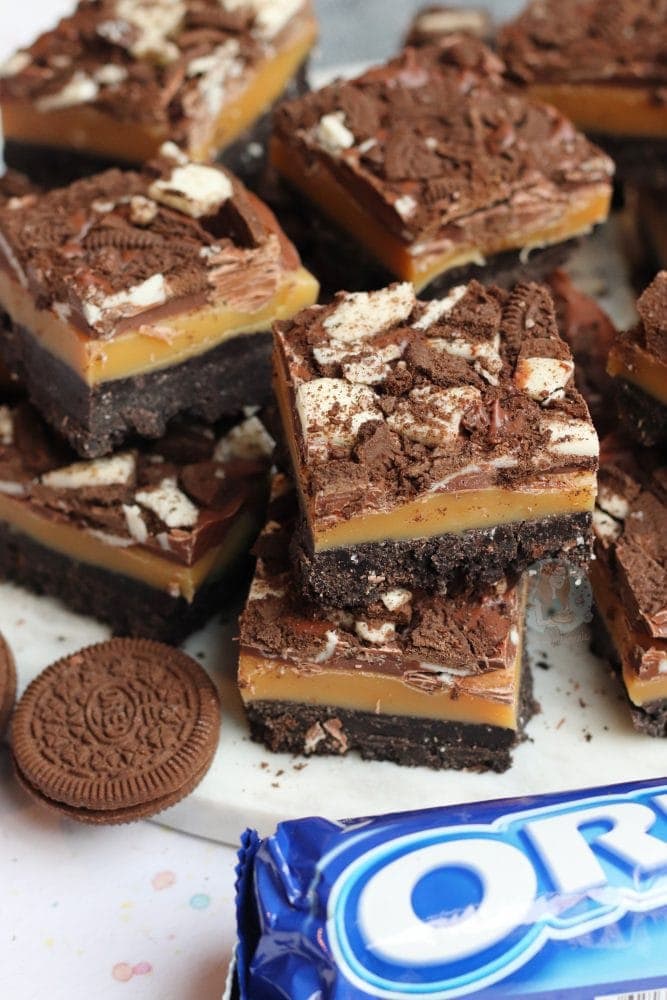
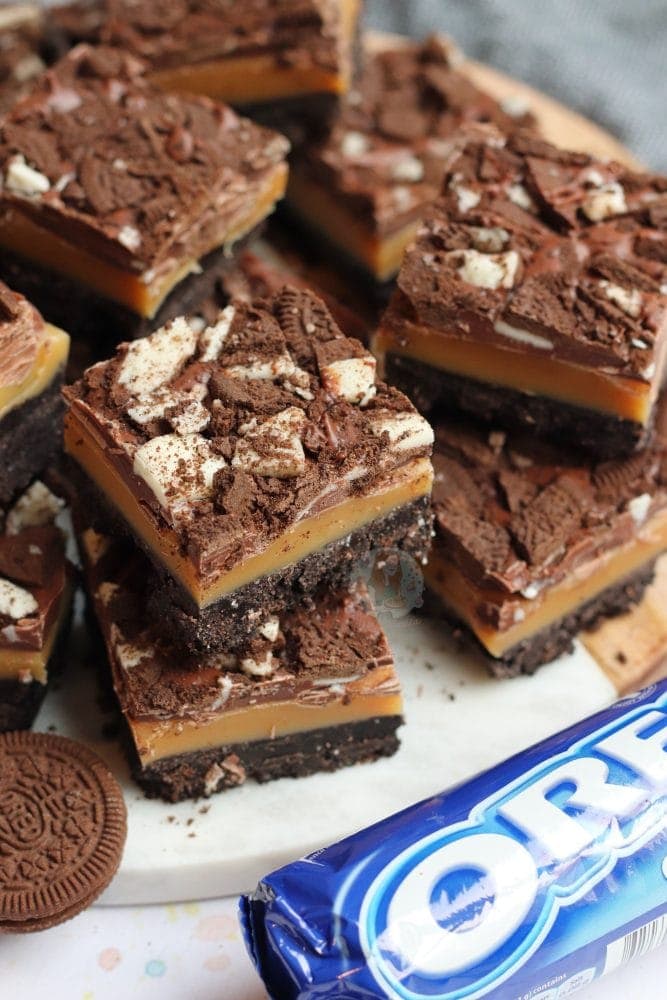
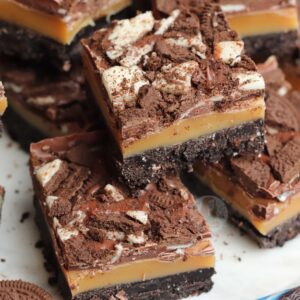
Oreo biscuit base, homemade caramel and chocolate Oreo topping… easy Oreo millionaires!
Another millionaires recipe!
So… honestly how long was it going to be until I made another millionaires recipe? They’ve become ever increasingly popular on my blog, so I thought I would post an absolute banger. Yes, this isn’t going to be everyone’s tastes, because obviously its Oreos inside and out, but if you love Oreos? YES, you will adore it!
Oreo millionaires
ANYWAY… Oreos are loved worldwide, and I utterly adore them. Some of the most popular recipes on my blog, in general, are Oreo related. My Oreo drip cake has been insanely popular since posting, and even my Oreo cupcakes which is such an old recipe now! Basically, you all seem to love Oreos as much as I do.

Other millionaires recipes
This recipe is inspired heavily by my Malteser millionaires and my Biscoff millionaires – which are essentially both biscuit based millionaires traybake as well. No, you can’t call this shortbread, and after being shot down by someone with too much time on their hands, this is my Oreo Millionaires TRAYBAKE.
Parts of this recipe are so incredibly simple that its hard to call it a recipe, but the caramel is the key part to this! The base is just blitzed up Oreo biscuits (With the insides left in – it seems to be a thing to remove the insides of the Oreo, but I feel like this is too much effort), with some melted Butter added in! Press it down into a tin and woo you are all done!

Caramel
The caramel is the part that people can struggle with. You can get some people who think they are being smart by using tinned caramel (the type I use in my buttercreams and cheesecakes) but there is a reason that I don’t use that in this. If it really was that simple, I would do it myself. However, using tinned caramel is much sweeter, and it doesn’t set solid whatsoever so is a gloopy mess.
You really should make the caramel yourself – and it’s much easier than you think. You just have to make sure to get the temperature not too hot! If it’s too hot, you might get little-burnt bits running through the caramel, or it will burn, or split! I can’t state an exact temperature that you need to get the caramel too, as it doesn’t work quite like that – but take a look at a few of my videos and you’ll see the colour you want to achieve!

Top caramel tip!
Make sure to stir the caramel constantly, and preferably with a spatula. If you use a spoon, it has a curved edge so won’t catch everything on the bottom of the pan. However, if you use a spatula, you successfully scrape everything off the edges and sides of the pan so that no burning can occur! Also, make sure not to use evaporated milk as they are very different things!
Topping
For the topping, all you have to do is melt your chocolate of choice (I used milk chocolate) and then sprinkle over some crushed or whole Oreos! I always like to use the theme of the bake (in this case Oreos) on the top of the bake so it’s more obvious as to what flavour it is! Luckily, Oreos are quite distinctive because of their colour so the topping decoration is optional!
You can use Hersheys chocolate on top, which is cookies ‘n cream flavour, but this can work out quite expensive so I just use regular supermarket own chocolate. This also works wonderfully with dark chocolate, which makes it so delicious and basically a traybake version of my no-bake Rolo tart!
YUM!
But honestly, a delicious Oreo biscuit base, homemade caramel, and chocolate is the dream combination for me. If you don’t like sweet food, then this isn’t for you… but it is honestly, SO GOOD! x
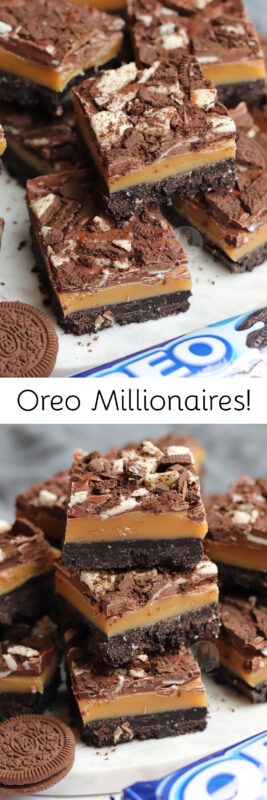
Oreo Millionaires!
#wprm-recipe-rating-7 .wprm-rating-star.wprm-rating-star-full svg * { fill: #343434; }#wprm-recipe-rating-7 .wprm-rating-star.wprm-rating-star-33 svg * { fill: url(#wprm-recipe-rating-7-33); }#wprm-recipe-rating-7 .wprm-rating-star.wprm-rating-star-50 svg * { fill: url(#wprm-recipe-rating-7-50); }#wprm-recipe-rating-7 .wprm-rating-star.wprm-rating-star-66 svg * { fill: url(#wprm-recipe-rating-7-66); }linearGradient#wprm-recipe-rating-7-33 stop { stop-color: #343434; }linearGradient#wprm-recipe-rating-7-50 stop { stop-color: #343434; }linearGradient#wprm-recipe-rating-7-66 stop { stop-color: #343434; }
Print Pin Rate
Ingredients
Biscuit Base
- 450 g Oreos
- 100 g unsalted butter (melted)
Caramel
- 200 g unsalted butter
- 3 tbsp caster sugar
- 4 tbsp golden syrup
- 397 g condensed milk (one tin)
Topping
- 250 g milk chocolate
- 100 g Oreos (chopped)
Instructions
For the Biscuit Base
-
In a food processor, add all the Oreos, and blitz to a fine crumb.
-
Add in the melted butter, and mix together.
-
Press into the bottom of a 9×9″ square lined tin, and refrigerate for now!
For the Caramel
-
In a large saucepan pour the condensed milk, butter, sugar, and golden syrup and melt on a medium heat until the sugar has dissolved – stir frequently to stop anything from catching.
-
Once the sugar has dissolved, turn the heat up high and let the mixture come to boiling point and boil for 5-7 minutes stirring constantly so that the mixture doesn’t catch. BE CAREFUL as the mixture is VERY hot and can burn you if it splashes back!
-
The mixture will be ready when it has changed to a slightly darker golden colour and has thickened to a soft fudge texture!
-
Pour the caramel onto the biscuit base and leave to set for an hour in the fridge.
For the Topping
-
Once the caramel has set, melt the chocolate carefully, and pour over the caramel.
-
Sprinkle over some crushed/chopped Oreos, and set again until solid!
-
Once set, cut up into pieces and enjoy!
Notes
- You can use whatever chocolate you like on the top – I just preferred milk chocolate when I made it!
- You don’t need to move the insides of the Oreos, I just leave them in.
- These will last for 1 week+! If its hot, the fridge is better.
- If your caramel burns, or splits, the temperature was too hot when making it – next time try a lower temp!
Find my other recipes on my Recipes Page!
You can find me on:
Instagram
Facebook
Pinterest
Twitter
Youtube
J x
© Jane’s Patisserie. All images & content are copyright protected. Do not use my images without prior permission. If you want to republish this recipe, please re-write the recipe in your own words and credit me, or link back to this post for the recipe.