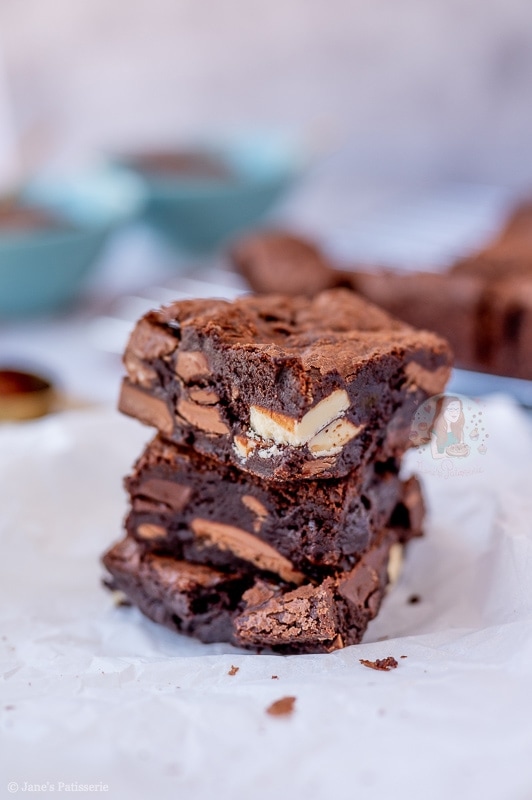
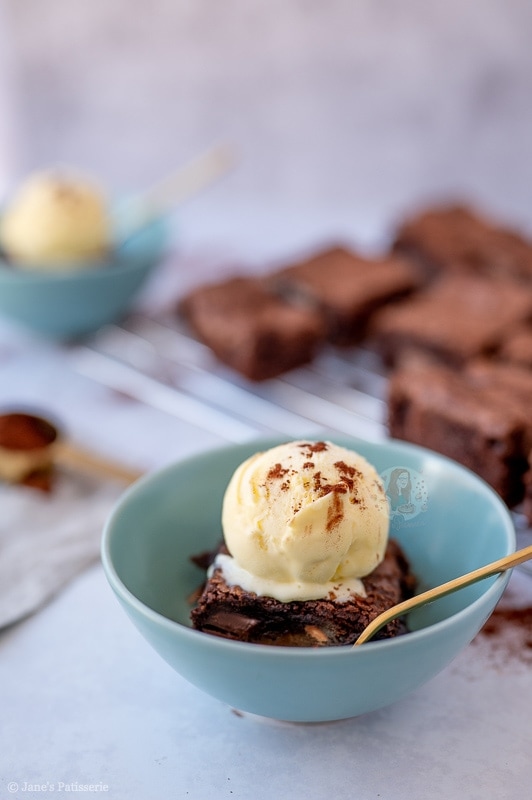
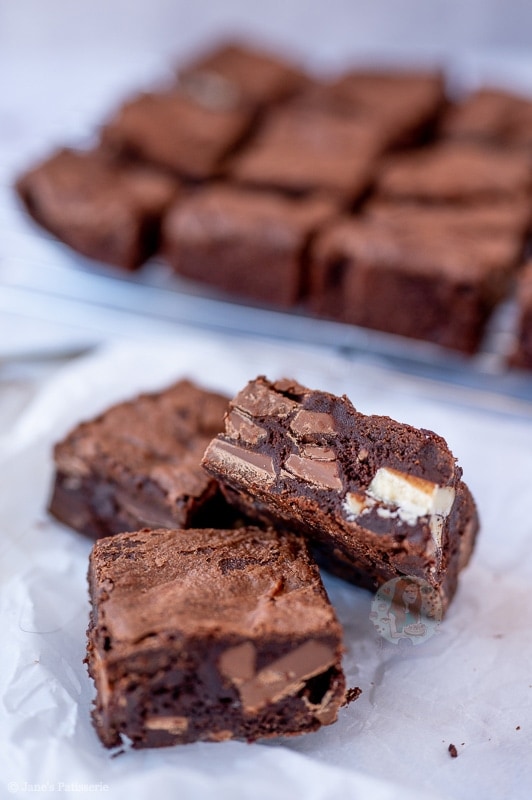
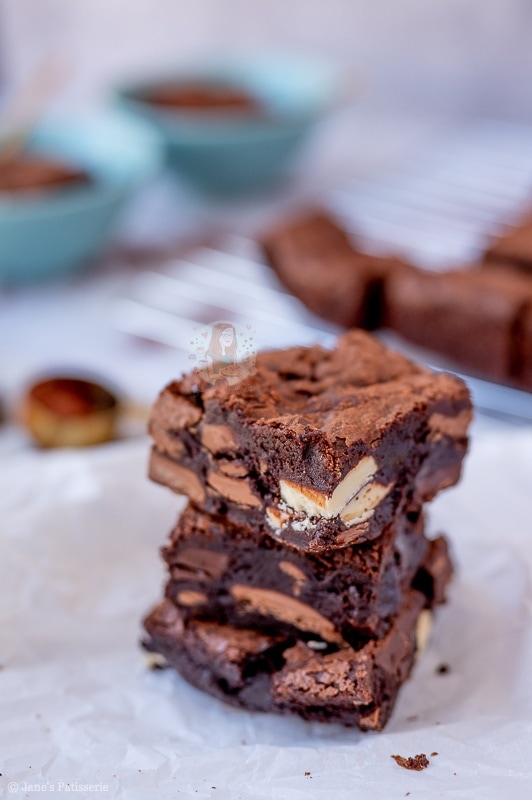
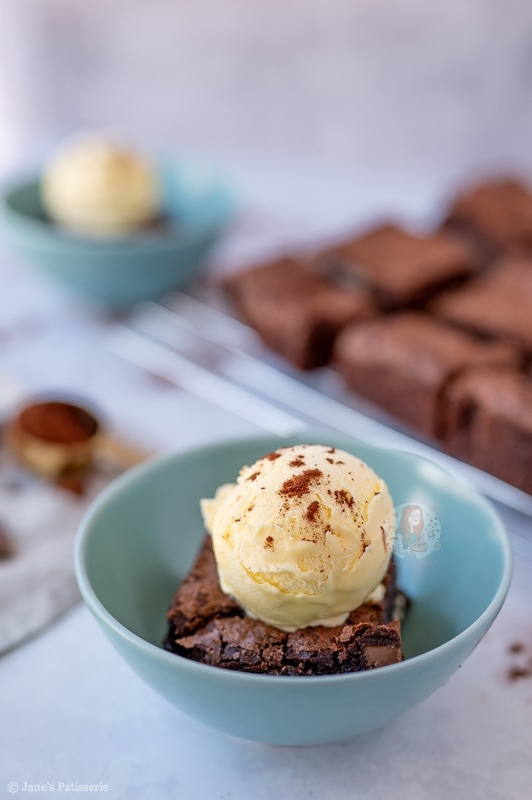
Gooey, rich, and super chocolatey triple chocolate brownies!
‘Back to basics’
So, I thought I would start a new series on the blog – ‘Back to Basics’. This is because I have a lot of themed or flavoured bakes on my blog, but some of the actual basics haven’t been covered. I technically have a triple chocolate brownies post on my blog, and these brownies are the exact same, but they’re my Christmas tree brownies. I thought it would be best to do a fresh new post for these beauties!
The ‘Back to Basics’ series will literally cover the basic of baking recipes… traybakes, cakes, cheesecakes etc, but as I was in the mood for a super chocolatey flavour, I thought brownies has the best place to start! Also, my mum has been bugging me for a good while now to make a batch of these, so I thought I would oblige to keep her sweet.

Recipe experimentation
I make my brownies in a particular way, as for years and years I struggled with brownies. There are so many different methods out there, and I often found that they took far too long to bake. As long as the brownies have got hot, the gooeyness doesn’t really matter and its not going to kill you, so no brownies were ever harmed in my experiments.
Often, I used to use a recipe that briefly mixed the butter, eggs and sugar so the mixture itself was completely different, but after trying out a few recipes such as the BBC Good Food recipe, I much preferred the whisking technique.
The whisk method
When you put the whisking technique side by side with a different one, I often find you can even just see the differences. The look, texture and more. I much much MUCH prefer this whisking method.
With this method, you basically whisk together the eggs and sugar to a really thick mousse, and its what gives the brownies their texture. You MUST whisk them for basically a really long time until the mixture is much much paler, thicker, and more than doubled in volume. If you briefly mix, it probably won’t work as well. Also, when you then mix the rest of the ingredients, mix them BY HAND so you don’t deflate the mousse.

Stand/hand mixers
I like 99% of the time use my stand mixer for these kinda thangs, as I find it SO much easier, but I get that not everyone has a stand mixer. You can also use a simple electric hand whisk, and its 100% worth it. If you’re in the UK, you can get a basic hand mixer for under £15, and even cheaper in some other actual shops, and this makes baking so so much easier.
Even with a hand mixer, you can get the texture you want. It might just take a smidge longer, but again… you’re going to save your arm and probably your brownies! It is completely up to you however though!

Folding
When you fold the melted chocolate/butter, and flour/cocoa powder into your egg mousse mix, you want to be as careful as you can, because if you go and beat it all in you might cause your mixture to be too runny.
I can often get comments saying that peoples brownies are taking far too long to bake, and thats down to the mix. People can say they followed the recipe “to a T” all they like, but something went wrong. It can be down to ingredients, but usually… its the mix with brownies. Too liquid, not mixed enough, etc.
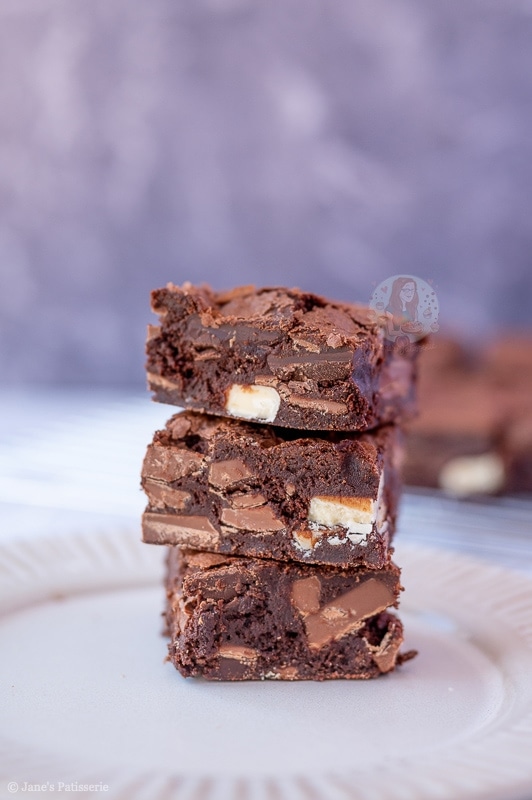
Chocolate
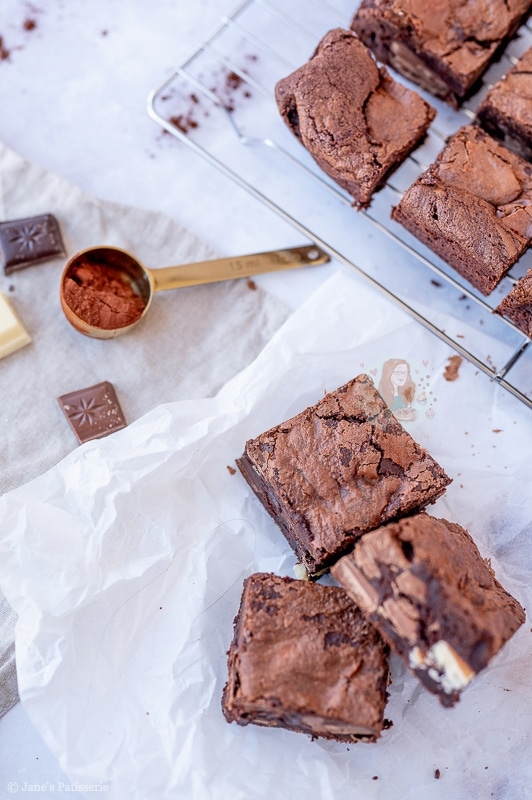
For the actual chocolate chips in the recipe, you can use supermarket own chocolate, cadburys chunks, galaxy etc… but I wouldn’t make them too large. For the ones in the pictures, I used Callebaut chocolate chips because I love them, but equally I often use Tesco’s own chocolate bars that come in at 45p per 100g of chocolate.
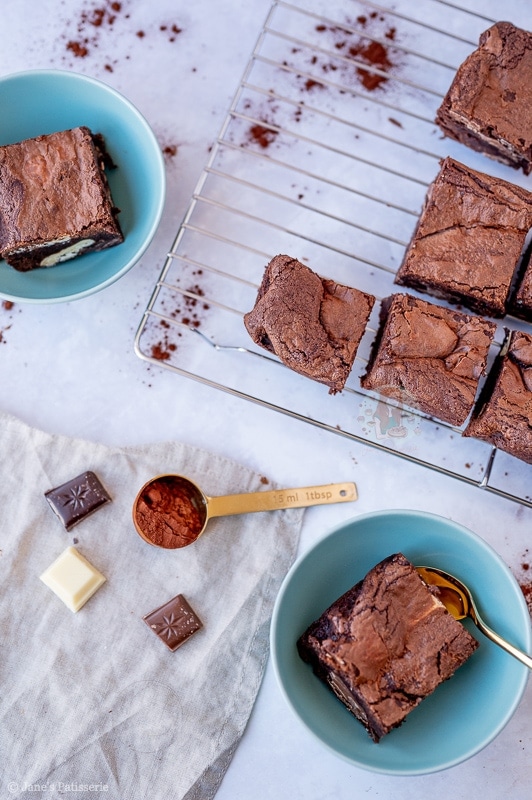
This is obviously cheaper than Cadburys which can often be £1 per 100g. HOWEVER… for the base of the brownie mixture, YOU MUST USE DARK CHOCOLATE. 70% OR DARKER. No, you can’t taste it like a chunk of dark chocolate, it just makes it so fudgey and delicious, and it naturally sweets so you do NOT need to worry.
Honestly, these brownies are SO GOOD, so I hope you all love these as much as everyone I know does. Enjoy! And I will be posting another ‘Back to Basics’ soon…! x
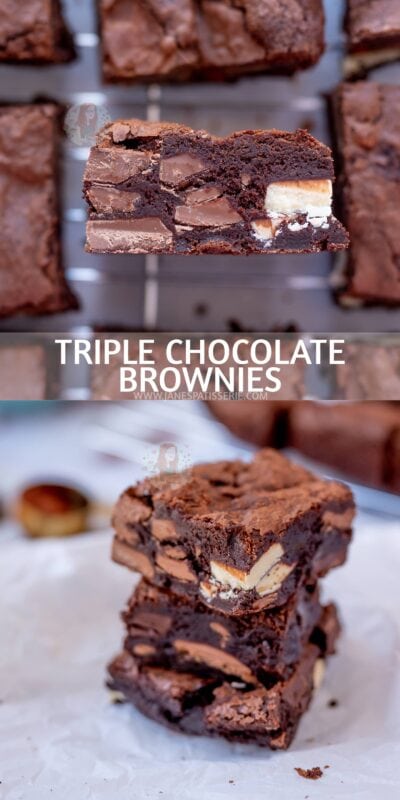

Triple Chocolate Brownies!
#wprm-recipe-rating-4 .wprm-rating-star.wprm-rating-star-full svg * { fill: #343434; }#wprm-recipe-rating-4 .wprm-rating-star.wprm-rating-star-33 svg * { fill: url(#wprm-recipe-rating-4-33); }#wprm-recipe-rating-4 .wprm-rating-star.wprm-rating-star-50 svg * { fill: url(#wprm-recipe-rating-4-50); }#wprm-recipe-rating-4 .wprm-rating-star.wprm-rating-star-66 svg * { fill: url(#wprm-recipe-rating-4-66); }linearGradient#wprm-recipe-rating-4-33 stop { stop-color: #343434; }linearGradient#wprm-recipe-rating-4-50 stop { stop-color: #343434; }linearGradient#wprm-recipe-rating-4-66 stop { stop-color: #343434; }
Print Pin Rate
Ingredients
- 200 g dark chocolate (70%+ cocoa content)
- 200 g unsalted butter
- 3 large eggs (or 4 medium)
- 275 g caster sugar
- 100 g plain flour
- 50 g cocoa powder
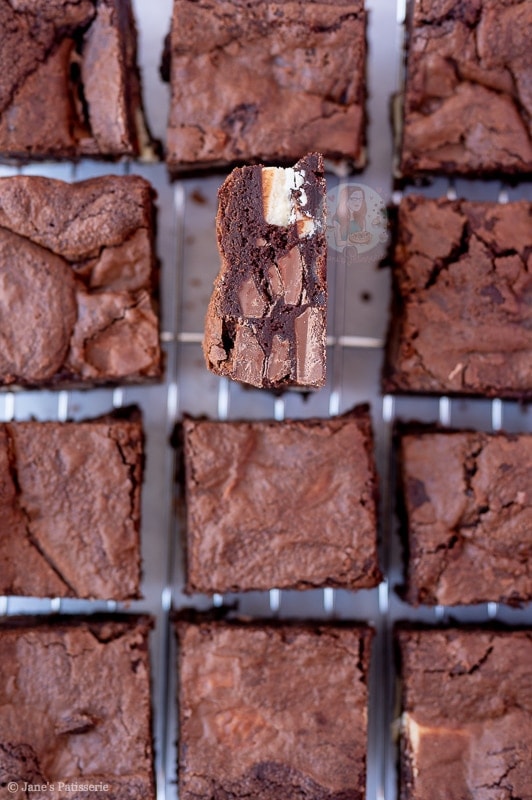
- 100 g white chocolate (Chips/Chunks)
- 100 g milk chocolate (Chips/Chunks)
- 100 g dark chocolate (Chips/Chunks)
Instructions
-
Preheat your oven to 180C/160C Fan and line a 9″ square baking tray with parchment paper.
-
Melt together the unsalted butter and dark chocolate in a heatproof bowl over a pan of boiling water, on the microwave for 1-2 minutes until melted. Leave to the side to cool to room temperature!
-
Using an electric whisk/stand mixer, whisk together the eggs & caster sugar for a few minutes until the colour has turned pale, is very mousse like, and is double the original volume of the amount of eggs + sugar!
-
You will know its done because when you lift the whisk up out of the mix it should leave a trail for a couple of seconds before disappearing!
-
When whisked, pour the cooled chocolate mix over eggs and fold together carefully. It might take some time, but be patient – you don’t want to knock out the air you made up on the previous step!
-
Once completely combined, sift the cocoa powder and plain flour on top of the chocolate mix and then fold together again – still be careful to not knock out the air!
-
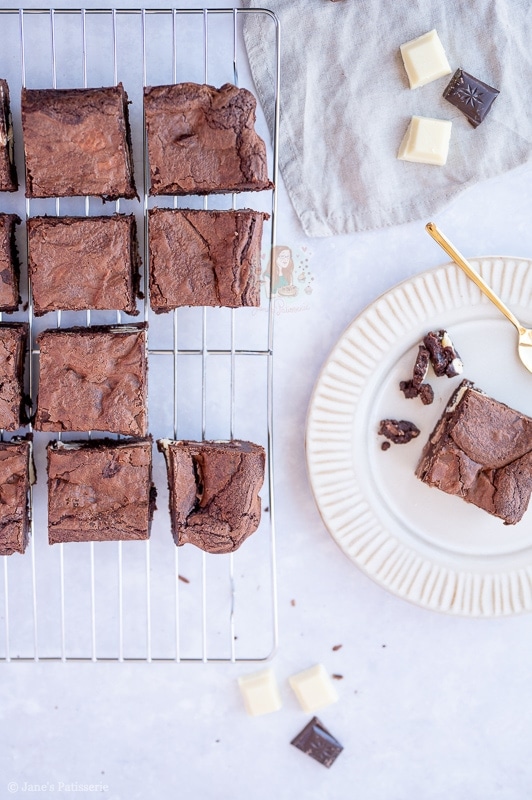
Once combined well, fold through the chocolate chips and pour into the prepared tin – bake in the oven for 25-30 minutes! Once baked, leave to cool in the tin completely.
Notes
- These triple chocolate brownies will last in an airtight container for 1 week!
- If you find they’re a bit hard to cut, stick them in the fridge for an hour and it’ll make it a lot easier!
- If they’re not done in the time stated, then stick them in for longer, and cover with foil to prevent burning
- They should be done when they’re not wobbling when you shake the tin, and a skewer should come out mostly clean, not covered in chocolate.
- I use this 9″ square tin in this recipe!
- Recipe updated May 2021 – flour used to be 90, cocoa powder used to be 35g. Both recipes work, I just much prefer the increased flour/cocoa.
ENJOY!
Find my other Brownies Recipes on my Recipes Page!
You can find me on:
Instagram
Facebook
Pinterest
Twitter
Youtube
J x
© Jane’s Patisserie. All images & content are copyright protected. Do not use my images without prior permission. If you want to republish this recipe, please re-write the recipe in your own words and credit me, or link back to this post for the recipe.